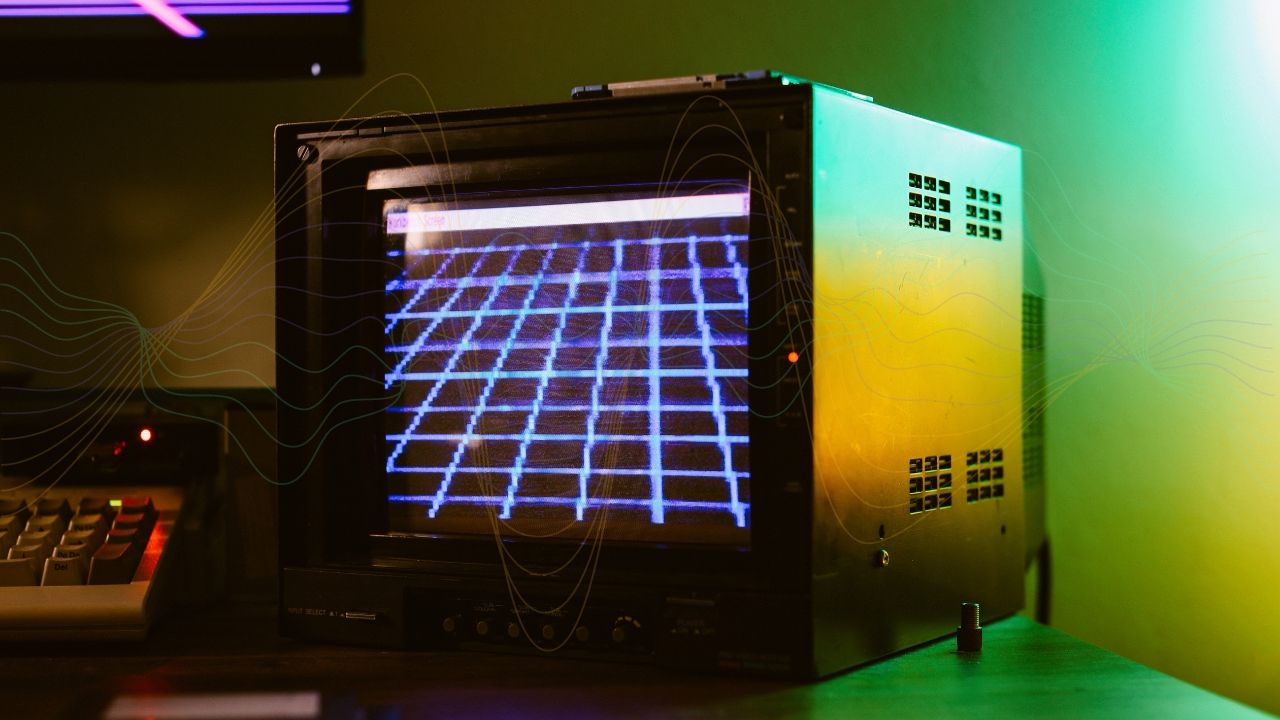
In today’s digital world, music isn’t just about what you hear; it’s also about what you see. With the rise of platforms like YouTube and social media, adding visual elements to your music can significantly boost its appeal and reach. One of the best ways to do this is by creating a music visualizer. This guide will walk you through everything you need to know about how to create a music visualizer and make your music even more engaging.
What is a Music Visualizer?
A music visualizer is a tool that generates animated imagery based on the music you are playing. The visuals usually move in sync with the music, reacting to different elements such as the beat, rhythm, and melody. Create a music visualizer to transform your songs into a full sensory experience, engaging listeners with captivating visuals that sync with every beat.
Why You Should Create a Music Visualizer
Creating a music visualizer has several benefits:
- Enhanced Listener Experience: A music visualizer adds a visual dimension to your music, making it more engaging.
- Better Branding: By creating a custom visualizer, you can incorporate your branding elements, making your music videos more recognizable.
- Increased Reach: Visual content is more likely to be shared on social media, increasing your music’s reach. When you create a music visualizer, you provide your audience with a unique visual journey that accompanies your audio, creating a deeper connection with your listeners.
Step-by-Step Guide to Creating a Music Visualizer
Creating a music visualizer may sound complex, but with the right tools and steps, you can create a stunning visualizer that complements your music perfectly. Here’s how to create a music visualizer step by step:
1. Choose the Right Software
The first step in creating a music visualizer is choosing the right software. There are several software options available, ranging from free to premium. Some popular options include:
- Adobe After Effects: A powerful tool that allows for detailed customization but requires some knowledge of animation and effects.
- Resolume: A VJ software that’s great for live performances and real-time visuals.
- VSDC Video Editor: A free tool that provides basic visualizer functions.
- Renderforest: An online tool that allows you to create visualizers quickly with customizable templates.
Selecting the right software is crucial when you create a music visualizer. Each of these tools has its own set of features, so choose one that best fits your needs and skill level. The software you choose will determine the level of customization, ease of use, and the final quality of your visualizer, making it an essential step in the process.
2. Import Your Music
Once you’ve selected your software, the next step is to import the music you want to visualize. Ensure that your track is of high quality and in a format supported by your software. Most tools support formats like MP3, WAV, and AAC. The better the quality of your track, the more impressive the outcome when you create a music visualizer. High-quality audio will lead to a smoother visual experience, with the visuals syncing more accurately with the beat and rhythm of your music.
3. Select a Visualizer Template
Most music visualizer tools come with pre-made templates that you can customize. Choose a template that matches the vibe of your music. For example, if your music is upbeat and energetic, opt for a visualizer with fast-moving, vibrant visuals. If your music is more ambient, a slower, more subtle visualizer might be more appropriate. When you create a music visualizer, selecting the right template can set the tone for the entire project.
Templates provide a foundation that can save you time, especially if you’re new to creating visualizers. However, don’t feel restricted by the template. The best visualizers often combine the strengths of the template with your unique creative touches. Experiment with different options until you find one that truly resonates with your music’s energy and message.
4. Customize Your Visualizer
Customization is where you can really make your visualizer stand out. Here’s how you can customize your music visualizer:
- Colors: Choose colors that match your brand or the mood of the song. Bright, bold colors might work well for an energetic track, while softer tones might be better for something more mellow.
- Shapes and Patterns: Some visualizers allow you to change the shapes and patterns that respond to the music. Select ones that complement your song. For instance, circular patterns might work well for electronic music, while more organic shapes could complement an acoustic track.
- Backgrounds: Add a background that enhances the overall visual effect. This could be a simple gradient, a static image, or even a video. A dynamic background can add depth to your visualizer, making it more engaging.
- Logos and Text: Incorporate your logo or text, like the song title or your artist name, to reinforce your brand. By focusing on these details, you can create a music visualizer that is uniquely yours. Including branding elements helps in making your content instantly recognizable, which is important for building a consistent artist image across various platforms.
5. Sync Visuals with the Music
The key to a great music visualizer is how well the visuals sync with the music. Most software will automatically sync the visuals to the music’s beat, but you may need to fine-tune the settings. Pay attention to how the visuals react to different elements of the music, such as bass drops, high notes, or tempo changes. Adjust the sensitivity and response time to ensure that the visuals enhance the listening experience rather than distract from it. The synchronization is what makes your effort to create a music visualizer truly effective.
Proper synchronization ensures that the visualizer enhances the music rather than competing with it. For instance, subtle visual elements can be used during quieter moments of the song, while more intense visuals can accompany crescendos or beat drops. This dynamic approach keeps the viewer engaged and makes the music feel more immersive.
6. Experiment with Different Styles
As you create a music visualizer, don’t be afraid to experiment with different styles and effects. Each song has its own unique feel, and trying out different visualizations can help you find the perfect match. For instance, try mixing abstract visuals with literal interpretations of the lyrics or mood. This can create a unique experience that resonates more deeply with your audience.
Experimentation can lead to discovering new ways to visually represent your music. You might find that a certain effect or style becomes a signature element of your visualizers, setting your content apart from others in the industry. As you gain more experience, your ability to creatively match visuals to your music will improve, leading to even more compelling content.
Once you’re happy with your music visualizer, it’s time to export it. Choose the appropriate settings for the platform you intend to share it on. For example:
- YouTube: Export in high resolution (1080p or 4K) with a format like MP4 or MOV.
- Social Media: Depending on the platform, you might want to export in square or vertical formats for better compatibility.
After exporting, share your music visualizer across all your platforms, including YouTube, Instagram, Facebook, and Twitter, to maximize its reach. Sharing is the final and crucial step when you create a music visualizer that you want to reach a wide audience.
Best Practices for Creating a Music Visualizer
While creating a music visualizer, keep the following best practices in mind to ensure you get the best results:
1. Keep It Simple
Sometimes, less is more. A music visualizer doesn’t need to be overly complex to be effective. Focus on creating visuals that complement the music rather than overpower it. Simplicity can often be the most effective approach when you create a music visualizer. Overcomplicating the visual elements can distract from the music, which should remain the main focus.
2. Consistency is Key
Maintain consistency in your visual style across different tracks. This helps in building a recognizable brand image, making your music more memorable to your audience. Consistency is particularly important as you create a music visualizer that is part of a series or a larger project. A consistent style also makes your visual content instantly recognizable to your audience, which is vital for building a strong personal brand.
3. Match the Visuals to the Music Genre
Different music genres evoke different emotions and energy levels. Ensure that your visualizer’s style matches the genre of the music. For example, electronic music might benefit from more dynamic and vibrant visuals, while acoustic or classical music might be better suited to softer, more elegant visuals. The genre of your music should always guide how you create a music visualizer.
Matching the visual style to the genre not only enhances the viewer’s experience but also sets the right mood. For example, using intense, fast-moving visuals for a calm, relaxing track might create a disconnect for the audience. Therefore, always align your visuals with the genre to maintain a cohesive experience.
4. Use Lighting Effects
Lighting effects can dramatically change the feel of your music visualizer. For instance, using pulsating lights that sync with the beat can create a more immersive experience, especially for genres like electronic dance music (EDM) or hip-hop. When you create a music visualizer, experimenting with different lighting effects can help to emphasize certain parts of the track, like a drop or a chorus. These effects not only enhance the visual appeal but also draw the viewer’s attention to the musical elements you want to highlight.
5. Optimize for Different Devices
It’s essential to consider how your audience will view your music visualizer. Will they be watching on a desktop computer, a tablet, or a mobile phone? When you create a music visualizer, make sure it looks good across all devices. This might involve adjusting the aspect ratio or ensuring that the text and visuals are clear even on smaller screens. Testing your visualizer on multiple devices before sharing it can help ensure that your audience has a consistent experience, no matter how they view it.
6. Incorporate Motion Graphics
Adding motion graphics to your music visualizer can elevate the visual experience. Motion graphics are animated graphic design elements that move in sync with your music. This could be anything from a simple bouncing ball following the beat to more complex animations like a wave or spectrum analyzer. When you create a music visualizer with motion graphics, you can give your audience a more dynamic and engaging experience. These elements can be particularly effective in creating a sense of movement and energy that complements the music.
7. Test Different Visual Effects
Different visual effects can significantly alter the mood of your music visualizer. For example, adding a glitch effect might suit a track with a digital or experimental sound, while a vintage filter might be better for a retro-style song. When you create a music visualizer, testing out different effects can help you find the right look and feel for each track. Don’t be afraid to experiment—sometimes, the most unexpected combinations can produce the best results.
Tools and Resources for Creating a Music Visualizer
Here are some tools and resources that can help you in the process of creating a music visualizer:
- Wave.Video: An online tool with a variety of templates for creating visual content, including music visualizers. It’s user-friendly and doesn’t require advanced skills, making it a great option for beginners looking to create a music visualizer.
- Magic Music Visuals: A real-time music visualization software that’s powerful and versatile, perfect for live performances. If you’re looking to create a music visualizer that can be used during live sets, this tool offers real-time interaction and customization.
- FL Studio’s ZGameEditor Visualizer: A tool built into FL Studio that allows you to create visuals directly from your DAW. This is particularly useful if you already use FL Studio for music production and want to create a music visualizer that’s tightly integrated with your music production process.
- Processing: An open-source platform that allows you to code your own visualizations. It’s more advanced but offers unlimited creative possibilities, perfect for those who want to create a music visualizer from scratch.
These tools provide a range of options, from beginner-friendly templates to advanced customization, making it easier to create a music visualizer that meets your needs.
Expanding Your Creative Horizons
Once you’ve mastered the basics of creating a music visualizer, consider exploring more advanced techniques. For instance, you could integrate 3D elements into your visualizer to add depth and complexity. Some software, like Adobe After Effects, offers 3D capabilities that allow you to create visuals that pop off the screen, adding a new dimension to your music visualizer.
Another advanced technique is to use generative visuals, which are created in real-time based on the input from your music. This method allows for an endless variety of visuals that are never the same twice. Tools like VDMX or TouchDesigner are great for this kind of work. When you create a music visualizer with generative visuals, you provide a truly unique experience every time your music is played.
Incorporating Live Visuals into Performances
If you’re a performing artist, consider using your music visualizer in live performances. This can greatly enhance the audience’s experience, making your shows more memorable. Software like Resolume or VJing platforms allow you to mix live video with your pre-created visualizers, reacting in real-time to your music. This approach not only enhances your performance but also helps in building a more immersive atmosphere.
Using live visuals also allows for interaction with your audience. For example, you could use software that reacts to the crowd’s noise levels or even incorporate social media feeds into the visuals. By taking your create a music visualizer project into the live space, you can turn a typical performance into a multi-sensory experience.
Once you’ve finished creating your music visualizer, it’s time to share it with the world. Posting your visualizer on platforms like YouTube is a great way to reach a large audience. However, don’t stop there. Share your visualizer on all your social media platforms, including Instagram, Twitter, and Facebook. You can also use snippets of your visualizer in stories or ads to promote your music further.
Consider collaborating with other artists or influencers to broaden your reach. For example, you could partner with a visual artist who specializes in creating unique content, or work with a social media influencer to promote your music visualizer to their followers. Collaboration can help you tap into new audiences who might not have discovered your music otherwise.
Monetizing Your Music Visualizer
Another benefit of creating a music visualizer is the potential for monetization. Platforms like YouTube allow you to monetize your videos through ads, so the more views your visualizer gets, the more revenue you can generate. You can also sell or license your visualizers as part of your merchandise or offer them as digital downloads to your fans.
If your visualizers are highly creative or unique, consider licensing them for use in other media, such as films, commercials, or video games. This can be a lucrative way to make money from your music visualizer beyond the traditional avenues of music sales and streaming.
Conclusion
Creating a music visualizer is a fantastic way to add a visual dimension to your music, making it more engaging and shareable. Whether you’re a seasoned musician or just starting out, adding visualizers to your music can help you stand out in a crowded market. By following this guide, you’ll be able to create a music visualizer that not only enhances your music but also helps you build a stronger connection with your audience.
So, what are you waiting for? Create a music visualizer today and take your music to the next level!
For further reading, explore these related articles:
For additional resources on music marketing and distribution, visit Deliver My Tune.


