If you’ve ever dreamed of recording your own music, podcast, or voiceover work, having a home recording studio can be a game-changer. It sounds like a big project, but don’t worry—it’s easier than you think! In this blog, we’ll break down everything you need for a home recording studio, step by step. Whether you’re a beginner or looking to upgrade, this guide will help you create a space that meets your needs without breaking the bank.
Why Start a Home Recording Studio?
Before diving into the equipment, let’s talk about why a home recording studio is worth it. Having your own setup means you can record whenever inspiration strikes. You don’t have to book expensive studio time, and you have total control over your creative process. Plus, with the right gear, you can achieve professional-quality results right from the comfort of your home.
Choosing the Right Space
The first step in setting up your home recording studio is choosing the right space. Ideally, you want a quiet room with minimal outside noise and good acoustics. A smaller room is often easier to manage because there’s less sound to control. However, make sure it’s not too cramped. You’ll need enough room for your equipment and to move around comfortably.
Once you’ve chosen the room, consider these factors:
- Soundproofing: Preventing outside noise from coming in and your sound from leaking out.
- Acoustic treatment: Reducing echo and reverb to get cleaner recordings.
- Comfort: You’ll spend hours here, so make it a space you enjoy.
Essential Equipment for a Home Recording Studio
Now, let’s dive into what you need for a home recording studio. The exact gear will depend on what you plan to record, but here are the basics:
1. Computer
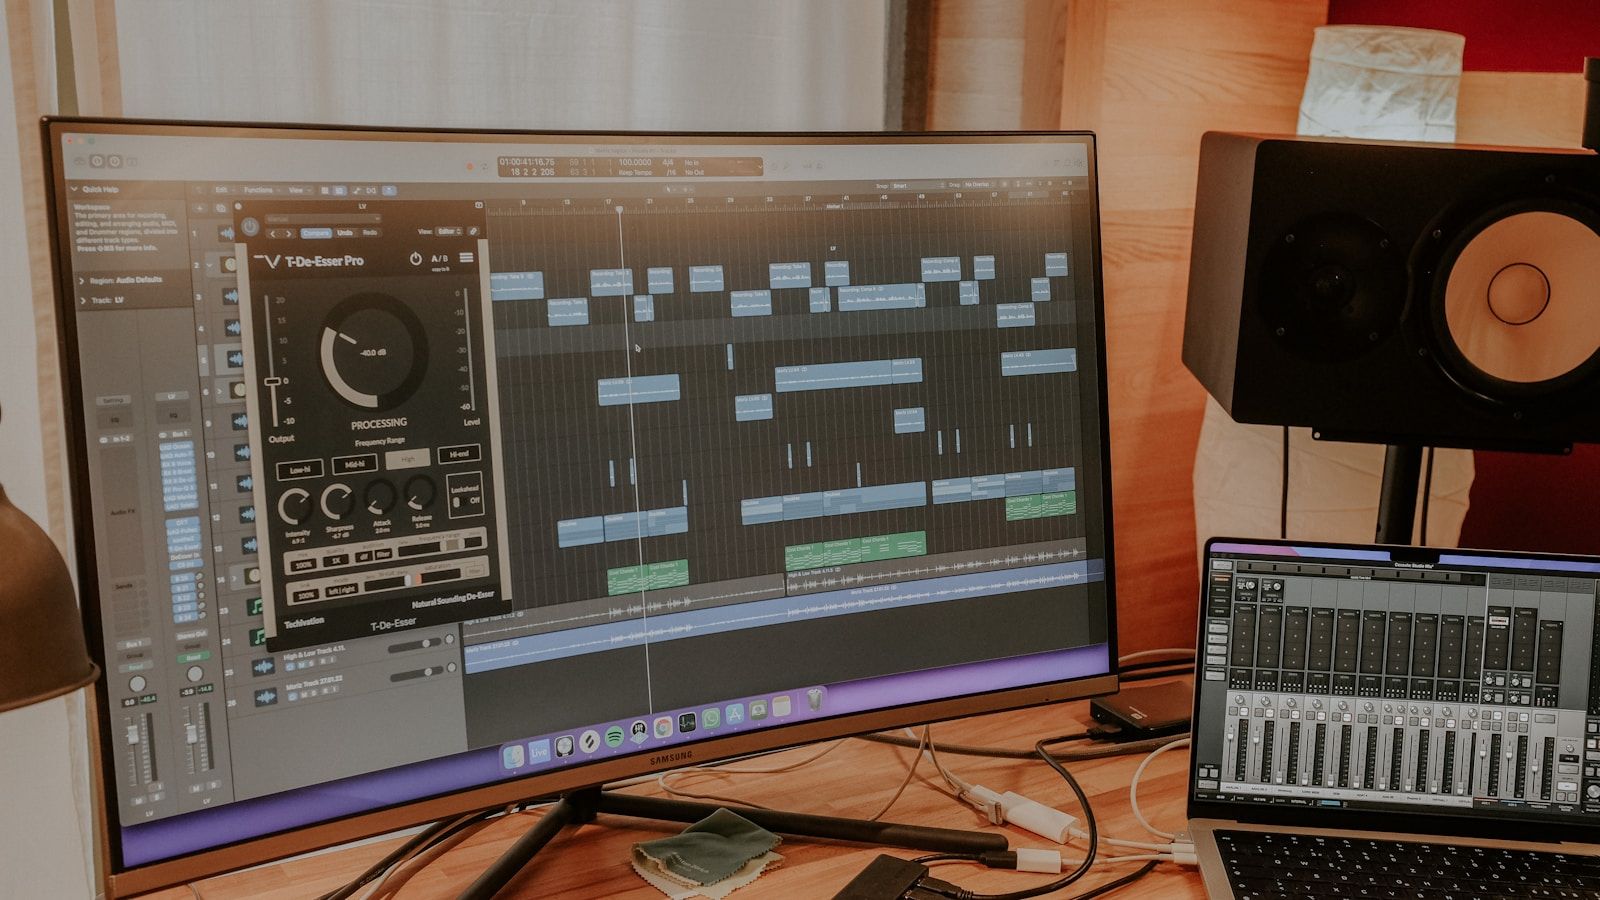
A reliable computer is the heart of your home recording studio. It’s where you’ll run your digital audio workstation (DAW) and store your recordings. Whether you use a Mac or PC, make sure your computer has enough processing power, RAM, and storage to handle audio projects.
2. Digital Audio Workstation (DAW)
Your DAW is the software you’ll use to record, edit, and produce your audio. Popular options include:
- GarageBand (great for beginners, Mac only)
- Ableton Live (excellent for music production)
- Pro Tools (industry standard for professionals)
- Audacity (free and beginner-friendly)
Take some time to explore different options and choose one that fits your needs and budget.
3. Audio Interface
An audio interface is what connects your microphones and instruments to your computer. It’s essential for capturing high-quality sound. Look for one with multiple inputs and outputs if you plan to record multiple sources at once.
4. Microphones
The type of microphone you need depends on what you’re recording:
- Condenser microphones: Ideal for vocals and acoustic instruments.
- Dynamic microphones: Great for louder sources like drums or guitar amps.
If you’re on a budget, start with one versatile microphone like the Audio-Technica AT2020 or Shure SM58.
5. Headphones
Invest in a good pair of studio headphones for monitoring your recordings. Look for closed-back headphones like the Audio-Technica ATH-M50x to avoid sound leakage.
6. Studio Monitors
Studio monitors are speakers designed for accurate sound reproduction. They’re essential for mixing and mastering your recordings. Brands like KRK, Yamaha, and JBL offer great options for home studios.
7. Cables and Stands
Don’t forget the small stuff! You’ll need XLR cables for your microphones, instrument cables, and sturdy stands for your mics and monitors.
8. Pop Filter
A pop filter reduces plosive sounds (like “p” and “b”) in vocal recordings. It’s an inexpensive but essential accessory for clear vocals.
Enhancing Your Studio with Acoustic Treatment
Even with great equipment, poor acoustics can ruin your recordings. Here’s how to improve your room:
- Bass traps: Absorb low-frequency sounds.
- Acoustic panels: Reduce mid- and high-frequency reflections.
- Diffusers: Scatter sound waves for a more natural sound.
You can buy these treatments or DIY them with materials like foam and wood. Just remember, good acoustics make a huge difference in the quality of your recordings.
Setting Up Your Studio
Now that you have your gear, it’s time to set it all up. Follow these tips:
- Position your desk: Place your desk and monitors along the shortest wall of the room.
- Monitor placement: Position your monitors at ear level and in an equilateral triangle with your head.
- Cable management: Keep cables organized to avoid a cluttered workspace.
Upgrading Your Studio Over Time
You don’t need to buy everything at once. Start with the essentials and upgrade as you grow. For example, you can add:
- MIDI controllers for creating digital music.
- External preamps for richer sound.
- Soundproofing materials if noise becomes an issue.
Tips for Getting the Most Out of Your Studio
Finally, here are some tips to help you make the most of your home recording studio:
- Learn your DAW: Spend time learning your software to unlock its full potential.
- Experiment: Try different mic placements, recording techniques, and effects.
- Take breaks: Give your ears a rest to avoid fatigue.
Conclusion
Creating a home recording studio is an exciting journey. With the right space, equipment, and a little know-how, you can start producing high-quality recordings in no time. Remember, it’s okay to start small and build up as you go. The most important thing is to get started and let your creativity flow.
For further reading, explore these related articles:
- How AP Dhillon Made History on the Billboard Charts
- Discovering the Beauty and Power of Christian Songs
For additional resources on music marketing and distribution, visit DMT Records Pvt. Ltd..


