Are you a musician or songwriter dreaming of sharing your creations with the world? With streaming platforms like Spotify, your dream is closer than ever. Uploading your song to Spotify and other platforms ensures it reaches millions of listeners globally. But how do you do it? Don’t worry—we’ve got you covered. This guide will walk you through every step to Upload your song on Spotify on multiple platforms, ensuring your masterpiece is heard far and wide.
The Power of Spotify and Streaming Platforms
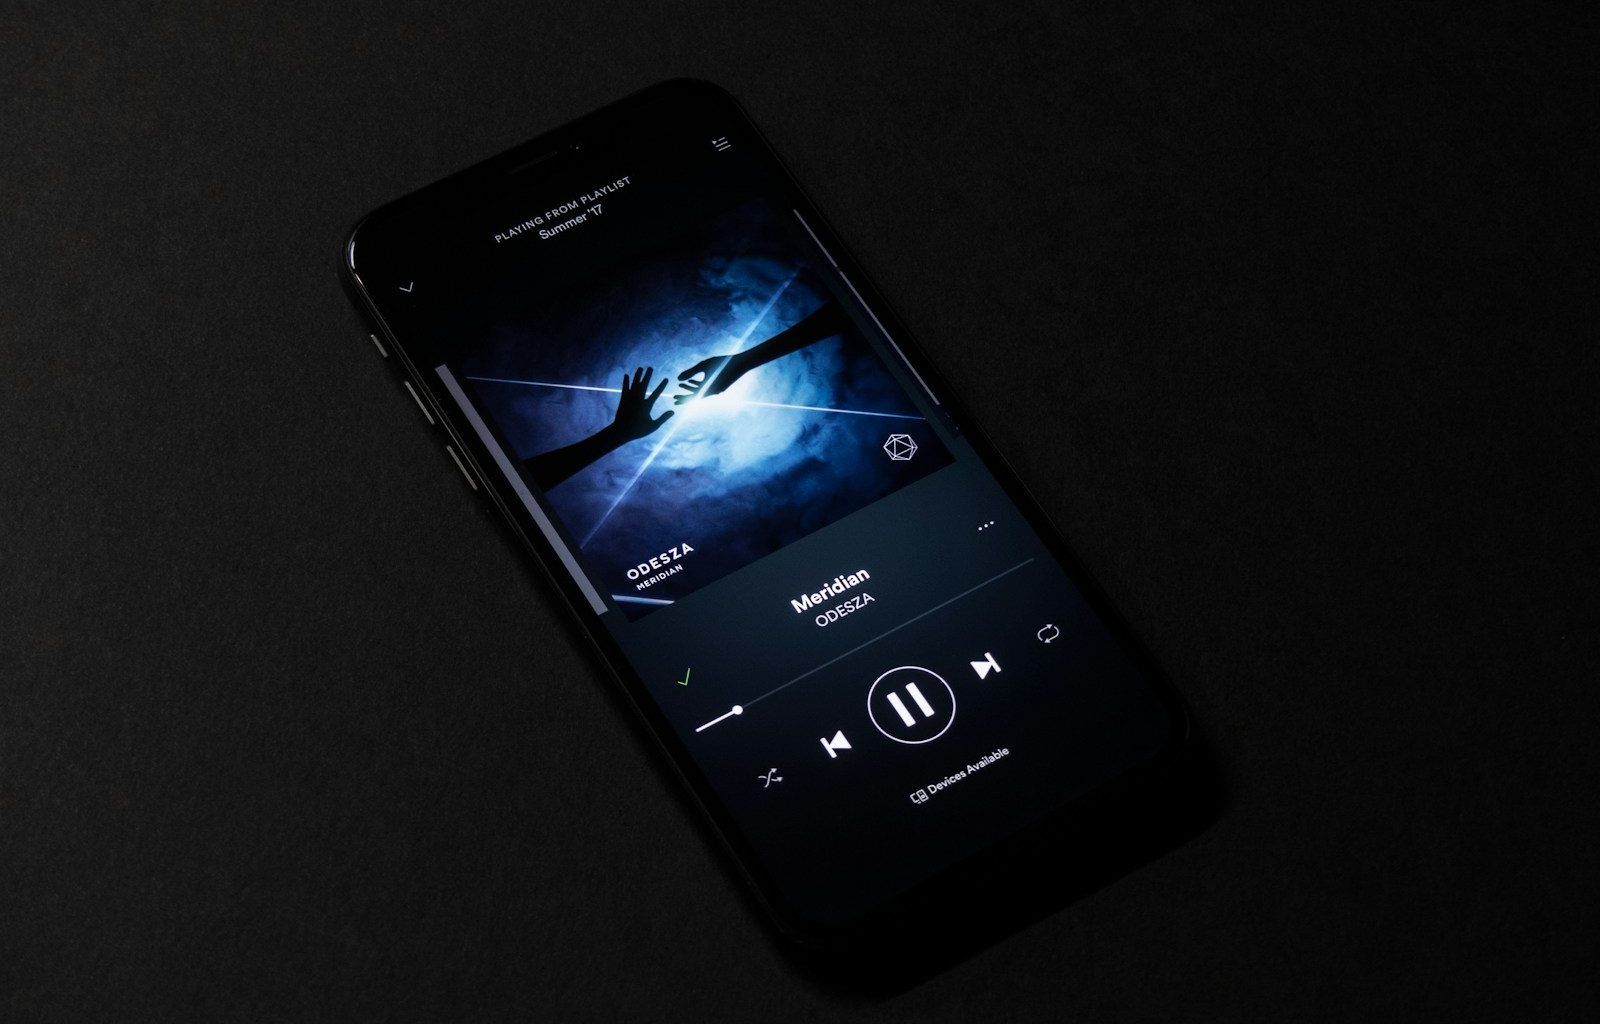
Spotify, along with platforms like Apple Music, Amazon Music, and YouTube Music, has revolutionized how we consume music. Instead of relying on CDs or local radio, listeners now have millions of songs at their fingertips. For artists, this is a game-changer. Uploading your song on Spotify can significantly boost your visibility, connect you with fans worldwide, and even generate income through royalties. And the best part? You don’t need a record label to make it happen.
Step 1: Prepare Your Song for Upload
Before you upload your song on Spotify or any other platform, you need to ensure it’s ready for the world. Here’s how:
Finalize the Audio Quality
Listeners expect professional sound quality. Make sure your track is mixed and mastered properly. If you’re new to this, consider hiring a sound engineer or using online mastering tools.
Choose the Right Format
Streaming platforms like Spotify require songs in specific formats. Typically, this means a WAV or FLAC file. Ensure your track meets the required specifications.
Add Metadata
Metadata includes the song title, artist name, album name, and other details. Accurate metadata is crucial because it’s what listeners will see on Spotify and other platforms. Double-check everything for errors.
Step 2: Pick a Distribution Service
Spotify doesn’t allow artists to upload songs directly. Instead, you need a distribution service to act as the middleman. Some popular options include:
- Delivermytune: Known for its simplicity and affordability.
- TuneCore: Offers detailed reporting and solid customer support.
- CD Baby: Great for independent artists with one-time fees.
- Amuse: Free distribution with optional premium features.
Compare Features
When choosing a distributor, consider factors like cost, ease of use, and additional services (e.g., playlist pitching or royalties tracking). Each service has its pros and cons, so pick one that aligns with your needs.
Step 3: Create an Account and Upload Your Song
Once you’ve chosen a distribution service, it’s time to create an account. The process is usually straightforward and involves the following steps:
- Sign up with your email.
- Fill in your profile details, including your artist name and genre.
- Upload your song file and enter its metadata.
- Select the platforms where you want your music to appear.
Pro Tip: Don’t Rush
Take your time to double-check all the details before hitting submit. Errors can delay your release or cause confusion among listeners.
Step 4: Set a Release Date
Most distribution services allow you to schedule your song’s release date. Choosing a future date gives you time to promote your music and build anticipation. It’s also a good idea to align your release with industry trends, like New Music Fridays, to increase visibility.
Step 5: Promote Your Music
Uploading your song on Spotify is just the beginning. To make an impact, you need to promote it effectively. Here’s how:
Share your song on platforms like Instagram, Twitter, and Facebook. Use engaging posts, teasers, and behind-the-scenes content to connect with your audience.
Submit to Playlists
Spotify playlists are a powerful way to gain exposure. Research curators in your genre and submit your song for consideration. Many distribution services also offer playlist pitching features.
Collaborate with Influencers
Partnering with influencers or other artists can help you reach new audiences. Look for creators who align with your music style and audience.
Engage with Fans
Respond to comments, host live sessions, and thank your listeners. Building a community around your music is key to long-term success.
Step 6: Monitor Your Performance
After your song is live, use analytics tools to track its performance. Spotify for Artists provides valuable insights into your audience, streams, and playlist features. Use this data to refine your promotional strategies.
Step 7: Expand to Other Platforms
While Spotify is essential, don’t stop there. Upload your song on multiple platforms like Apple Music, Deezer, Tidal, and YouTube Music to maximize your reach. Each platform has a unique audience, and being present on multiple services ensures your music is accessible to everyone.
Tips for Long-Term Success
- Consistency is Key: Keep releasing new music to stay relevant.
- Network with Other Artists: Collaboration can open doors to new opportunities.
- Invest in Your Growth: Use part of your earnings to improve your equipment or marketing efforts.
- Stay Updated: The music industry evolves constantly. Keep learning and adapting.
Uploading your song on Spotify and multiple platforms might seem daunting at first, but it’s a rewarding journey. By following these steps, you can take your music from your bedroom to listeners around the globe. Remember, every great artist started somewhere. Your journey begins today—upload your song and let the world hear your story!
Related Articles:
For further reading, explore these related articles:
For additional resources on music marketing and distribution, visit DMT RECORDS PRIVATE LIMITED.