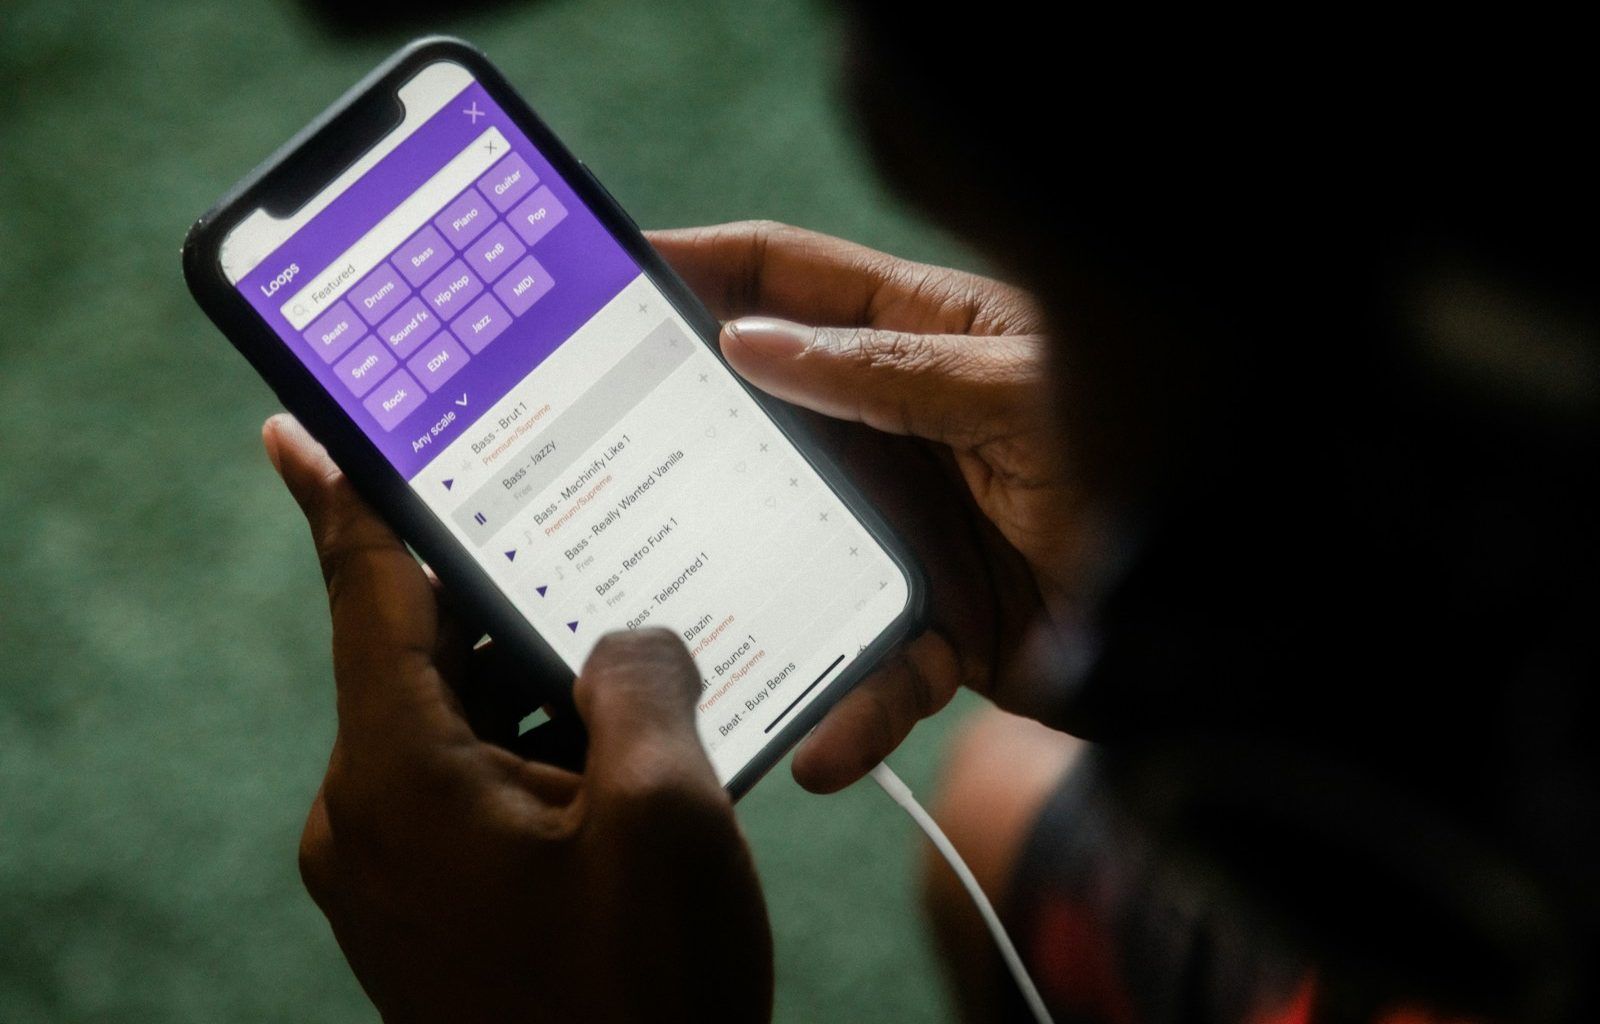
Uploading your single to iTunes can feel like a daunting task, especially if it’s your first time. But don’t worry! With this easy-to-follow guide, you’ll have your music live on iTunes in no time. Let’s break it down step-by-step so you can focus on creating great music while leaving the technicalities to us.
Step 1: Prepare Your Music
Before you dive into uploading, make sure your single is fully prepared. By this, I mean both the technical and creative aspects need to be polished.
Start by ensuring your track is mastered and in a format that’s accepted by iTunes. Apple prefers high-quality files, so an uncompressed WAV file at 16-bit/44.1kHz is ideal. If your music isn’t mastered yet, consider reaching out to a professional. High-quality sound can make a world of difference when listeners hit play.
Don’t forget to add metadata to your file. Metadata includes your song title, artist name, and any other relevant information. This will help iTunes correctly display your song once it’s uploaded.
Step 2: Create an Apple ID
If you don’t already have one, creating an Apple ID is essential. This is your gateway to the iTunes Store and all other Apple services. To create an account:
- Visit the Apple ID website.
- Fill in the required information such as your name, email, and password.
- Verify your email address.
With an Apple ID in hand, you’re ready to move on to the next step.
Step 3: Sign Up for iTunes Connect
iTunes Connect is Apple’s platform for managing content in the iTunes Store. This is where you’ll upload your music and manage your artist profile.
- Go to the iTunes Connect website.
- Log in using your Apple ID.
- Sign up as a music content provider.
You may need to provide additional information such as your tax details and bank account information. This ensures you get paid when people purchase your single.
Step 4: Choose a Distributor (If Needed)
If you’re not eligible to upload directly through iTunes Connect, don’t worry. You can use a distributor to get your single on iTunes. Popular distributors include:
- Delivermytune
- DistroKid
- CD Baby
These platforms make the process seamless and often handle the technicalities, like file formatting and metadata. They also distribute your music to other streaming platforms, expanding your reach.
Step 5: Prepare Your Artwork
Visuals matter. Your single’s artwork is the first thing listeners will see, so make it count! Follow Apple’s guidelines for artwork:
- Minimum size: 3000 x 3000 pixels.
- Format: JPEG or PNG.
- Ensure it’s clean and professional. Avoid adding extra text or logos unless they’re integral to the design.
Hiring a graphic designer can help you create eye-catching artwork that represents your music perfectly.
Step 6: Upload Your Single
Once everything is ready, it’s time to upload your single. Log in to iTunes Connect and follow these steps:
- Click on “My Music” and select “Add New Release.”
- Enter the release details, including the song title, genre, and release date.
- Upload your audio file and artwork.
- Review everything to ensure accuracy before submitting.
Step 7: Wait for Approval
After you’ve submitted your single, Apple will review it to ensure it meets their standards. This process usually takes a few days but can vary depending on demand.
During this time, double-check your submission. Any mistakes could delay your release, so it’s better to catch them early.
Step 8: Promote Your Single
Congratulations! Your single is live on iTunes. Now it’s time to let the world know. Here are some tips for effective promotion:
- Share your iTunes link on social media.
- Create a teaser video or behind-the-scenes content.
- Collaborate with influencers or bloggers to spread the word.
- Use email marketing to connect with your fans.
The more effort you put into promotion, the more listeners you’ll attract.
Step 9: Track Your Sales and Royalties
iTunes Connect provides analytics to help you track how your single is performing. Check your sales, streams, and listener demographics regularly. This data is invaluable for planning future releases and marketing strategies.
Final Thoughts
Upload your single on iTunes step-by-step is a straightforward process when broken down into steps. Whether you’re an independent artist or signed to a label, this guide has everything you need to make your release successful. Follow these steps, and soon your music will be reaching fans across the globe.
So, what are you waiting for? Start the journey to sharing your music with the world today!
Related Articles:
For further reading, explore these related articles:
- How to Release Your Album on YouTube Quickly and Effectively
- How to Release Your Album on YouTube as an Independent Artist
For additional resources on music marketing and distribution, visit DMT RECORDS PRIVATE LIMITED.


