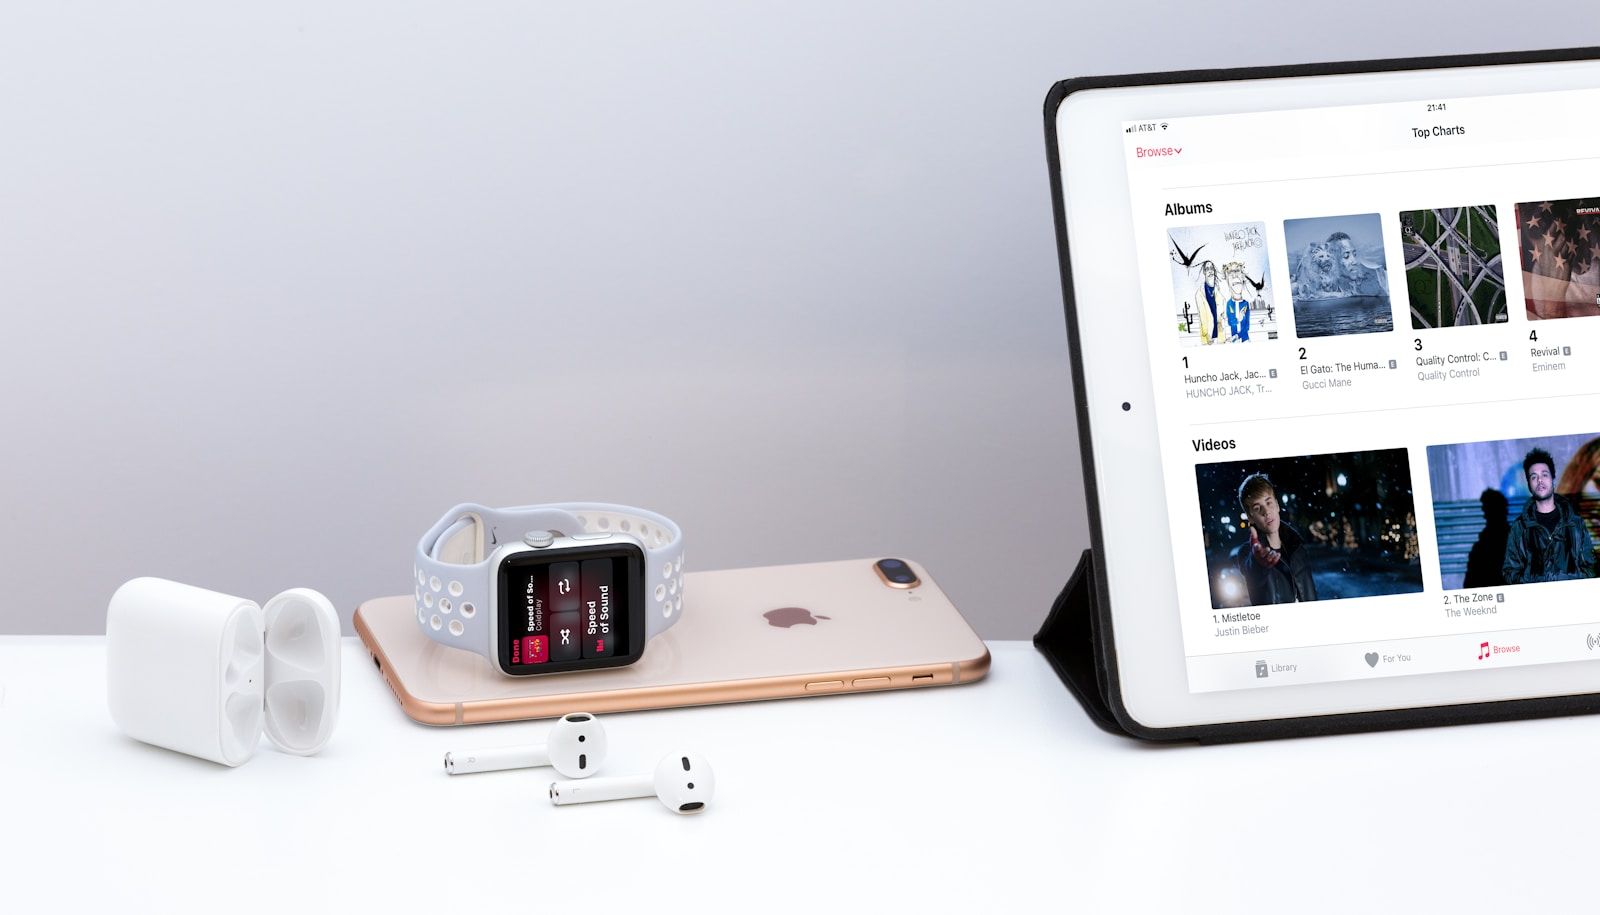
Are you a musician or artist wondering how to Upload your music on iTunes step-by-step? Good news! It’s simpler than you might think, and this guide will take you through the process step-by-step. Whether you’re a solo artist or part of a band, having your music on iTunes can help you reach millions of listeners worldwide. Ready to get started? Let’s dive in!
Why Upload Your Music on iTunes?
Before we get into the how, let’s talk about the why. iTunes, now part of Apple Music, is one of the largest digital music platforms in the world. When you upload your music to iTunes, you make it accessible to millions of listeners. This can help you grow your fanbase, earn revenue, and build your music career. Plus, iTunes supports high-quality audio, so your listeners will enjoy your tracks the way you intended them to sound.
Step 1: Get Your Music Ready
Before uploading your music to iTunes, make sure your tracks are polished and professional. Here’s what you need to do:
- Record and Master Your Tracks: Ensure your songs are recorded and mastered professionally. High-quality audio is crucial.
- Organize Your Metadata: Metadata includes your song titles, album name, artist name, and genre. Double-check this information for accuracy.
- Create Album Artwork: Your album cover should be eye-catching and meet iTunes’ specifications: 3000 x 3000 pixels in JPG or PNG format.
Step 2: Choose a Distribution Service
iTunes doesn’t allow artists to upload music directly. Instead, you’ll need to use a music distribution service. These services act as middlemen, uploading your tracks to iTunes and other platforms like Spotify and Amazon Music. Some popular options include:
- DeliverMyTune
- CD Baby
- DistroKid
- AWAL
Research these services and choose one that fits your needs. Consider factors like pricing, payment structure, and additional features.
Step 3: Create an Account with Your Chosen Distributor
Once you’ve selected a distributor, sign up for an account. This usually involves providing some basic information like your name, email address, and payment details. Be prepared to pay a fee, as most distributors charge either an annual fee or take a percentage of your earnings.
Step 4: Upload Your Music and Metadata
Now it’s time to upload your tracks! Here’s how:
- Log In to Your Distributor Account: Access the dashboard of your chosen distribution service.
- Add Your Tracks: Upload your audio files. Ensure they meet the required file format (usually WAV or FLAC).
- Enter Metadata: Fill in all the necessary details, including track names, album title, genre, and release date.
- Upload Album Artwork: Add your album cover, making sure it meets the specifications.
Step 5: Choose a Release Date
Decide when you want your music to go live on iTunes. Many artists choose a release date a few weeks ahead to allow time for promotion. This also gives the distributor time to review and process your submission.
Step 6: Submit Your Music
Once everything is in place, hit the submit button. Your distributor will review your submission to ensure it meets iTunes’ standards. This process can take a few days to a couple of weeks, depending on the distributor.
Step 7: Promote Your Music
While your music is being processed, start promoting it! Here are some ideas:
- Social Media: Share sneak peeks, behind-the-scenes content, or countdowns to the release date.
- Email List: Notify your fans via email and encourage them to pre-save or purchase your music.
- Collaborate: Partner with influencers or fellow musicians to expand your reach.
Step 8: Monitor Your Release
Once your music is live on iTunes, check its status through your distributor’s dashboard. Most distributors provide analytics, allowing you to see how your music is performing. Use this data to adjust your promotion strategy if needed.
Tips for Success
- Engage with Your Audience: Respond to comments, messages, and reviews from your listeners.
- Keep Creating: Consistently release new music to keep your audience engaged.
- Learn and Adapt: Pay attention to what works and what doesn’t, and adjust your strategies accordingly.
Conclusion
Upload your music on iTunes step-by-step doesn’t have to be overwhelming. By following these steps and using a trusted distribution service, you can share your music with the world and grow your career. So, what are you waiting for? Take the leap and upload your music on iTunes today. The world is ready to hear your sound!
Related Articles:
For further reading, explore these related articles:
- The Most Streamed Artist on Spotify – A Journey to the Top
- How to Cancel Gaana Subscription: A Detailed Guide
For additional resources on music marketing and distribution, visit DMT Records Private Limited.


