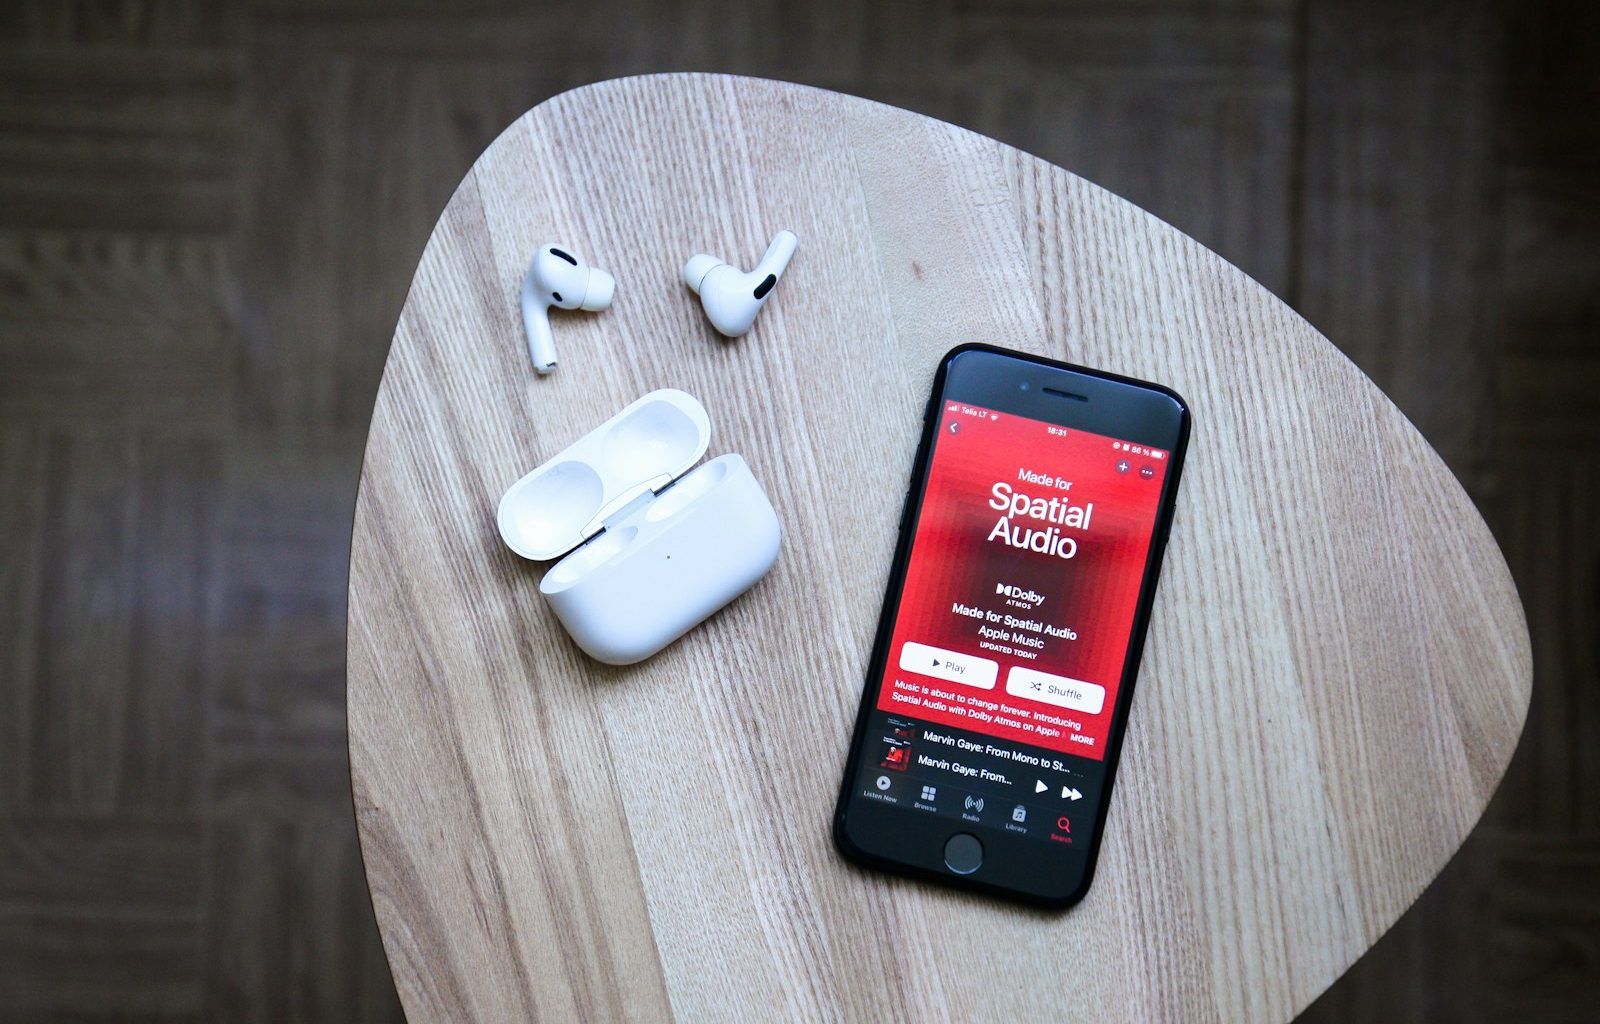
Apple Music is one of the most popular streaming platforms, making it a great place for musicians to share their work. If you’re wondering how to upload your music on Apple Music easily, don’t worry—the process is simpler than you might think. Whether you’re a budding artist or an established musician, this guide will walk you through each step to ensure your music reaches your audience.
Why Should You Upload Your Music on Apple Music?
Apple Music has millions of active listeners from all over the world. By uploading your music to the platform, you’re giving your work the opportunity to reach a global audience. Not only does it help you gain exposure, but it also provides a steady income stream through royalties.
Beyond the potential earnings, Apple Music allows you to build a professional presence. Being on a well-known platform increases your credibility and makes it easier for fans to find and support your music.
Step 1: Prepare Your Music
Before diving into the process, ensure your music is ready. High-quality audio is a must. Listeners expect clean, polished sound, so it’s worth spending time on mixing and mastering your tracks. Once your music is ready, check the file formats Apple Music supports, like WAV and FLAC. These formats ensure your listeners get the best audio experience.
Step 2: Set Up as an Artist
To upload your music on Apple Music, you need to register as an artist. This step involves creating an account with Apple Music for Artists. Here’s how to do it:
- Go to the Apple Music for Artists website.
- Click on “Sign Up.”
- Follow the prompts to provide your artist information.
Apple may ask for verification documents to confirm your identity and rights to the music you’re uploading. This ensures the integrity of the platform and protects artists from fraud.
Step 3: Choose a Music Distributor
Apple Music doesn’t allow direct uploads from artists, so you’ll need a music distributor. A distributor acts as the middleman, ensuring your music gets to Apple Music and other streaming platforms. Some popular distributors include:
- TuneCore
- DistroKid
- CD Baby
- AWAL
When selecting a distributor, compare their fees, services, and additional features. For instance, some distributors charge per release, while others offer subscription-based pricing. Choose the one that aligns best with your needs.
Step 4: Prepare Metadata for Your Music
Metadata is like the digital fingerprint of your music. It includes details like:
- Track title
- Album name
- Artist name
- Genre
- Release date
Make sure all the metadata is accurate, as it’s what helps listeners find your music. Double-check for spelling errors and ensure consistency across platforms.
Step 5: Upload Your Music
Once you’ve chosen a distributor and prepared your metadata, it’s time to upload. Each distributor has its own process, but it generally involves these steps:
- Log in to your distributor account.
- Upload your music files.
- Enter metadata information.
- Set the release date.
- Submit your tracks for review.
Distributors often review submissions to ensure everything meets platform standards. This step is crucial for avoiding delays.
Step 6: Promote Your Music on Apple Music
Congratulations! Your music is live on Apple Music. But your job isn’t done yet. Promotion is key to getting your music heard. Here are some tips:
- Share your Apple Music link on social media.
- Collaborate with other artists to reach new audiences.
- Use paid ads if you have the budget.
- Engage with your fans by responding to comments and messages.
Additionally, Apple Music for Artists provides insights and analytics to help you track your performance. Use these tools to understand your audience better and refine your promotional strategies.
Common Questions About Uploading Music on Apple Music
Do I Need to Own My Music Rights?
Yes, you must own the rights to your music to upload it. This includes both the master recording and any compositions involved.
How Long Does the Process Take?
The time it takes to upload music varies by distributor. While some can get your tracks live in 1-2 days, others might take a week or more. Planning your release date in advance helps avoid last-minute stress.
Can I Upload Cover Songs?
Yes, but you’ll need the proper licensing. Check with your distributor for details on securing a mechanical license.
Tips for Success on Apple Music
To make the most of your Apple Music presence:
- Consistently release new music.
- Interact with your fans regularly.
- Optimize your artist profile with professional photos and a compelling bio.
Conclusion
Uploading your music on Apple Music doesn’t have to be daunting. With the right preparation and tools, you can share your work with millions of listeners worldwide. Take it step by step, and don’t forget to promote your music once it’s live. Your journey to connecting with fans and growing your career starts here. Start today and watch your music thrive!
Related Articles:
For further reading, explore these related articles:
For additional resources on music marketing and distribution, visit DMT Records Private Limited.


