sound recording studio setup can feel overwhelming at first, but with the right guidance, it becomes a rewarding and exciting journey. Whether you dream of creating music, podcasts, voiceovers, or any other audio content, having your own studio allows you to unleash your creativity without limitations. Let’s walk through the process of building a sound recording studio setup step by step.
Why You Need a Sound Recording Studio
A sound recording studio isn’t just for professionals. Even beginners benefit from having a dedicated space for recording high-quality audio. A home studio saves time and money by allowing you to produce content at your own pace. Plus, with the rise of remote work and digital media, more people than ever are exploring audio production.
Choosing the Right Space
The first step in setting up a sound recording studio is choosing the right location. A quiet room with minimal outside noise is ideal. Pay attention to factors like:
- Room Size: A medium-sized room works best. Too small, and sound waves can bounce awkwardly. Too large, and you might struggle to control the acoustics.
- Noise Levels: Avoid rooms near busy streets or appliances like air conditioners and refrigerators.
- Accessibility: Make sure it’s a space you can comfortably access and use whenever inspiration strikes.
If possible, choose a room with thick walls and fewer windows. This helps minimize sound leakage and outside disturbances.
Acoustic Treatment: Controlling Sound
Acoustic treatment is essential for any sound recording studio. Without it, even the best equipment won’t deliver professional results. To improve the acoustics of your studio, focus on three main areas:
- Absorption: Use foam panels, bass traps, and rugs to absorb sound reflections. These materials prevent echoes and unwanted reverberation.
- Diffusion: Install diffusers to scatter sound waves evenly. This creates a more balanced recording environment.
- Isolation: Seal gaps in windows and doors to keep external noise out. Heavy curtains or soundproof blankets can also help.
Don’t worry about making it perfect right away. Even small improvements in acoustics can make a big difference.
Essential Equipment for Your Sound Recording Studio
Building a sound recording studio requires some essential gear. Let’s break it down into manageable categories:
1. Microphones
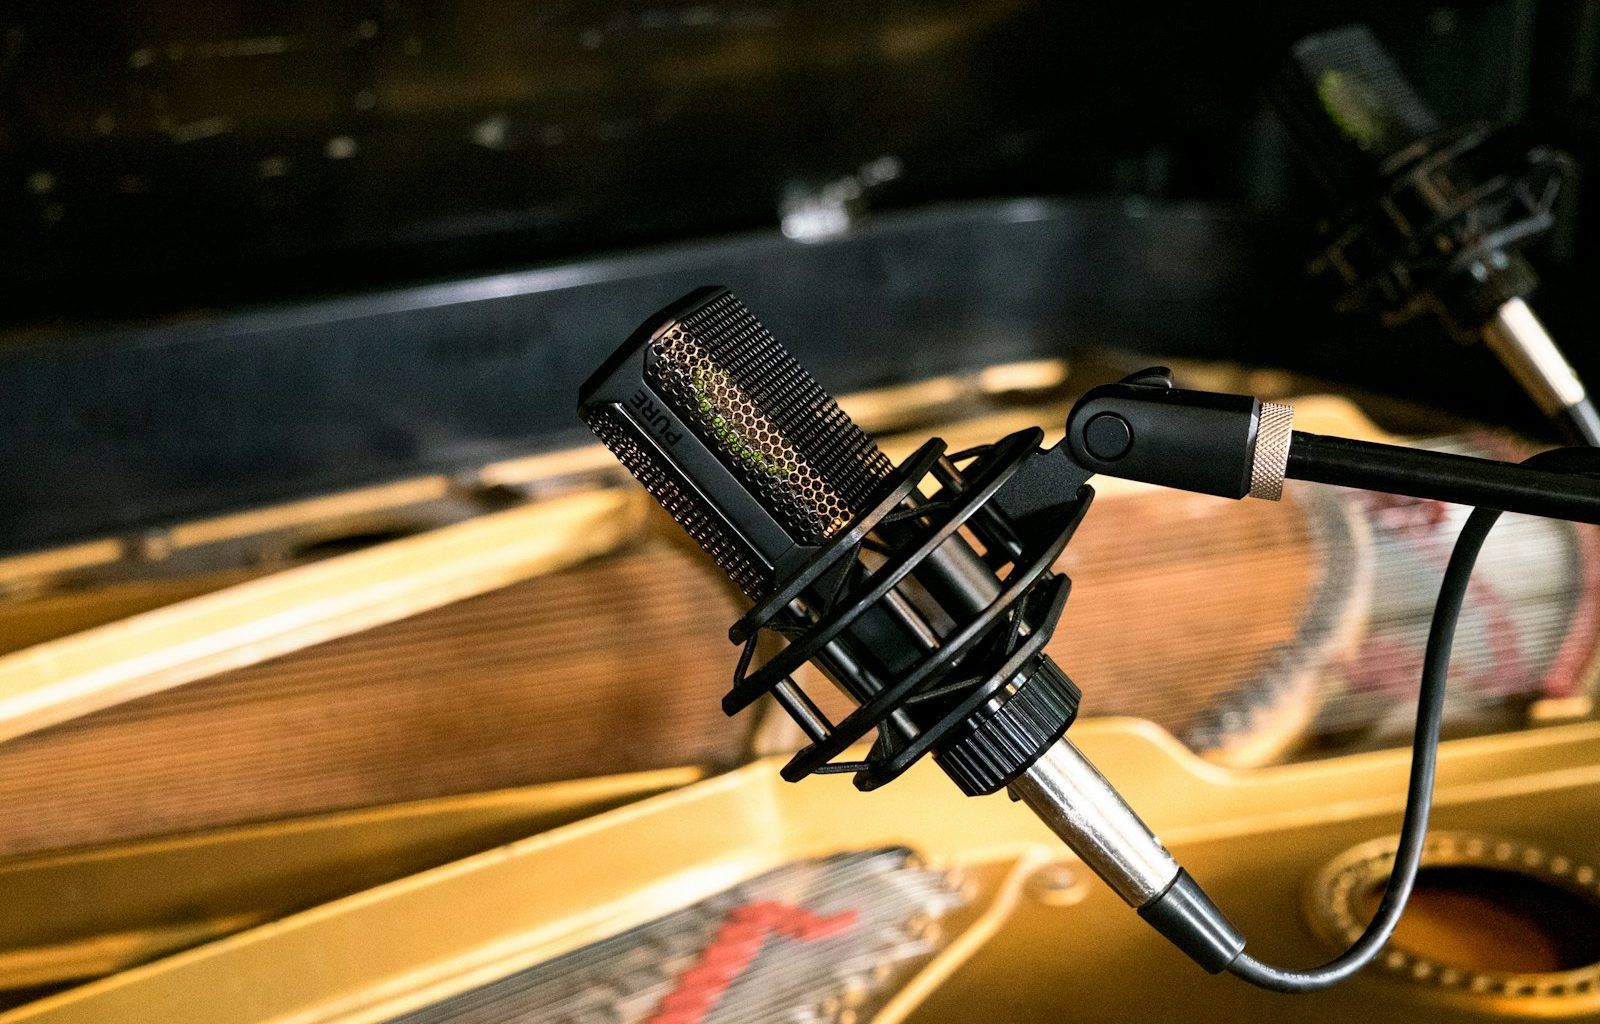
Microphones are the heart of your studio. Different types of microphones suit different purposes:
- Condenser Microphones: Ideal for vocals and acoustic instruments. They’re sensitive and capture detailed audio.
- Dynamic Microphones: Great for recording louder sounds like drums or guitar amps. They’re durable and less sensitive to background noise.
Start with one or two versatile microphones that match your recording needs. As your skills grow, you can expand your collection.
2. Audio Interface
An audio interface connects your microphone to your computer. It converts analog sound signals into digital data. Look for an interface with:
- Multiple input/output options
- High-quality preamps
- Compatibility with your computer and recording software
3. Headphones
Invest in a pair of closed-back headphones. These are perfect for monitoring recordings without any sound leakage. Some popular choices include brands like Audio-Technica, Beyerdynamic, and Sennheiser.
4. Studio Monitors
Studio monitors are specially designed speakers that provide accurate sound reproduction. Unlike regular speakers, they don’t enhance bass or treble, ensuring you hear the true sound of your recordings.
5. Cables and Stands
Don’t overlook accessories like microphone stands and XLR cables. These small items ensure a smooth recording process. Choose sturdy, high-quality options that last.
Choosing Recording Software
The right software, also called a Digital Audio Workstation (DAW), is crucial for your sound recording studio. Some popular DAWs include:
- Pro Tools: A professional-grade option used in many studios.
- Ableton Live: Great for music producers.
- Audacity: A free and beginner-friendly choice.
Experiment with a few options to see which interface feels intuitive to you. Most DAWs offer trial versions, so you can test them out before committing.
Setting Up Your Studio
Once you have the gear and software, it’s time to set up your sound recording studio. Follow these steps:
- Position Your Desk and Equipment: Place your desk in the center of the room, away from walls. This minimizes reflections and ensures balanced sound.
- Set Up Acoustic Panels: Mount foam panels at ear level. Place bass traps in the corners to control low-frequency sounds.
- Arrange Cables Neatly: Use cable organizers or Velcro ties to keep wires tidy. This reduces clutter and prevents accidents.
- Connect Your Gear: Hook up your microphone, audio interface, and monitors to your computer. Test each connection to ensure everything works smoothly.
Testing and Fine-Tuning
Before diving into recording, spend time testing your setup. Record a few test tracks and listen carefully. Pay attention to:
- Background noise
- Clarity of vocals or instruments
- Balance between high and low frequencies
Make adjustments as needed. Don’t hesitate to reposition equipment or tweak settings until you’re satisfied.
Staying Organized
A well-organized studio makes recording sessions more enjoyable. Use shelves, drawers, or wall-mounted hooks to store gear and accessories. Label your cables and keep your workspace clean. This not only saves time but also helps maintain a professional vibe.
Upgrading Over Time
Your sound recording studio doesn’t have to be perfect from the start. Begin with the basics and upgrade as your skills and budget grow. Some potential upgrades include:
- Additional microphones for specific recording needs
- Advanced acoustic treatment for better sound quality
- External hard drives for storing large audio files
Tips for a Productive Studio
Here are a few tips to make the most of your sound recording studio:
- Plan Your Sessions: Set clear goals before you start recording.
- Take Breaks: Long recording sessions can be tiring. Regular breaks keep your ears fresh.
- Experiment: Try different microphone placements or settings to find your unique sound.
- Learn Continuously: Watch tutorials, join forums, and seek feedback from fellow audio enthusiasts.
Final Thoughts
sound recording studio setup is a rewarding project that unleashes your creative potential. By choosing the right space, investing in essential equipment, and focusing on acoustics, you’ll create an environment where your audio projects can thrive. Remember, perfection takes time, so enjoy the process and keep experimenting. Your dream studio is closer than you think!
For further reading, explore these related articles:
- Exploring the Best Free Music Distribution App for Independent Artists
- Comprehensive Breakdown of Music Distribution Costs for Artists
For additional resources on music marketing and distribution, visit Deliver My Tune.


