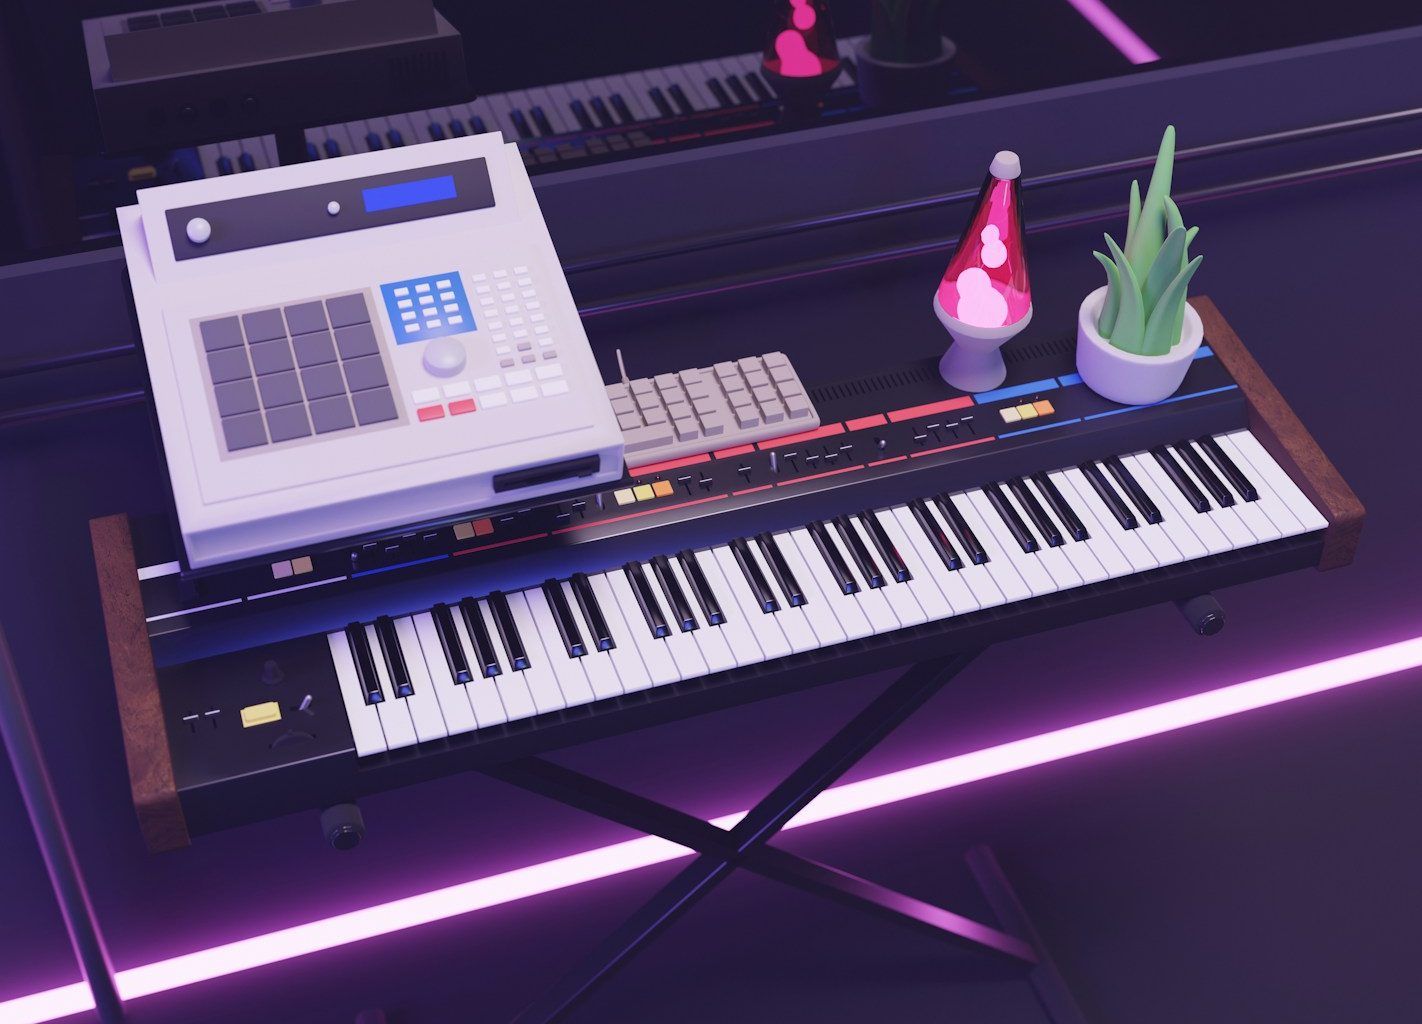
Creating a small music studio is a dream for many music enthusiasts, whether you’re a budding musician, a producer, or someone who simply loves the idea of having a personal creative haven. Designing a studio that maximizes your space and fosters inspiration doesn’t have to be overwhelming. In this blog, we’ll walk you through practical, easy-to-follow steps to help you design a functional, stylish, and budget-friendly small music studio.
Why Design Matters in a Small Music Studio
When space is limited, every inch counts. A well-thought-out design can make your small music studio not only look great but also work efficiently. Poor design choices can lead to clutter, bad acoustics, and frustration. On the other hand, a smart setup ensures that you can focus on creating music without unnecessary distractions.
Step 1: Choosing the Right Location
The first step in designing your small music studio is picking the best location. Do you have an unused corner in your living room? A spare bedroom? Maybe a basement? Here are some tips for selecting the perfect spot:
- Look for Quiet Spaces: Choose a location with minimal outside noise. You don’t want traffic sounds or neighbors disrupting your creative flow.
- Consider Accessibility: Make sure it’s easy to reach. If you have heavy equipment, you’ll want a spot that’s not a hassle to set up.
- Think About Natural Light: While natural light isn’t a must, it can make your studio feel more welcoming.
Step 2: Planning Your Layout
A well-planned layout is essential for a small music studio design. Start by identifying your key needs:
- Workstation: Where will you set up your computer, MIDI keyboard, and audio interface?
- Recording Space: If you plan to record vocals or instruments, allocate a corner for this purpose.
- Storage: Organize cables, microphones, and other accessories neatly.
Sketch out your layout on paper or use an online tool to visualize your studio. Keep the focus keyword “small music studio design” in mind as you optimize your setup.
Step 3: Acoustic Treatment on a Budget
Acoustic treatment is vital for any studio, especially small ones. Without it, your recordings might sound hollow or distorted. Here’s how to do it affordably:
- Foam Panels: Install acoustic foam on walls to absorb sound reflections.
- DIY Solutions: Use thick curtains, rugs, or even bookshelves to help with soundproofing.
- Bass Traps: Place bass traps in corners to control low-frequency sounds.
Step 4: Picking the Right Gear
When designing a small music studio, choosing compact yet powerful gear is crucial. Avoid overcrowding the space with bulky equipment. Here’s what you’ll need:
- A Compact Desk: Choose a desk that fits your equipment without taking up too much room.
- Monitors and Headphones: Invest in quality studio monitors and headphones for accurate sound.
- Microphones: A versatile condenser mic is a great starting point.
Step 5: Adding Personal Touches
Your studio should reflect your personality and creativity. Add personal touches like:
- Decor: Hang posters or art that inspires you.
- Lighting: Use LED strips or warm lights to set the mood.
- Plants: Small indoor plants can add life to your space.
Overcoming Common Challenges
Designing a small music studio comes with its own set of challenges. Here’s how to tackle them:
- Limited Space: Use vertical storage options like wall-mounted shelves.
- Budget Constraints: DIY furniture and acoustic treatments can save money.
- Noise Issues: Consider investing in soundproofing materials if noise becomes a problem.
Conclusion: Your Small Music Studio Awaits
With careful planning and a little creativity, you can design a small music studio that’s both functional and inspiring. Remember, the key is to make the most of your space while keeping your workflow smooth. Start small, and as your needs grow, you can always expand or upgrade.
Related Articles:
For further reading, explore these related articles:
For additional resources on music marketing and distribution, visit DMT Records Private Limited.


