Have you ever dreamed of having your very own recording studio at home? Whether you’re a budding musician, podcaster, or voice-over artist, creating a space for professional-quality audio production is more achievable than ever. With the right approach, you can turn even a small corner of your house into a soundproofed haven for creativity. In this guide, we’ll walk you through everything you need to know about setting up a recording studio at home.
Let’s dive in!
Why Set Up a Recording Studio at Home?
First, why even consider setting up a recording studio at home? The answer is simple: convenience and control. Having your own space saves you time, reduces costs, and provides the freedom to create whenever inspiration strikes. Plus, it’s a fantastic investment in your craft, whether you’re an amateur or a pro.
Step 1: Choosing the Right Space
The first step in setting up a recording studio at home is choosing the perfect spot. This decision is crucial because the room you select can impact sound quality.
Key considerations:
- Size: A larger room offers more flexibility, but even a small space can work if treated correctly.
- Noise levels: Pick a spot far from noisy areas like the kitchen or street-facing windows.
- Shape: Rectangular rooms are generally better than square ones due to better sound distribution.
Step 2: Acoustic Treatment
Now that you have your space, the next step is to optimize its acoustics. Even the best recording equipment can’t compensate for poor room acoustics.
What to do:
- Absorption panels: These help to reduce echoes by absorbing sound waves. You can buy them online or make DIY panels using acoustic foam.
- Bass traps: These are crucial for managing low-frequency sounds.
- Diffusers: These scatter sound waves, improving the overall balance.
Pro Tip: Avoid using regular foam or blankets as substitutes for acoustic panels. While they might help slightly, they’re not as effective as purpose-built materials.
Step 3: Essential Equipment
No recording studio is complete without the right gear. Here’s a list of essentials to get you started:
- Microphones: Invest in a good condenser microphone for vocals and a dynamic microphone for instruments.
- Audio Interface: This device connects your microphone and instruments to your computer.
- Headphones: Closed-back headphones are ideal for recording as they minimize sound leakage.
- Studio Monitors: Unlike regular speakers, these provide accurate sound without boosting bass or treble.
- Pop Filter: This helps reduce harsh plosive sounds when recording vocals.
- Cables and Stands: Don’t overlook these basics—quality matters here too!
Step 4: Setting Up Your Computer and Software
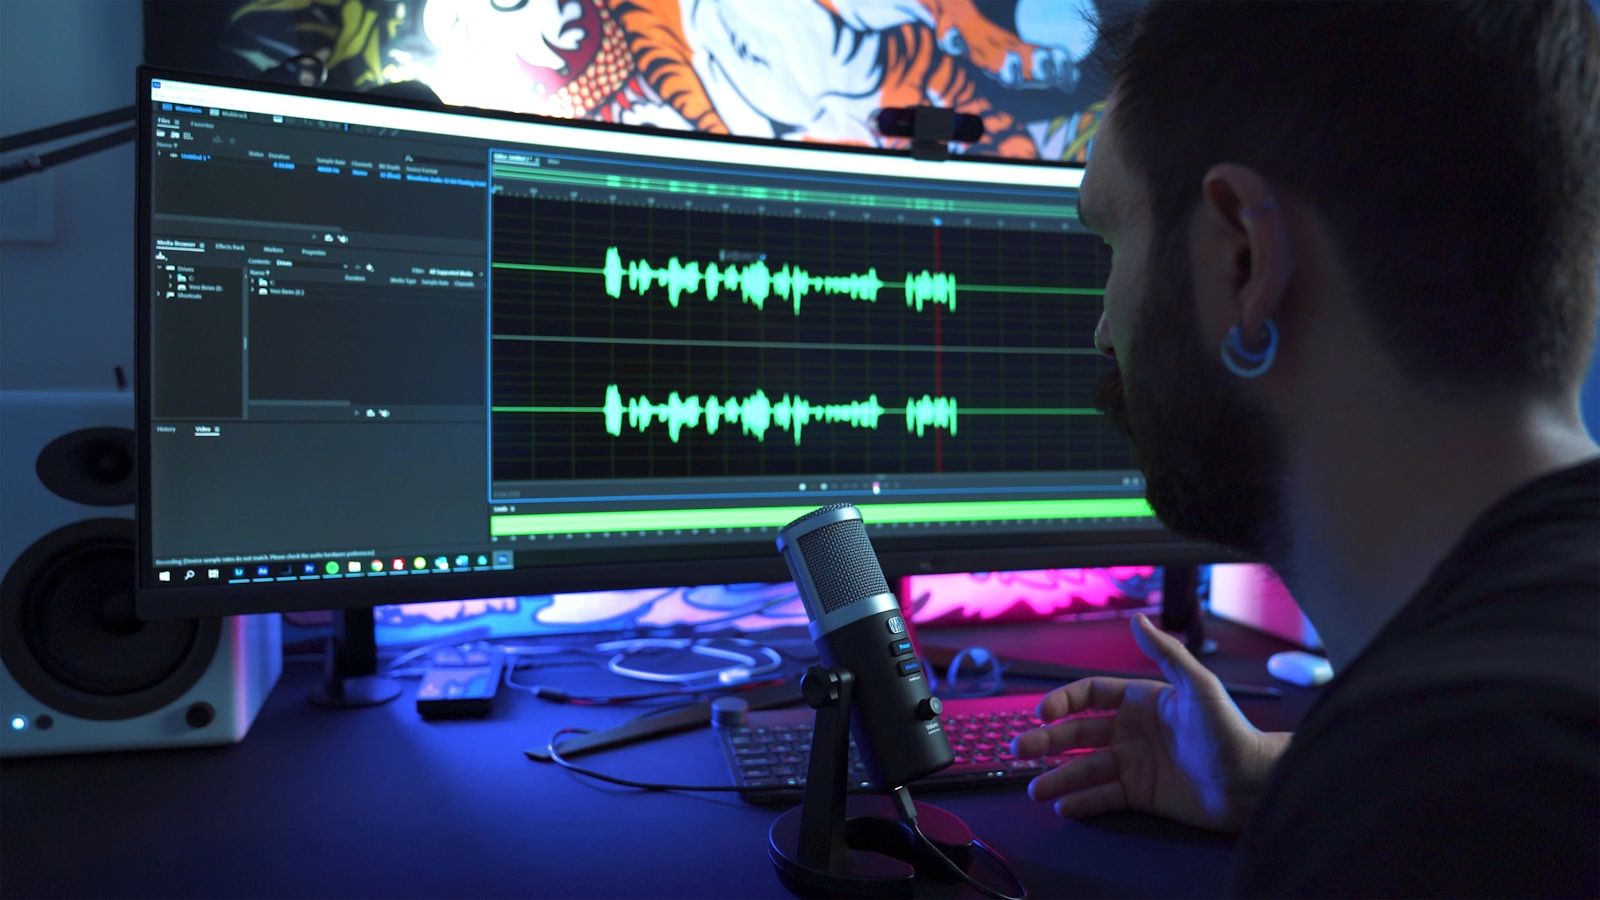
Your computer is the brain of your recording studio. Pair it with good Digital Audio Workstation (DAW) software to unlock your creative potential.
Things to keep in mind:
- Specs: A computer with at least 8GB RAM and a solid-state drive (SSD) is recommended.
- DAWs to consider: Popular options include Ableton Live, Logic Pro, and GarageBand.
Pro Tip: Many DAWs offer free trials, so test a few before committing to one.
Step 5: Creating a Comfortable Workspace
A clutter-free and ergonomic workspace can do wonders for your productivity. Arrange your gear in a way that’s easy to access and comfortable to use.
Ideas for improvement:
- Use a dedicated desk for your equipment.
- Consider adding some mood lighting to inspire creativity.
- Keep your cables organized with cable ties or a cable management box.
Step 6: Testing and Tweaking
Once your setup is complete, it’s time to test everything. Play around with microphone placement, adjust your monitor settings, and try a few test recordings to see how things sound.
Pro Tip: Experimentation is key. Small adjustments can make a big difference in sound quality.
Bonus Tips for Success
- Practice Makes Perfect: Familiarize yourself with your equipment and software.
- Learn Basic Mixing and Mastering: Even if you’re not a pro, learning the basics can elevate your recordings.
- Network: Join online forums or local communities to share tips and seek feedback.
Conclusion
Setting up a recording studio at home is a rewarding journey that brings your creative projects to life. By following these steps, you’ll not only save money but also gain the freedom to produce high-quality audio on your terms.
Related Articles:
For further reading, explore these related articles:
For additional resources on music marketing and distribution, visit DMT Records Private Limited.


