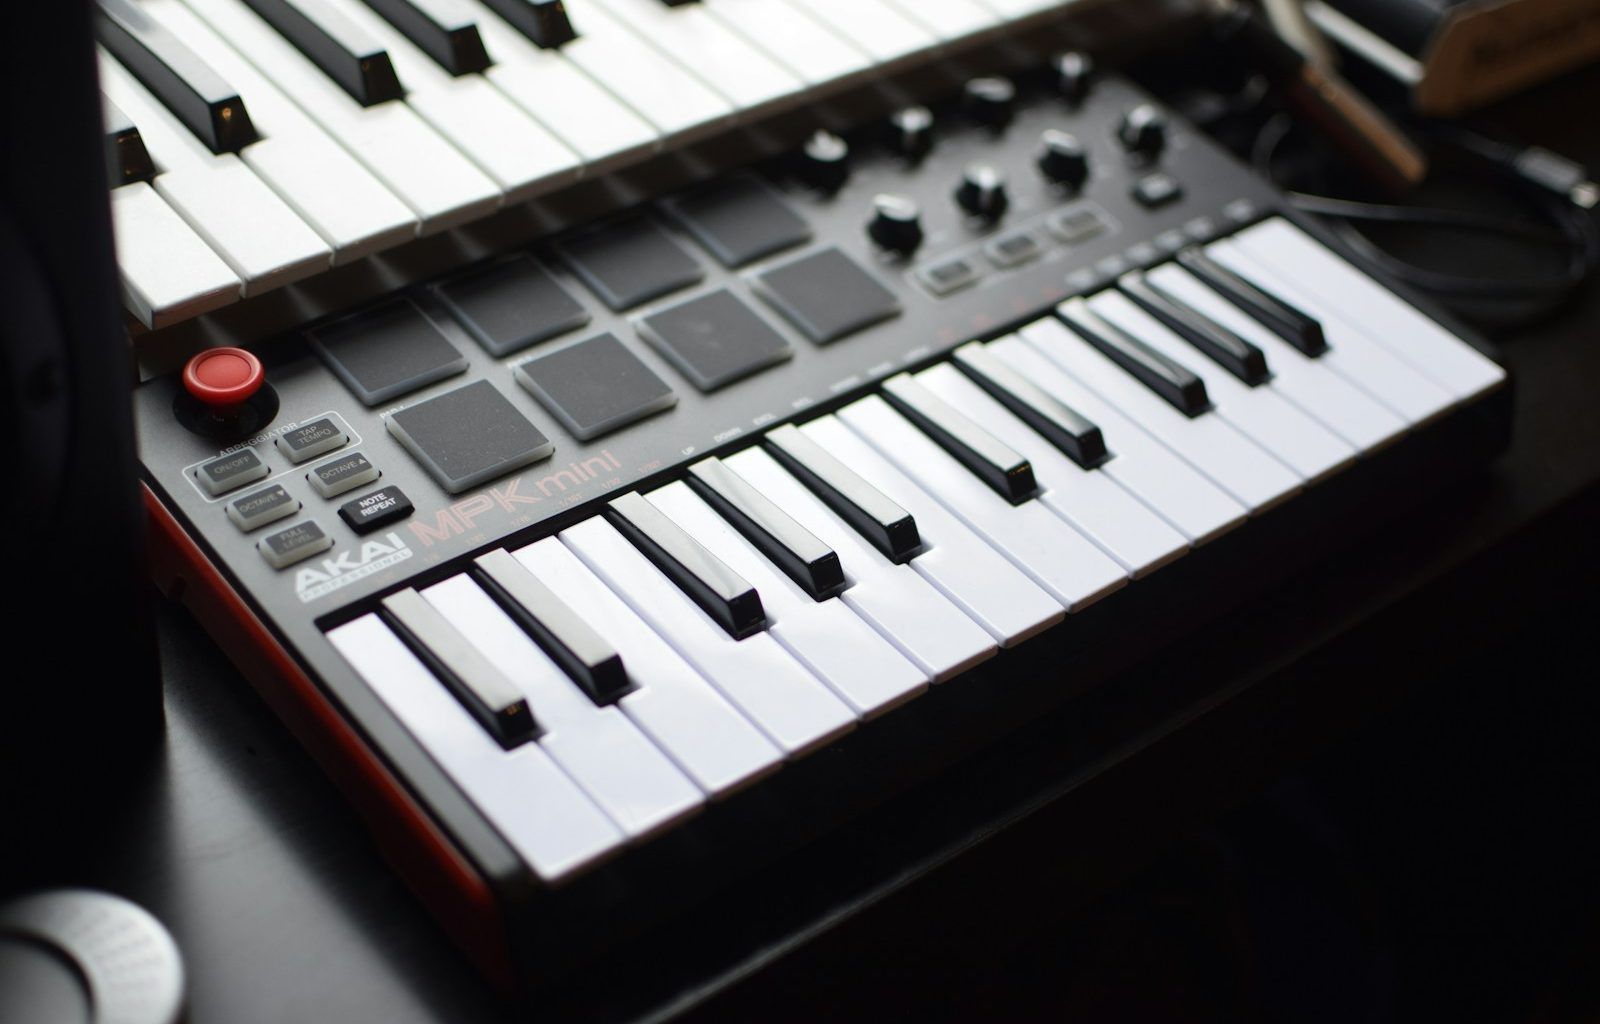
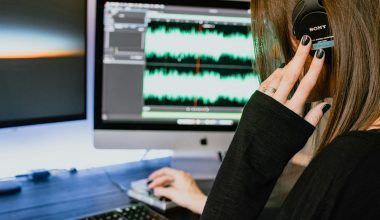
Creating your own recording studio can feel like a dream come true, but it doesn’t have to be overwhelming. Whether you’re a musician, podcaster, or voiceover artist, a dedicated recording space can elevate your work to professional levels. The best part? You don’t need a huge budget or a massive space to get started. In this guide, we’ll walk you through everything you need to know about setting up a recording studio, step by step.
Why Set Up a Recording Studio?
Before diving into the nitty-gritty, let’s talk about why having your own recording studio is worth it. First and foremost, it gives you complete creative control. You can record whenever you want, experiment with different setups, and fine-tune your sound to perfection. Plus, it saves you the cost and hassle of booking studio time elsewhere. Whether you’re an aspiring artist or a seasoned pro, having your own recording space is a game-changer.
Step 1: Define Your Purpose
The first step in setting up a recording studio is understanding what you’ll use it for. Are you planning to record music, podcasts, or voiceovers? Your purpose will influence your equipment choices and the layout of your space. For example, a music studio might require multiple microphones and instruments, while a podcast setup can be simpler, focusing on clear voice recording.
Once you’ve identified your goals, make a list of the key features your studio will need. This clarity will help you stay focused as you start shopping and setting up.
Step 2: Choose the Right Space
The next step is finding the perfect spot for your recording studio. You don’t need a massive room, but you do need a quiet space where you can control the acoustics. Look for a room with minimal external noise, like traffic or neighbors, and avoid spaces with lots of hard surfaces that can create unwanted echoes.
If possible, choose a room with thick walls and carpets, as these help absorb sound. A rectangular room is usually better than a square one because it helps prevent standing waves, which can distort your recordings. Once you’ve chosen your space, take a moment to imagine how you’ll arrange your equipment to make the most of it.
Step 3: Invest in Essential Equipment
Now comes the fun part: picking out your gear. While there are endless options available, you don’t need to break the bank to set up a functional recording studio. Start with the essentials and upgrade as needed.
1. Computer
Your computer will be the brain of your recording studio. It’s where you’ll run your Digital Audio Workstation (DAW) software, store your recordings, and edit your projects. Look for a computer with a fast processor and plenty of RAM to handle recording and editing tasks without lag. Both Windows and Mac systems work great, so choose what you’re comfortable with.
2. Digital Audio Workstation (DAW)
Your DAW is the software you’ll use to record, edit, and mix your audio. Popular options include Pro Tools, Logic Pro, Ableton Live, and Audacity. Choose a DAW that fits your budget and is user-friendly for your skill level.
3. Audio Interface
An audio interface is what connects your microphones and instruments to your computer. It converts analog signals into digital ones so your DAW can process them. Look for an audio interface with enough inputs and outputs to handle your needs. For beginners, a two-channel interface is often sufficient.
4. Microphones
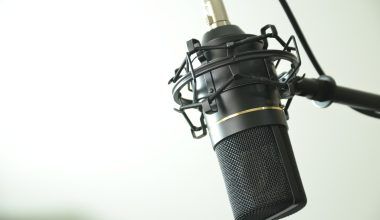
The type of microphone you choose will depend on what you’re recording. A condenser microphone is ideal for vocals and acoustic instruments, while dynamic microphones are great for louder sounds like drums or electric guitars. If you’re podcasting, a USB microphone might be a simple and cost-effective choice.
5. Headphones and Studio Monitors
Good headphones and studio monitors are crucial for accurate audio monitoring. Invest in closed-back headphones for recording to avoid sound leakage and open-back headphones or studio monitors for mixing and editing.
6. Cables and Accessories
Don’t overlook the small stuff! You’ll need high-quality XLR cables, pop filters for your microphones, and sturdy microphone stands. These accessories might seem minor, but they make a big difference in your workflow.
Step 4: Treat Your Room Acoustically
Even the best equipment won’t sound great in a poorly treated room. Acoustic treatment is all about controlling how sound behaves in your space. Start by adding bass traps in the corners to absorb low frequencies. Next, use acoustic panels on the walls to reduce echoes and reflections. Finally, consider adding a rug or some heavy curtains to dampen sound further.
You don’t need to spend a fortune on professional-grade materials. Many DIY options work just as well, like foam panels or even heavy blankets. The key is to experiment and find what works for your space.
Step 5: Set Up Your Equipment
With your space ready and your gear in hand, it’s time to set everything up. Start by positioning your desk and computer in the center of the room. Place your audio interface, studio monitors, and headphones within easy reach.
Position your microphones in areas with minimal background noise and ensure they’re securely mounted on stands. If you’re recording instruments, make sure there’s enough room to move around comfortably. Double-check all your connections to ensure everything is plugged in correctly.
Step 6: Test and Optimize
Before you start recording, take some time to test your setup. Record a few test tracks and listen closely for any issues, like background noise or distortion. If something doesn’t sound right, don’t be afraid to adjust your equipment or acoustic treatment.
Play around with mic placement and gain levels to find the sweet spot for your recordings. Remember, even small adjustments can make a big difference in sound quality.
Step 7: Keep Learning and Experimenting
Setting up a recording studio is just the beginning. The more you use your studio, the more you’ll learn about what works and what doesn’t. Don’t be afraid to try new techniques, experiment with different gear, and continuously improve your setup.
There are countless online tutorials and communities where you can learn from others. Whether you’re fine-tuning your mixing skills or exploring new recording methods, staying curious will help you make the most of your studio.
Final Thoughts
Setting up a recording studio might seem like a big task, but it’s incredibly rewarding. By following these steps, you’ll create a space that inspires creativity and helps you produce high-quality recordings. Remember, it’s okay to start small and upgrade as you go. The most important thing is to get started and enjoy the process. Happy recording!
For further reading, explore these related articles:
- What Makes Record Covers So Special? A Fun Journey Through Music, Art, and History
- The Journey to Glory: BTS First Award
For additional resources on music marketing and distribution, visit DMT Records Pvt. Ltd..
