Whether you’re an aspiring singer, a podcaster, or a voice-over artist, recording vocals is an essential skill to master. It’s not just about singing or speaking into a microphone—it’s about capturing the best possible version of your voice. A great vocal recording can elevate your music, make your podcast sound professional, and leave a lasting impression on your audience.
But let’s be real: recording vocals can feel overwhelming, especially if you’re just starting out. The good news? With the right tools, techniques, and mindset, you can achieve studio-quality sound even from the comfort of your home.
This guide will walk you through everything you need to know about recording vocals. From choosing the right equipment to mastering vocal techniques, we’ve got you covered.
Setting Up Your Space for Vocal Recording
Before you even hit the record button, you need to set up a space that’s optimized for recording vocals. Here’s how:
Find a Quiet Room
The first step in recording great vocals is to eliminate as much background noise as possible. Choose a quiet room where you won’t be interrupted. If you’re at home, turn off fans, air conditioners, and other noisy appliances.
Treat the Room Acoustically
Acoustic treatment doesn’t have to break the bank. Simple fixes like hanging blankets, using foam panels, or even recording in a closet full of clothes can make a big difference. The goal is to minimize echo and reverb, which can muddy your recordings.
Set Up a Pop Filter
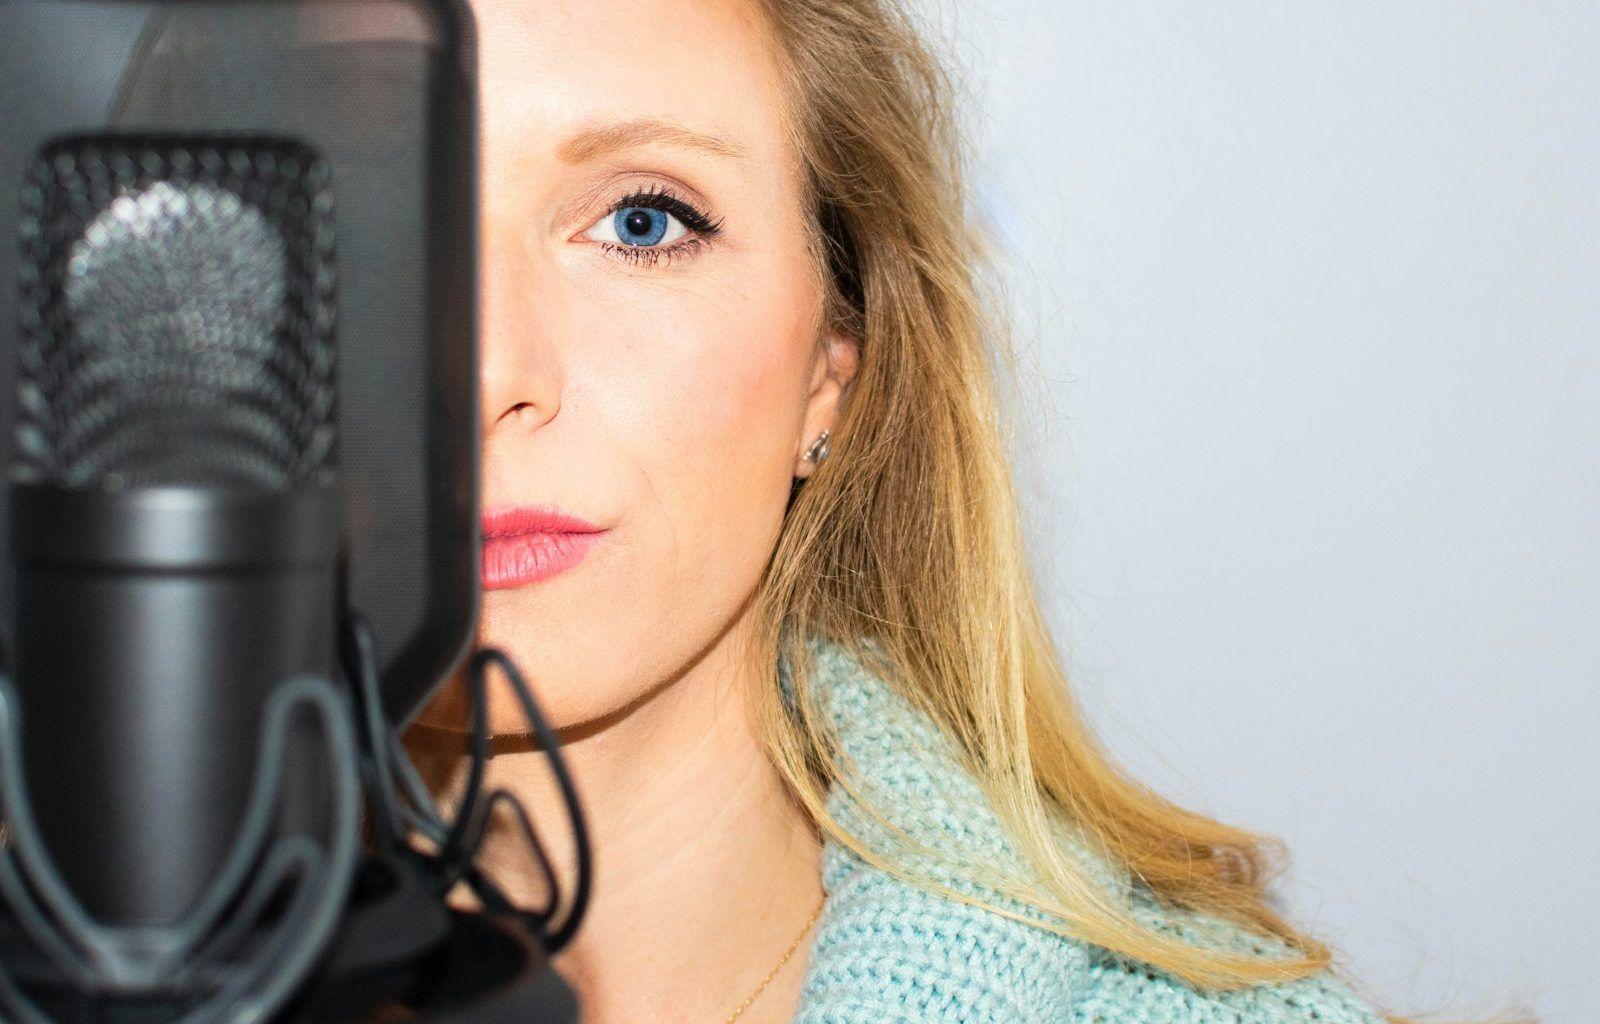
A pop filter is a small yet powerful tool that prevents harsh plosive sounds (like “P” and “B”) from distorting your recording. It’s placed between the microphone and your mouth and helps ensure clean, crisp vocals.
Choosing the Right Equipment
The right gear can make or break your vocal recordings. Here’s a breakdown of what you’ll need:
Microphone
There are two main types of microphones for recording vocals: condenser and dynamic. Condenser microphones are ideal for studio recordings because they capture more detail and sensitivity. Dynamic microphones are better suited for live performances but can still work well in home studios.
Some popular condenser microphones include:
- Audio-Technica AT2020
- Rode NT1-A
- Shure SM7B (a versatile dynamic mic used by many podcasters and vocalists)
Audio Interface
An audio interface connects your microphone to your computer and converts analog signals into digital audio. Look for an interface with high-quality preamps to ensure clear sound. Examples include the Focusrite Scarlett series or the Universal Audio Apollo Twin.
Headphones
Invest in closed-back headphones for monitoring your vocals while recording. They prevent sound from leaking into the microphone and provide an accurate representation of your voice.
DAW (Digital Audio Workstation)
A DAW is software where you record, edit, and mix your vocals. Popular options include:
- Ableton Live
- Logic Pro X
- Pro Tools
- GarageBand (great for beginners)
Preparing for a Recording Session
Warm Up Your Voice
Think of your voice as a muscle. Warming up helps prevent strain and improves vocal performance. Simple exercises like humming, lip trills, and scales can work wonders.
Stay Hydrated
Drink plenty of water before and during your recording session. Avoid caffeine and dairy, as they can dry out your throat or produce excess mucus.
Plan Your Session
Know what you’re going to record before you start. Whether it’s a song or a voice-over script, rehearse until you’re confident. This will save time and ensure smoother takes.
Recording Techniques for Perfect Vocals
Maintain Proper Mic Distance
Stand about 6-12 inches away from the microphone. Too close, and you risk distortion; too far, and your voice may sound thin. Adjust your distance for dynamics—closer for softer parts and further away for louder sections.
Use the Right Mic Angle
Experiment with slight angles to reduce sibilance (hissing sounds on “S” and “Sh”). A common technique is to position the mic slightly above or below your mouth.
Record Multiple Takes
Don’t settle for the first take. Record several takes and experiment with different emotions, dynamics, and phrasing. Later, you can choose the best parts or even combine them.
Monitor Levels
Keep an eye on your input levels. Aim for peaks between -12dB and -6dB to avoid clipping while leaving room for mixing.
Editing and Mixing Your Vocals
Clean Up the Track
Start by removing unwanted noise, breaths, and pops using your DAW’s editing tools. Many DAWs have built-in noise reduction plugins.
Add Compression
Compression evens out the dynamics of your vocal performance, ensuring consistency. Be gentle—over-compression can make your vocals sound lifeless.
Use EQ
Equalization helps you shape the tone of your vocals. Cut low frequencies (below 80Hz) to remove rumble, boost mids for clarity, and add a touch of high-end sparkle.
Add Effects
Reverb and delay can add depth and space to your vocals. Use them sparingly to avoid washing out your sound.
Overcoming Common Challenges
Nervousness
It’s normal to feel nervous when recording. Take deep breaths, and remember—practice makes perfect.
Inconsistent Performances
Keep your energy consistent by standing while recording and using hand gestures to express yourself. It might feel silly, but it works!
Technical Issues
Test your setup before recording. Check connections, levels, and settings to avoid interruptions.
Conclusion
Recording vocals is both an art and a science. It takes practice, patience, and attention to detail. By setting up a proper space, using the right equipment, and mastering essential techniques, you can create vocal recordings that truly shine.
Related Articles:
For further reading, explore these related articles:
For additional resources on music marketing and distribution, visit DMT Records Private Limited.
