Recording music at home might sound like a big task, but it’s easier than you think. Thanks to technology, you don’t need an expensive studio to start your music journey. With some simple tools and the right steps, you can create professional-quality tracks right from your bedroom! Whether you’re a beginner or an experienced artist, this guide will walk you through every step to help you record music from home with ease.
1. Start with a Home Studio Setup
First things first, you need a dedicated space for record music from home. Don’t worry, it doesn’t have to be fancy or costly. You just need a quiet spot with minimal distractions.
Find the Right Space
- Choose a room with little outside noise. Avoid spaces near roads or noisy appliances.
- Look for a place with fewer echoes. Adding carpets, curtains, or bookshelves can help reduce sound reflections.
- A small room with a cozy vibe often works best.
Get Basic Equipment
You don’t need to buy everything at once. Start with the essentials:
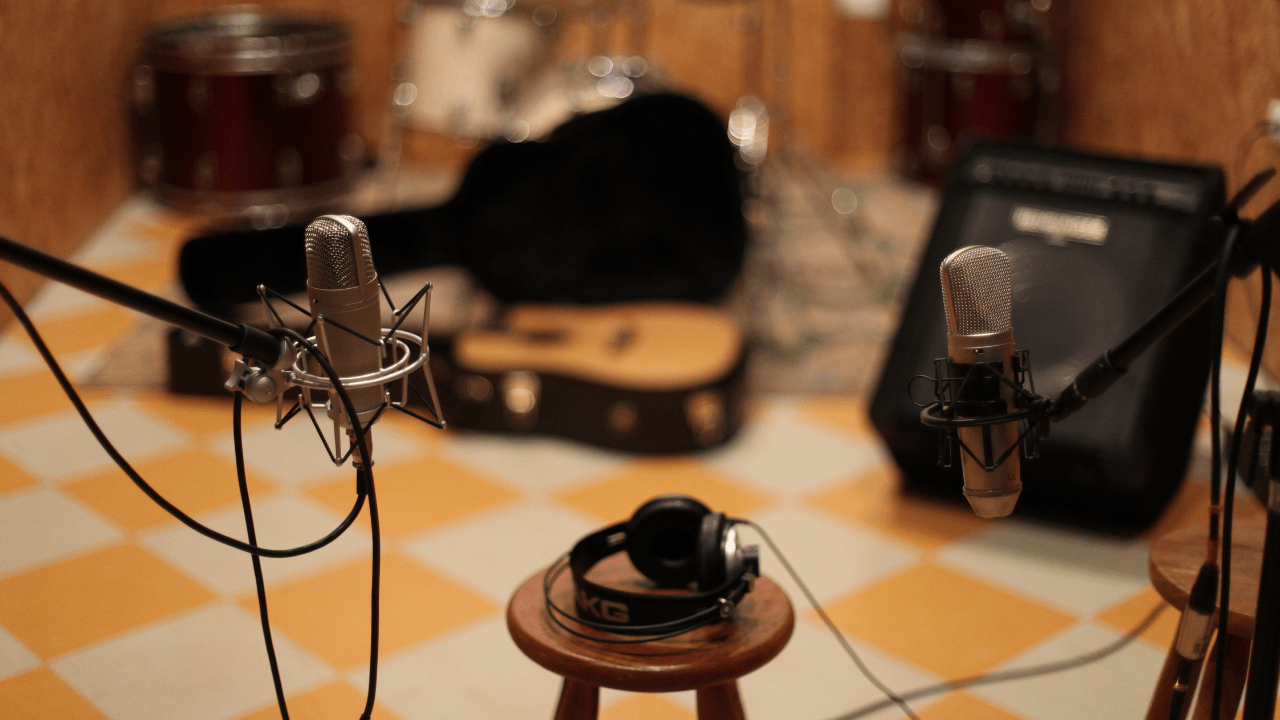
- Microphone: Get a condenser microphone for clear vocals.
- Audio Interface: This connects your mic to your computer and improves sound quality.
- Headphones: Use closed-back headphones to hear every detail.
- Pop Filter: Place it in front of your mic to avoid harsh “p” and “b” sounds.
- Computer: Make sure it’s fast enough to handle music software.
- DAW (Digital Audio Workstation): Use software like GarageBand, FL Studio, or Audacity to record and edit.
Make the Room Sound Better
- Hang thick blankets or foam panels on walls to stop echoes.
- Place a rug on the floor to absorb sound.
- Move noisy items like fans or ticking clocks out of the room.
2. Getting Ready to Record
Now that your setup is ready, let’s move on to the preparation. This step is super important to ensure your recordings sound great.
Set Up Your Gear
- Plug your microphone into the audio interface.
- Connect the audio interface to your computer using a USB cable.
- Test your headphones by playing some music.
Check Your DAW Settings
- Open your recording software and select your audio interface as the input/output device.
- Set the sample rate to 44.1 kHz or higher for better sound quality.
- Create separate tracks for vocals, instruments, or beats.
Do a Sound Check
- Speak or sing into the microphone and watch the levels on your DAW.
- Adjust the gain on your audio interface to avoid loud, distorted sounds.
- Make sure you’re recording in a quiet moment to avoid background noise.
3. Record Your Vocals Like a Pro
Vocals are often the heart of a song. Capturing them well is essential, but don’t worry if it takes a few tries. Practice makes perfect!
Position Yourself Correctly
- Stand 6 to 12 inches away from the microphone.
- Use a pop filter to soften harsh sounds.
- Keep your posture straight to allow for better breathing.
Sing with Confidence
- Warm up your voice before recording. A few humming exercises work wonders.
- Take deep breaths and stay relaxed.
- Smile while singing—it naturally improves your tone.
Record in Takes
- Record multiple versions of the same part. You’ll have more options to choose from later.
- Don’t delete mistakes immediately; sometimes they have a unique charm!
4. Add Instruments to Your Track
Recording instruments at home is just as exciting as vocals. Whether it’s a guitar, keyboard, or even a tambourine, every sound adds personality to your song.
Acoustic Instruments
- Place the microphone near the instrument’s sound source. For example, position it near the guitar’s soundhole.
- Experiment with mic angles until you find the best tone.
Electric Instruments
- Connect electric guitars or keyboards directly to your audio interface using a cable.
- Use virtual amplifier plugins to customize the sound.
Using MIDI
- If you don’t have real instruments, don’t worry! MIDI controllers allow you to play digital instruments within your DAW.
- Explore sounds like drums, strings, or synthesizers to enhance your track.
5. Layering Your Song
Once your vocals and instruments are recorded, it’s time to layer everything. This step is called mixing.
What is Mixing?
Mixing is all about balancing different sounds to make your song shine. Think of it like cooking—each ingredient (track) needs to be in the right amount.
Steps to Mix Your Song
- Volume Balancing: Make sure no track overpowers another.
- Equalization (EQ): Tweak the frequencies to make each instrument sound clear.
- Compression: Even out the loud and soft parts for a smoother sound.
- Reverb and Effects: Add echo or delay to give your song more depth.
- Panning: Place instruments in different parts of the stereo field (left, right, or center).
Tip for Mixing
Listen to your mix on different devices—headphones, speakers, and even your phone. This helps you spot and fix any issues.
6. Final Touch: Mastering
Mastering is the last step. It gives your song that professional polish so it sounds great everywhere, from headphones to car speakers.
DIY Mastering Tips
- Use mastering plugins to adjust overall volume and clarity.
- Add a limiter to prevent the track from sounding too loud or distorted.
AI Mastering Tools
If mastering feels tricky, tools like Deliver My Tune’s AI Mastering service can save you time and effort. It ensures your track meets industry standards without needing expensive equipment.
Now that your track is ready, it’s time to release it! Sharing your music is easier than ever with online platforms.
Music Distribution
- Use services like Deliver My Tune to upload your songs to Spotify, Apple Music, and more than 100 platforms.
- Fill in all the metadata (song title, artist name, etc.) carefully.
Promote Your Track
- Share your music on Instagram, YouTube, and TikTok.
- Engage with your audience by hosting live sessions or sharing behind-the-scenes content.
8. Bonus Tips for a Smooth Recording Journey
- Stay Organized: Label your files and keep backups to avoid losing your hard work.
- Experiment: Try out different effects, instruments, or genres to find your unique sound.
- Keep Learning: Watch tutorials and read blogs to improve your recording skills.
Overcoming Challenges
- Noise Problems: Turn off fans and close windows. Use noise reduction plugins if needed.
- Creative Blocks: Take breaks, listen to new music, or collaborate with friends for fresh ideas.
9. Why Record Music from Home?
Recording music from home isn’t just budget-friendly; it also gives you complete creative control. You can experiment as much as you want, work at your own pace, and learn valuable skills along the way.
Final Words
record music from home is a rewarding experience. It’s not just about creating songs—it’s about expressing yourself and sharing your passion with the world. Start small, stay patient, and enjoy the journey. Remember, your home can be the studio where your music dreams come true.
With services like Deliver My Tune, you can distribute your tracks globally, master them with AI tools, and even create a professional artist portfolio to showcase your talent. So, what are you waiting for? Get started today!
For further reading, explore these related articles:
- Unveiling the Excitement: Billboard Music Awards Nominees
- Celebrate Mother’s Day with the Best Songs for Moms Everywhere
For additional resources on music marketing and distribution, visit Deliver My Tune.


