If you’re passionate about music, podcasts, or voiceovers, setting up your own professional recording studio can be a game-changer. A well-designed studio allows you to produce high-quality sound, giving you creative freedom without relying on others.
However, building a recording studio setup can feel overwhelming at first. You might be wondering, Where do I start? What equipment do I need? How can I keep it within budget? Don’t worry! This guide will break everything down for you step by step.
We’ll cover essential equipment, how to pick the best space, acoustic treatments, and ways to achieve a truly professional sound. So, whether you’re a musician, podcaster, or voiceover artist, you’re in the right place.
Why Build Your Own Professional Recording Studio Setup?
Before we dive into the details, let’s discuss why you should even consider setting up your own recording studio.
1. Creative Freedom
When you have your own recording studio, you’re in control. You can experiment, record whenever you want, and fine-tune your work without worrying about studio time or extra costs.
2. Save Money Over Time
Renting professional studios can be expensive. While setting up a home studio does require an initial investment, you’ll save a lot of money in the long run.
3. Convenience
Having a professional studio setup in your home means you don’t have to commute or deal with schedules. It’s right there when you need it!
Now that we’ve covered why this is a great idea, let’s move on to the step-by-step process of building your dream professional recording studio setup.
Step 1: Choose the Right Space for Your Recording Studio
The first step to building a professional recording studio setup is finding the right space. The size, location, and layout of your space will determine the quality of your recordings.
What Makes a Good Studio Space?
- Quiet Environment: Pick a room that’s away from noisy areas like streets or living rooms.
- Room Size: Medium-sized rooms work best. Avoid very small or large rooms, as they can create unwanted sound reflections.
- Minimal Windows: Glass can cause sound reflections and let in external noise.
- High Ceilings: If possible, go for a room with higher ceilings for better sound quality.
Home vs. Commercial Spaces
If you’re on a budget, a spare bedroom, garage, or basement can work well as a home recording studio. For professionals, renting a commercial space might be worth considering for better isolation and control.
Once you’ve chosen the space, it’s time to prepare it for recording!
Step 2: Essential Equipment for a Professional Recording Studio Setup
Now that you have your space, let’s talk about the gear you’ll need for your recording studio setup. Here’s a complete list of must-have equipment.
1. Computer
A reliable computer is the heart of your recording studio. It processes, edits, and stores all your recordings.
- Mac or PC? Both are great. Choose the one you’re most comfortable with.
- Specifications: At least 16GB RAM, a fast processor, and ample storage (SSD is recommended).
2. Digital Audio Workstation (DAW)
A DAW is software that lets you record, edit, and mix your audio. Some popular options include:
- Pro Tools
- Logic Pro
- Ableton Live
- FL Studio
Choose a DAW that suits your needs and budget. Most have free trial versions, so test them out before deciding.
3. Audio Interface
The audio interface connects your microphone, instruments, and headphones to your computer. It converts analog signals into digital audio.
Look for an interface with at least:
- 2 XLR/line inputs
- Low latency
- High-quality preamps
Some popular brands are Focusrite, PreSonus, and MOTU.
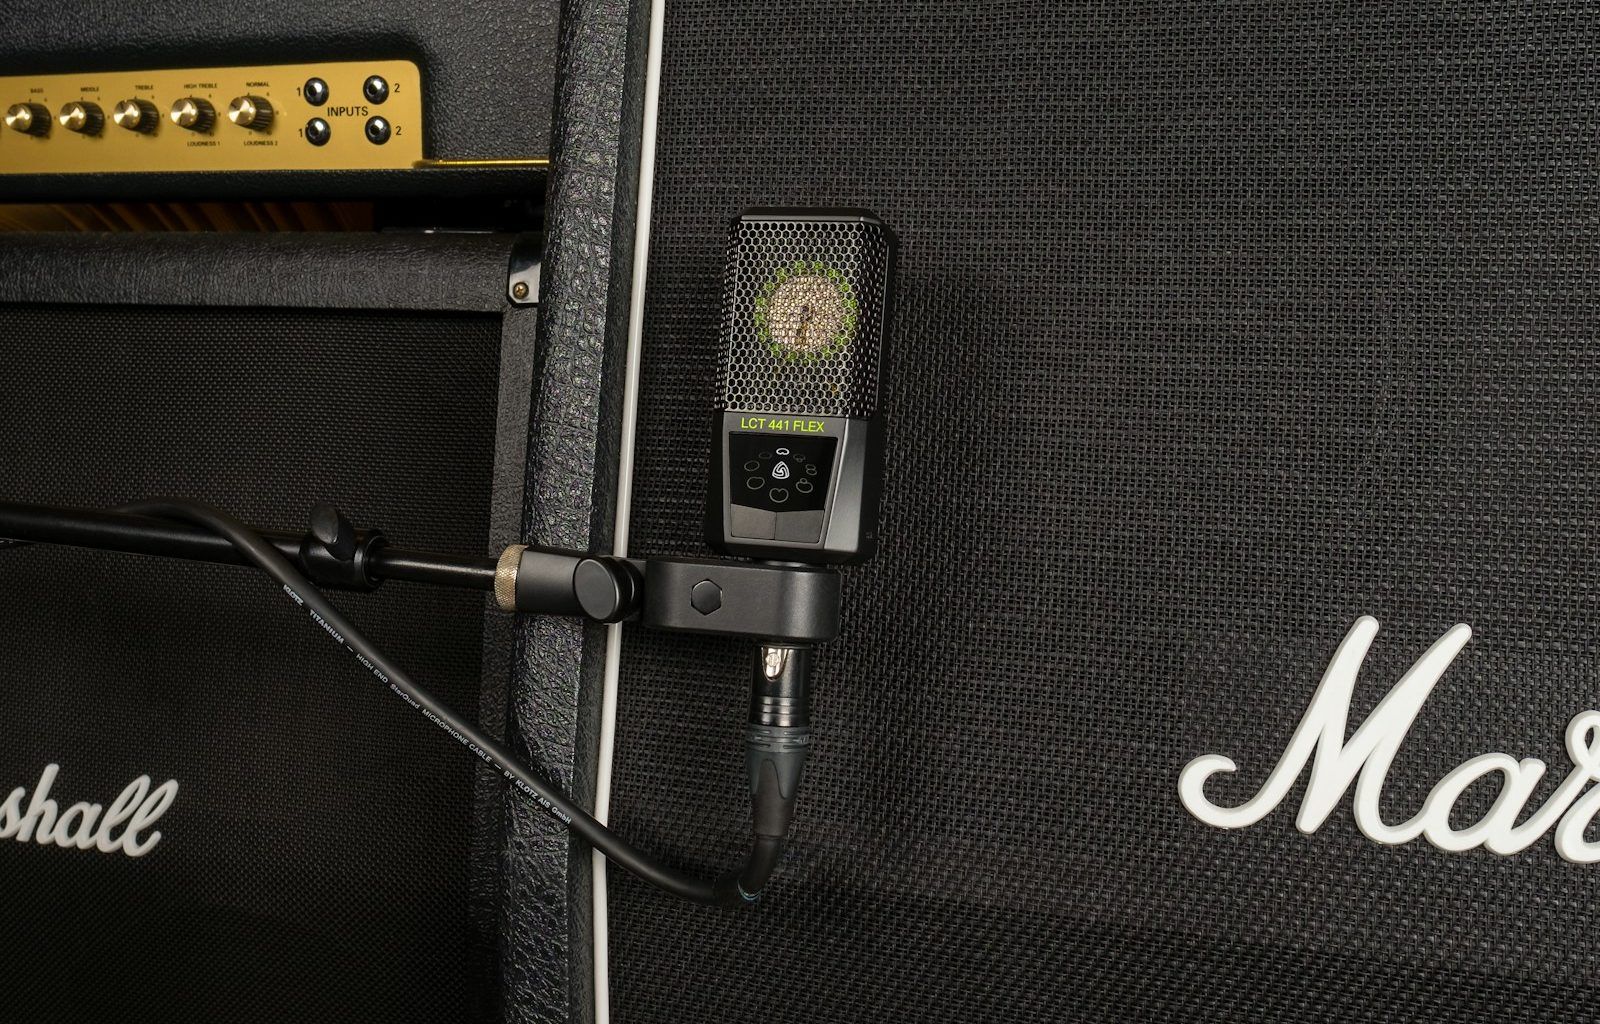
4. Microphones
Microphones are essential for recording vocals, instruments, or podcasts. You’ll need two main types:
- Condenser Microphones: Great for vocals and studio recordings.
- Dynamic Microphones: Best for instruments and louder sound sources.
Don’t forget to grab a pop filter to reduce plosive sounds (like “p” and “b” sounds).
5. Studio Monitors
Studio monitors are special speakers designed for accurate sound playback. Unlike regular speakers, they don’t enhance or color the sound, allowing you to hear the true recording.
Popular options include:
- KRK Rokit series
- Yamaha HS series
- JBL LSR series
6. Headphones
Invest in a good pair of studio headphones for detailed monitoring. Closed-back headphones are ideal for recording, while open-back ones are better for mixing.
7. Cables and Stands
Don’t overlook cables, mic stands, and monitor stands. High-quality XLR cables will ensure clean sound without interference.
8. MIDI Controller
If you create electronic music or beats, a MIDI controller allows you to play virtual instruments within your DAW.
With the essential gear in place, let’s focus on making your space sound professional.
Step 3: Acoustic Treatment for Your Professional Recording Studio
Acoustic treatment is often overlooked, but it’s critical to achieving professional sound quality in your recording studio setup.
What is Acoustic Treatment?
Acoustic treatment reduces reflections, echoes, and unwanted sound waves. It doesn’t “soundproof” your room, but it improves how sound behaves within it.
Acoustic Panels
Place acoustic panels on the walls to absorb reflections. Start with the corners and first reflection points (places where sound bounces off first).
Bass Traps
Low-frequency sounds can build up in corners, causing muddy recordings. Bass traps help absorb these frequencies.
Diffusers
Diffusers scatter sound waves, creating a more natural sound. These are ideal for larger rooms.
DIY Acoustic Treatment
If you’re on a budget, you can use DIY solutions like heavy blankets, rugs, and foam panels. Just be strategic about where you place them.
With your space acoustically treated, your recordings will sound much cleaner and more professional.
Step 4: Setting Up Your Recording Studio Gear
Once you’ve gathered your equipment and treated your space, it’s time to set everything up.
1. Position Your Desk and Computer
Place your desk in the center of the room, facing the shorter wall. This helps with sound symmetry.
2. Place Your Monitors
Set your studio monitors at ear level and form an equilateral triangle with your listening position.
3. Connect Your Audio Interface
Plug your microphones, instruments, and headphones into the audio interface. Connect the interface to your computer.
4. Test Your DAW
Install your DAW software and test all connections. Record a quick test track to ensure everything works smoothly.
Step 5: Final Tips for Your Professional Recording Studio Setup
To make the most of your new studio, keep these tips in mind:
- Organize Your Cables: Use cable ties and racks to keep cables tidy.
- Upgrade Gradually: Start with basic gear and upgrade as your skills and budget grow.
- Keep Learning: Watch tutorials, experiment, and refine your setup over time.
Conclusion
Creating a professional recording studio setup doesn’t have to be complicated. With the right space, essential gear, and proper acoustic treatment, you can build a studio that delivers high-quality recordings.
Whether you’re a musician, podcaster, or voiceover artist, this step-by-step guide has you covered. Start small, stay consistent, and enjoy the creative freedom your new studio brings.
For further reading, explore these related articles:
- How to Create a Good Spotify Pre-Save Campaign
- Master Songs Online Free: Your Ultimate Guide to Music Mastery
For additional resources on music marketing and distribution, visit DMT Records Private Limited.


