Whether you’re a budding artist or a seasoned musician, having the right music recording setup is key to bringing your creative ideas to life. Imagine capturing every note, every beat, and every nuance just the way you’ve always dreamed. Sounds magical, doesn’t it? Let’s break down how you can create your very own music recording setup, even if you’re starting from scratch.
Why Your Music Recording Setup Matters
First things first: why should you even bother with a good setup? Well, your equipment and environment directly affect the quality of your recordings. No one wants to listen to muffled vocals or distorted instruments. A well-planned music recording setup ensures clarity, precision, and, most importantly, a sound that resonates with your audience.
Step 1: Choose Your Recording Space
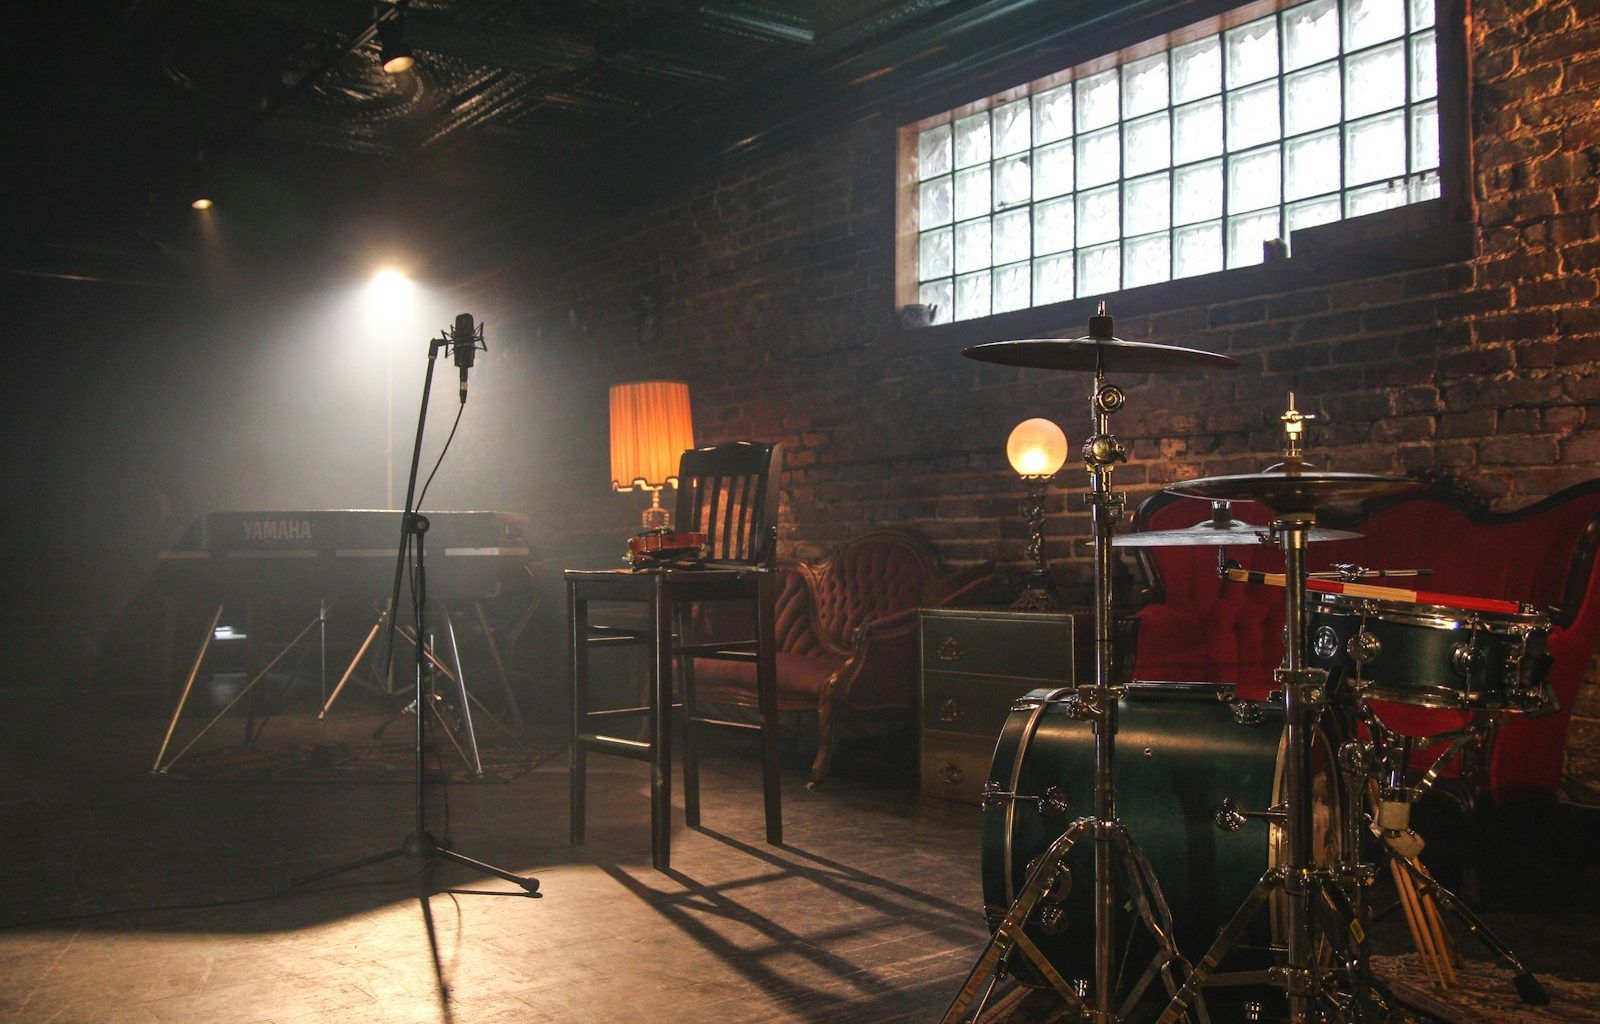
Finding the right space is crucial. A good recording space doesn’t have to be a professional studio; it could be a corner in your bedroom or basement. What matters is that it’s quiet and has minimal echo.
Tips for Choosing the Best Spot:
- Avoid rooms with a lot of windows or hard surfaces. These create unwanted reflections.
- Use rugs, curtains, or even blankets to dampen sound.
- If possible, pick a room with carpeted floors and soft furnishings.
Step 2: Essential Equipment for Your Music Recording Setup
The heart of any music recording setup lies in the equipment. Here’s what you’ll need to get started:
1. Microphone
A good microphone captures the essence of your sound. For beginners, a condenser microphone is a great choice as it’s sensitive and picks up a wide range of frequencies.
Pro Tip: Look for USB microphones if you’re on a budget. They’re plug-and-play and don’t require extra gear.
2. Audio Interface
An audio interface connects your microphone and instruments to your computer. It’s essential for converting analog signals into digital audio.
3. Headphones
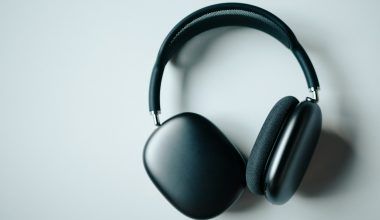
Invest in closed-back headphones for recording. They help you hear every detail while isolating external noise.
4. Computer and Software
Your computer and recording software, also known as a DAW (Digital Audio Workstation), are the brains of your setup. Popular DAWs include GarageBand, Ableton Live, and FL Studio.
5. Studio Monitors
Unlike regular speakers, studio monitors provide an accurate representation of your sound. This helps you make precise adjustments during mixing.
Step 3: Setting Up Your Equipment
Once you have all the essentials, it’s time to set them up. Don’t worry—it’s easier than it sounds!
- Position Your Microphone: Place it at a height that aligns with your mouth or instrument. Use a pop filter to reduce plosive sounds.
- Connect to the Audio Interface: Plug your microphone and headphones into the audio interface. Then, connect the interface to your computer.
- Install Your DAW: Set up your software and test the connections to ensure everything works seamlessly.
Step 4: Optimizing Your Music Recording Setup
Even the best equipment won’t shine if your setup isn’t optimized. Here’s how you can elevate your recording quality:
Acoustic Treatment
Soundproofing and acoustic treatment are game-changers. Use foam panels, bass traps, and diffusers to reduce echo and balance the sound.
Cable Management
Keep your workspace clean by organizing cables. Use Velcro ties or cable sleeves to prevent tangling.
Test and Adjust
Before diving into full-fledged recording, test your setup. Record short clips and listen for any issues. Adjust microphone placement, gain levels, or room acoustics as needed.
Step 5: Recording Like a Pro
Now comes the fun part—recording your music! Here are some tips to ensure smooth sessions:
- Warm-Up: Spend a few minutes warming up your voice or instrument.
- Check Levels: Make sure your audio levels aren’t peaking. Aim for a balanced input.
- Layer Your Tracks: Record each instrument and vocal track separately for better control during mixing.
Troubleshooting Common Issues
Even with the best setup, things can go wrong. Here’s how to tackle some common problems:
- Background Noise: Use noise gates or filters in your DAW to eliminate unwanted sounds.
- Latency: If there’s a delay in what you play versus what you hear, adjust your DAW’s buffer size.
- Distortion: Reduce gain levels to prevent clipping.
Step 6: Taking Your Setup to the Next Level
Once you’re comfortable with your basic setup, consider upgrading. Here are some ideas:
- Add More Microphones: Capture different angles and sound profiles.
- Invest in Plugins: Enhance your sound with effects like reverb, delay, and compression.
- Build a Home Studio Booth: A DIY recording booth can significantly improve vocal recordings.
Conclusion: Your Journey to a Stellar Music Recording Setup
Creating a music recording setup may seem overwhelming at first, but it’s all about taking small steps. Start with the essentials, optimize your space, and keep experimenting. Over time, you’ll find what works best for you and your unique sound.
For further reading, explore these related articles:
For additional resources on music marketing and distribution, visit DMT Records Private Limited.


