Every musician dreams of creating songs that sound polished, professional, and ready for the world to hear. One crucial step in achieving this is learning how to master tracks. Mastering is the final process in music production, ensuring your tracks are balanced, consistent, and impactful across all listening platforms.
In this guide, we’ll explore everything about mastering tracks—what it means, why it’s essential, and how to do it effectively. Whether you’re an artist, producer, or audio engineer, this blog will equip you with the knowledge to elevate your music.
What Does It Mean to Master Tracks?
Mastering is the final step in the music production process. It involves enhancing the overall sound of a track and preparing it for distribution. The goal is to create a professional-quality audio file that sounds great on any platform, whether it’s streaming services, radio, or physical formats like vinyl.
Key elements of mastering include:
- Balancing Frequencies: Ensuring highs, mids, and lows are clear and even.
- Dynamic Range Control: Managing loudness while retaining emotional impact.
- Finalizing for Distribution: Preparing tracks in the appropriate format for streaming, CDs, or other media.
Mastering is what makes good music sound great.
Why Is Mastering Tracks Important?
1. Consistency Across Platforms
Mastering ensures your track sounds the same whether played on a car stereo, headphones, or a festival sound system.
2. Professional Quality
Listeners expect polished, high-quality audio. Mastering gives your tracks that professional edge.
3. Volume Optimization
It ensures your song’s loudness matches industry standards without compromising clarity.
4. Track Uniformity
For albums or EPs, mastering ensures all tracks have a cohesive sound.
Skipping the mastering process can leave your music sounding unfinished or unpolished.
The Mastering Process: Step-by-Step
To master tracks effectively, follow these essential steps:
1. Prepare Your Mix
Start with a well-mixed track. Mastering cannot fix a poor mix.
- Check for clarity, balance, and minimal distortion.
- Export your track in high-resolution formats like WAV or AIFF.
2. Set Up Your Workspace
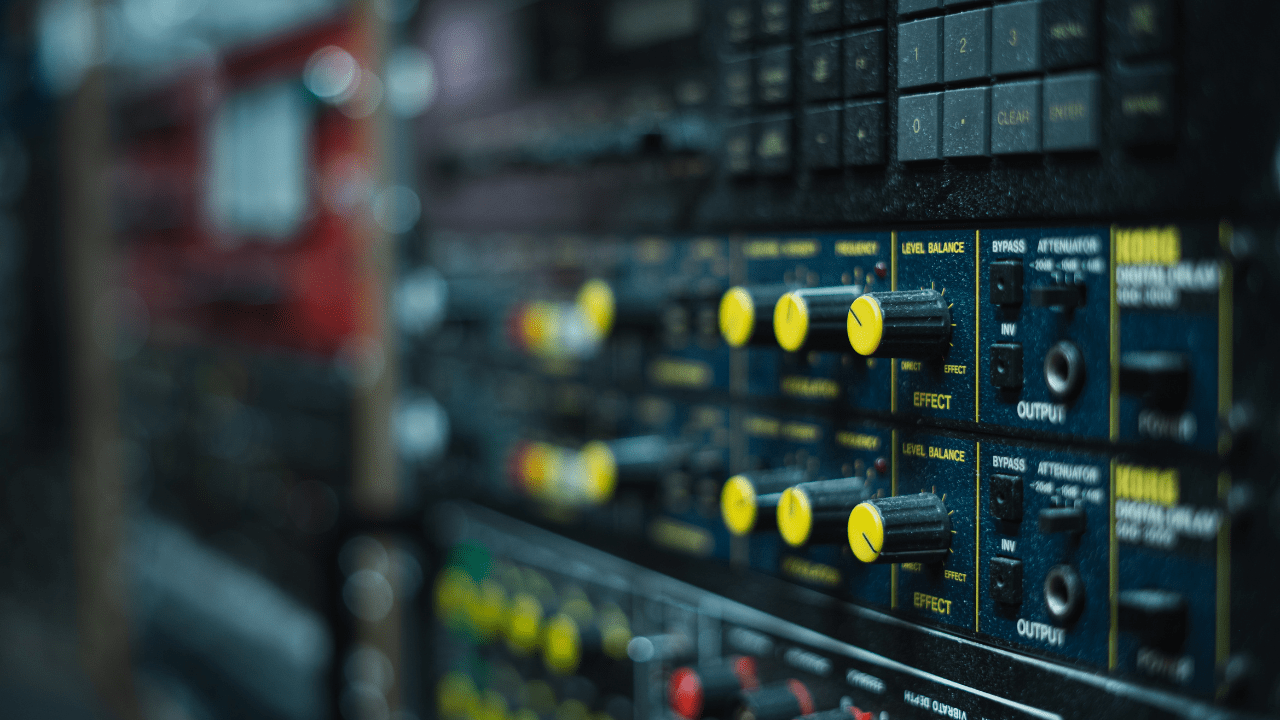
Use a reliable Digital Audio Workstation (DAW) and high-quality monitoring equipment.
- Popular DAWs for mastering include Logic Pro, Pro Tools, and Ableton Live.
- Use studio monitors and reference headphones to hear your track accurately.
3. Equalization (EQ)
EQ is used to balance frequencies in your track.
- Remove harsh highs or muddy lows.
- Enhance specific frequencies to add warmth or brightness.
4. Compression
Compression evens out the dynamic range of your track.
- Use gentle settings to retain natural dynamics.
- Avoid over-compression, which can make your track sound flat.
5. Limiting
Limiting maximizes loudness without causing distortion.
- Set the ceiling to -0.1 dB to prevent clipping.
- Use a brick-wall limiter for precise control.
6. Stereo Imaging
Adjust the stereo width to create a fuller sound.
- Widen high frequencies for a spacious feel.
- Keep bass frequencies centered for clarity.
7. Final Checks
Before exporting, listen to your track on various devices.
- Check for consistent quality across speakers, headphones, and earbuds.
- Make adjustments if needed.
Mastering tracks is both an art and a science, requiring a balance of technical skills and creative intuition.
Essential Tools for Mastering Tracks
1. Equalizers (EQ)
- Example: FabFilter Pro-Q 3
- Purpose: Frequency balancing
2. Compressors
- Example: Waves SSL Compressor
- Purpose: Dynamic range control
3. Limiters
- Example: iZotope Ozone Maximizer
- Purpose: Volume maximization
4. Metering Tools
- Example: Insight by iZotope
- Purpose: Loudness and stereo analysis
5. Saturation Plugins
- Example: Soundtoys Decapitator
- Purpose: Add warmth and character
Investing in quality tools is essential for mastering tracks effectively.
Common Mistakes in Mastering Tracks
Even experienced producers can make errors during mastering. Here are some pitfalls to avoid:
1. Over-Compression
Too much compression can kill the dynamics of your track, making it sound lifeless.
2. Excessive Loudness
While loudness is important, going too far can cause distortion and listener fatigue.
3. Ignoring Room Acoustics
Mastering in a poorly treated room can lead to inaccurate decisions.
4. Using Poor Reference Tracks
Choose high-quality reference tracks that match your genre and style.
Master Tracks for Different Platforms
Each platform has its own standards for audio quality. When mastering tracks, keep these in mind:
1. Streaming Services
- Most platforms normalize audio to -14 LUFS.
- Ensure your track meets these loudness standards.
2. CDs
- CDs require audio files in 16-bit/44.1kHz format.
- Maintain a slightly higher loudness level than for streaming.
3. Vinyl
- Vinyl requires a dynamic master with limited stereo imaging in low frequencies.
Mastering tracks for specific platforms ensures optimal playback quality.
DIY Mastering vs. Professional Mastering
Should you master tracks yourself or hire a professional? Here’s a comparison:
| DIY Mastering | Professional Mastering |
|---|---|
| Cost-effective | Higher cost, but expert quality |
| Requires learning and practice | Handled by experienced engineers |
| Flexible and convenient | Access to advanced equipment |
For serious releases, professional mastering is often worth the investment.
Conclusion:
Mastering tracks is the final step in creating music that stands out. It ensures your work is polished, professional, and ready for listeners everywhere.
Whether you’re mastering tracks yourself or working with a professional, the process requires patience, skill, and attention to detail. With the right tools and techniques, you can elevate your music to new heights.
Related Articles:
For further reading, explore these related articles:
- Master Tracks Online Free: Professional Guide to Get Started
- Master Your Tracks with Free Online Audio Mastering Tools
- Shilpa Rao: Journey to Stardom, Top Tracks, and Proven Strategies for Success in Independent Music
For additional resources on music marketing and distribution, visit Deliver My Tune.


