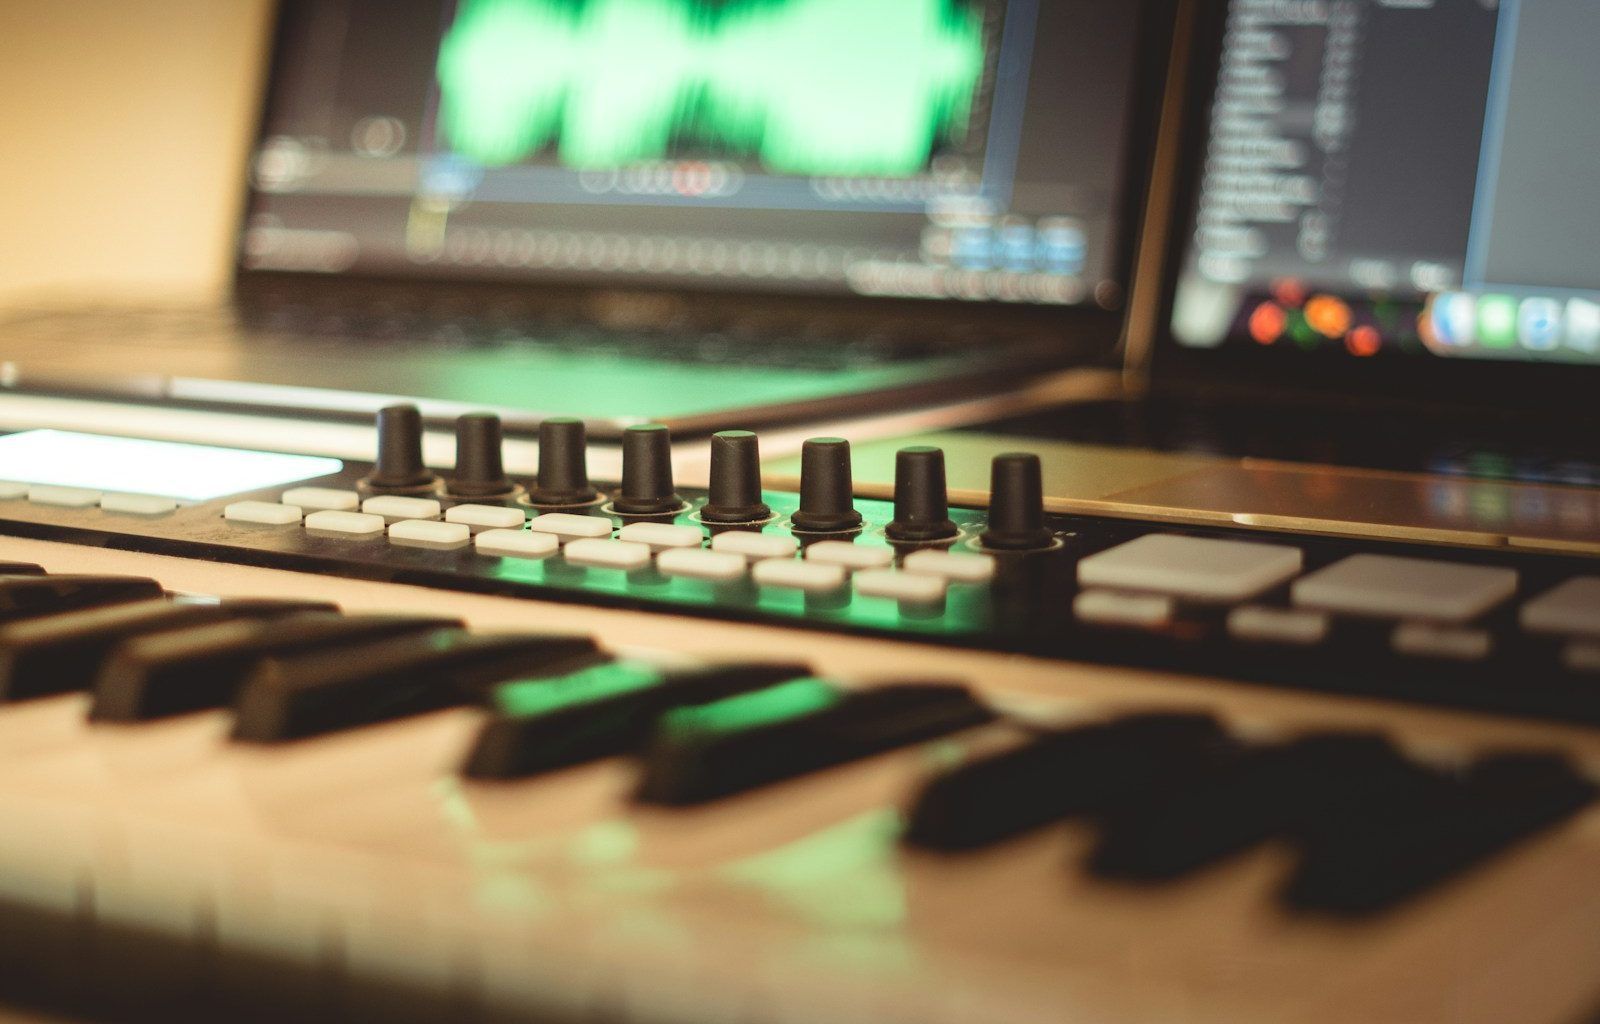
Have you ever dreamed of having your very own home studio? Whether you’re a budding musician, a creative podcaster, or someone who wants a dedicated work-from-home setup, building a home studio is an exciting project. The best part? It’s more achievable than you might think. By focusing on smart planning, budgeting, and a bit of creativity, you can create a space tailored to your needs. Let’s dive in!
Why You Need a Home Studio
Life gets busy, and having a space dedicated to your creative or professional work can make a huge difference. Imagine walking into a room that’s perfectly set up for recording, creating, or brainstorming. A home studio gives you:
- Convenience: No commuting to a studio.
- Cost savings: Skip expensive rentals.
- Personalization: Tailor the setup to your style and needs.
But how do you go from idea to execution? Let’s break it down step by step.
Step 1: Define Your Purpose
The first step in making a home studio is figuring out what you need it for. Are you recording music? Editing videos? Designing a podcasting space? The purpose of your studio will guide every decision—from the equipment you buy to the layout you choose.
If you’re not sure, ask yourself:
- What tasks will I perform here most often?
- How much equipment will I need?
- Will I need soundproofing?
This clarity ensures you don’t overcomplicate or overspend on unnecessary items.
Step 2: Choose the Right Space
The next step in making a home studio is selecting the perfect spot in your home. You don’t need a massive area; even a corner of your bedroom can work if planned well. Consider these factors when picking your spot:
- Noise levels: Avoid high-traffic areas.
- Lighting: Natural light is great, but you may also need adjustable artificial lights.
- Size: Ensure there’s enough room for your gear and a comfortable workspace.
For those tight on space, don’t worry! With smart organization, even small rooms can become efficient studios.
Step 3: Plan Your Budget
Let’s talk money. One of the most important aspects of making a home studio is knowing how much you’re willing to spend. Fortunately, there’s a solution for every budget—from DIY setups to premium gear.
Start by making a list of must-have items. These might include:
- A desk and chair.
- Microphones, cameras, or instruments.
- Acoustic panels or soundproofing.
Compare prices online, look for discounts, or consider buying second-hand equipment. Prioritize quality for key items, but don’t break the bank on extras you won’t use often.
Step 4: Gather Your Equipment
Now, let’s get into the fun part—choosing your gear! The equipment you’ll need depends on your goals. Here’s a basic list to get you started:
For Music Recording:
- A computer with digital audio workstation (DAW) software.
- Audio interface.
- Studio monitors (speakers).
- A quality microphone and headphones.
For Video Creation:
- A high-resolution camera.
- Lighting equipment (ring lights or softboxes).
- Tripods or stabilizers.
For Podcasting:
- Microphones and pop filters.
- Audio interface or mixer.
- Headphones for monitoring.
Remember, you don’t have to buy everything at once. Start with the basics and upgrade over time as needed.
Step 5: Optimize Your Acoustics
Creating a home studio isn’t just about the gear. The acoustics of your space play a significant role in your results. Without proper sound treatment, even the best equipment might not perform as well.
Here’s how you can improve acoustics:
- Use foam panels to absorb sound reflections.
- Add rugs, curtains, or furniture to reduce echo.
- Position your setup away from windows and hard surfaces.
If your budget allows, professional-grade acoustic treatment can elevate your studio’s sound quality even more.
Step 6: Set Up Your Workspace
Now that you’ve gathered your equipment and optimized the acoustics, it’s time to set everything up. The goal here is to create a workspace that’s functional, comfortable, and inspires creativity.
- Ergonomics: Invest in a comfortable chair and ensure your desk height is correct.
- Cable Management: Use zip ties or cable sleeves to keep wires neat.
- Organization: Store small items like adapters and memory cards in labeled containers.
Make sure your most-used items are within arm’s reach. A clean, organized studio can boost your productivity and reduce stress.
Step 7: Test and Tweak
Your home studio is almost ready! Before diving into your projects, take time to test your setup. Record a test video or audio clip, then review it for quality. Check:
- Is the sound clear?
- Is the lighting sufficient?
- Are there any technical glitches?
If something feels off, don’t hesitate to adjust. Small tweaks can make a big difference in your final output.
Step 8: Add Personal Touches
Finally, it’s time to make your studio feel like home. Adding personal touches can turn a functional space into a place you love spending time in. Think about:
- Wall art or posters.
- A small plant or two for a touch of greenery.
- A mood board to keep your creative ideas flowing.
These little details not only make the space your own but also inspire creativity and focus.
Common Mistakes to Avoid
Making a home studio is a learning process, but avoiding these common pitfalls can save you time and frustration:
- Overloading on gear you don’t need.
- Ignoring acoustics.
- Choosing aesthetics over functionality.
Final Thoughts
Making a home studio might seem overwhelming at first, but with careful planning, it’s entirely doable. Start small, stay flexible, and remember to enjoy the process. Soon, you’ll have a space that’s perfectly tailored to your creative or professional needs. So, what are you waiting for.
Related Articles:
For further reading, explore these related articles:
- How to Cancel SoundCloud Go: A Step-by-Step Guide
- Apple Music Stats Tracker: Why You Need One and How to Get Started
For additional resources on music marketing and distribution, visit DMT Records Private Limited.


