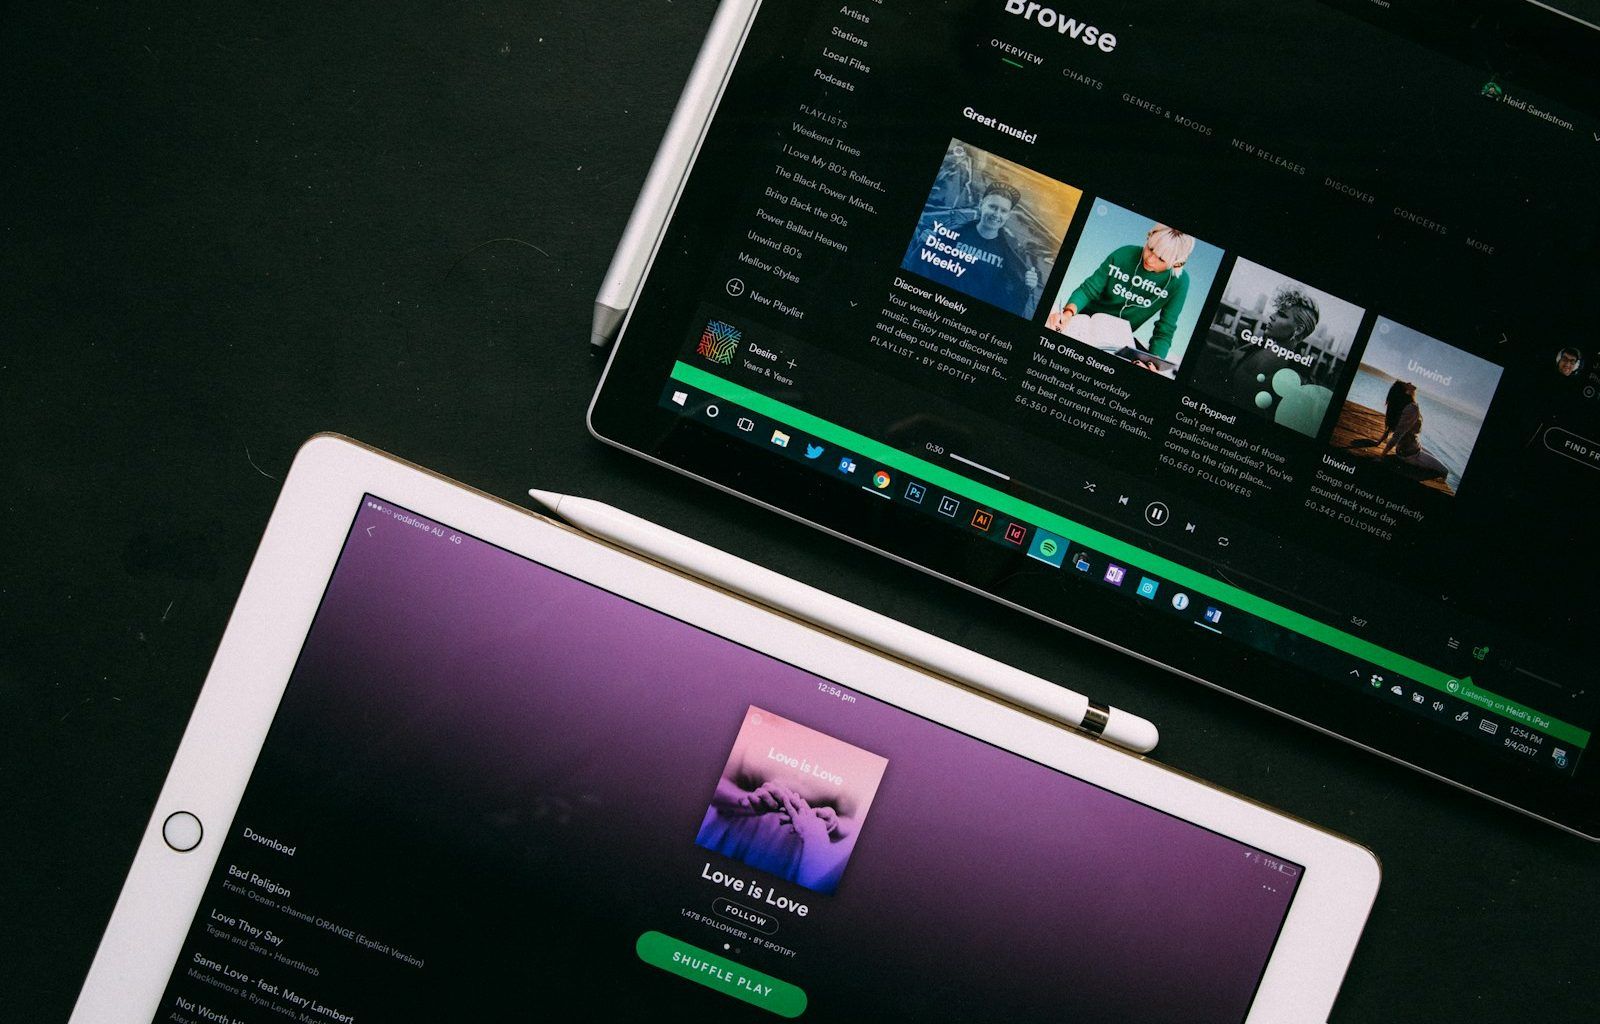
Are you an artist or a budding musician looking to share your music with the world? Spotify is one of the most popular platforms for streaming music, making it an excellent place to showcase your talent. how to upload a track to spotifymight seem complicated at first, but with a little guidance, you can do it easily. Let’s walk through the process step-by-step, so you can get your music in front of millions of listeners.
Why Choose Spotify to Share Your Music?
Before we dive into the details of uploading your track to Spotify, it’s important to understand why this platform is a go-to choice for so many artists. Spotify has over 500 million active users globally. With such a large audience, your music has the potential to reach fans from all over the world. Moreover, Spotify offers tools for artists to analyze their audience, manage their music, and promote their work effectively. It’s not just about uploading a track—it’s about building your career.
Step 1: Prepare Your Track
The first step to uploading your track to Spotify is to make sure your music is ready. Here are a few key things to keep in mind:
- Finalize Your Track: Ensure your song is completely mixed and mastered. A polished track will leave a lasting impression on listeners.
- Choose a High-Quality Audio File: Spotify recommends using WAV or FLAC files for the best quality.
- Add Metadata: Include all the essential details, such as the song title, artist name, and album information.
Having your track prepared will save you time and make the process much smoother.
Step 2: Sign Up with a Music Distributor
Spotify doesn’t allow independent artists to upload music directly to the platform. Instead, you’ll need to work with a music distributor. These companies act as middlemen, helping you get your music onto Spotify and other streaming platforms like Apple Music and Amazon Music.
Here are some popular distributors to consider:
- DistroKid: Known for its user-friendly interface and affordable plans.
- TuneCore: Offers detailed reports and keeps 100% of your royalties.
- CD Baby: Provides extensive distribution options and monetization tools.
- AWAL: Ideal for independent artists seeking personalized support.
Research each distributor to find one that best fits your needs and budget. Once you’ve chosen a distributor, create an account and upload your track to their platform.
Step 3: Fill in the Necessary Details
When uploading your track to the distributor, you’ll need to provide some essential details. These include:
- Track Title: The name of your song.
- Artist Name: Your stage name or band name.
- Release Date: The date you want your song to go live on Spotify.
- Album or Single: Specify if your track is part of an album or a standalone single.
- Genre: Choose a genre that best represents your music.
Be thorough and accurate while filling out this information. These details help listeners find your music easily.
Step 4: Design Your Cover Art
Your cover art is the first thing listeners will see, so make it stand out! Spotify has specific guidelines for cover art:
- Dimensions: The artwork should be 3000 x 3000 pixels.
- File Format: Use a JPEG or PNG file.
- No Text Overload: Avoid excessive text, as it can make your cover look cluttered.
If you’re not a designer, consider hiring a professional or using tools like Canva to create stunning artwork.
Step 5: Submit Your Track for Distribution
Once you’ve uploaded your track and added all the necessary details, it’s time to submit it for distribution. Double-check everything before hitting the submit button. Your distributor will review your submission to ensure it meets Spotify’s requirements.
After approval, your track will be sent to Spotify. This process usually takes a few days, so plan your release date accordingly.
Step 6: Claim Your Spotify for Artists Profile
After your track goes live on Spotify, you’ll want to claim your Spotify for Artists profile. This tool allows you to:
- Track Your Performance: View detailed analytics about your listeners and streams.
- Update Your Profile: Add a bio, photos, and links to your social media accounts.
- Promote Your Music: Use Spotify’s tools to create playlists and share your music with fans.
To claim your profile, visit the Spotify for Artists website and follow the instructions. It’s a simple process that can make a big difference in how you manage your music.
Step 7: Promote Your Track
Getting your track on Spotify is just the beginning. To reach more listeners, you’ll need to promote your music. Here are some effective strategies:
- Social Media: Share your track on platforms like Instagram, Twitter, and TikTok.
- Email List: Notify your fans through email.
- Collaborate with Playlists: Reach out to playlist curators and request to be featured.
- Use Spotify Ads: Invest in advertising to boost your visibility.
The more effort you put into promotion, the more likely your track will gain traction.
Final Thoughts
how to upload a track to spotify may seem like a daunting task at first, but by following these steps, you’ll find it’s quite manageable. The key is to stay organized, pay attention to details, and keep promoting your music. Remember, your journey as an artist is just beginning, and Spotify is a fantastic platform to grow your audience.
Now that you know how to upload a track to Spotify, it’s time to take action. Prepare your track, choose a distributor, and get ready to share your music with the world. Your fans are waiting!
Related Articles:
For further reading, explore these related articles:
For additional resources on music marketing and distribution, visit DMT RECORDS PRIVATE LIMITED


