Recording vocals at home has never been easier. With affordable gear, simple tools, and a few tips, you can achieve professional-quality recordings without leaving your house. Whether you’re a singer, podcaster, or content creator, knowing how to record vocals at home opens up endless possibilities.
This guide will walk you through everything you need to get started. We’ll cover equipment, setup, techniques, and editing to help you achieve great sound. Plus, we’ll keep it simple, so you don’t need to be a sound engineer to follow along.
Let’s get started!
Why Recording Vocals at Home is a Game-Changer
The days of needing a professional studio to record great vocals are gone. Thanks to modern technology, recording vocals at home is now accessible, affordable, and easy to learn. But why is this important?
- Save Money: Studio time is expensive. Recording at home eliminates these costs.
- Creative Freedom: You can experiment without the pressure of a ticking clock.
- Convenience: You can record whenever inspiration strikes—day or night.
If you want to sing, create a podcast, or produce YouTube videos, learning how to record vocals at home is a must.
What You Need to Record Vocals at Home
Before diving into the process, let’s cover the basics. To record vocals at home, you need a few key tools. Don’t worry—you don’t have to spend a fortune. Here’s what you’ll need:
1. A Microphone
Your microphone is the most critical tool. There are two types to choose from:
- Dynamic Microphones: Great for loud vocals and live recordings.
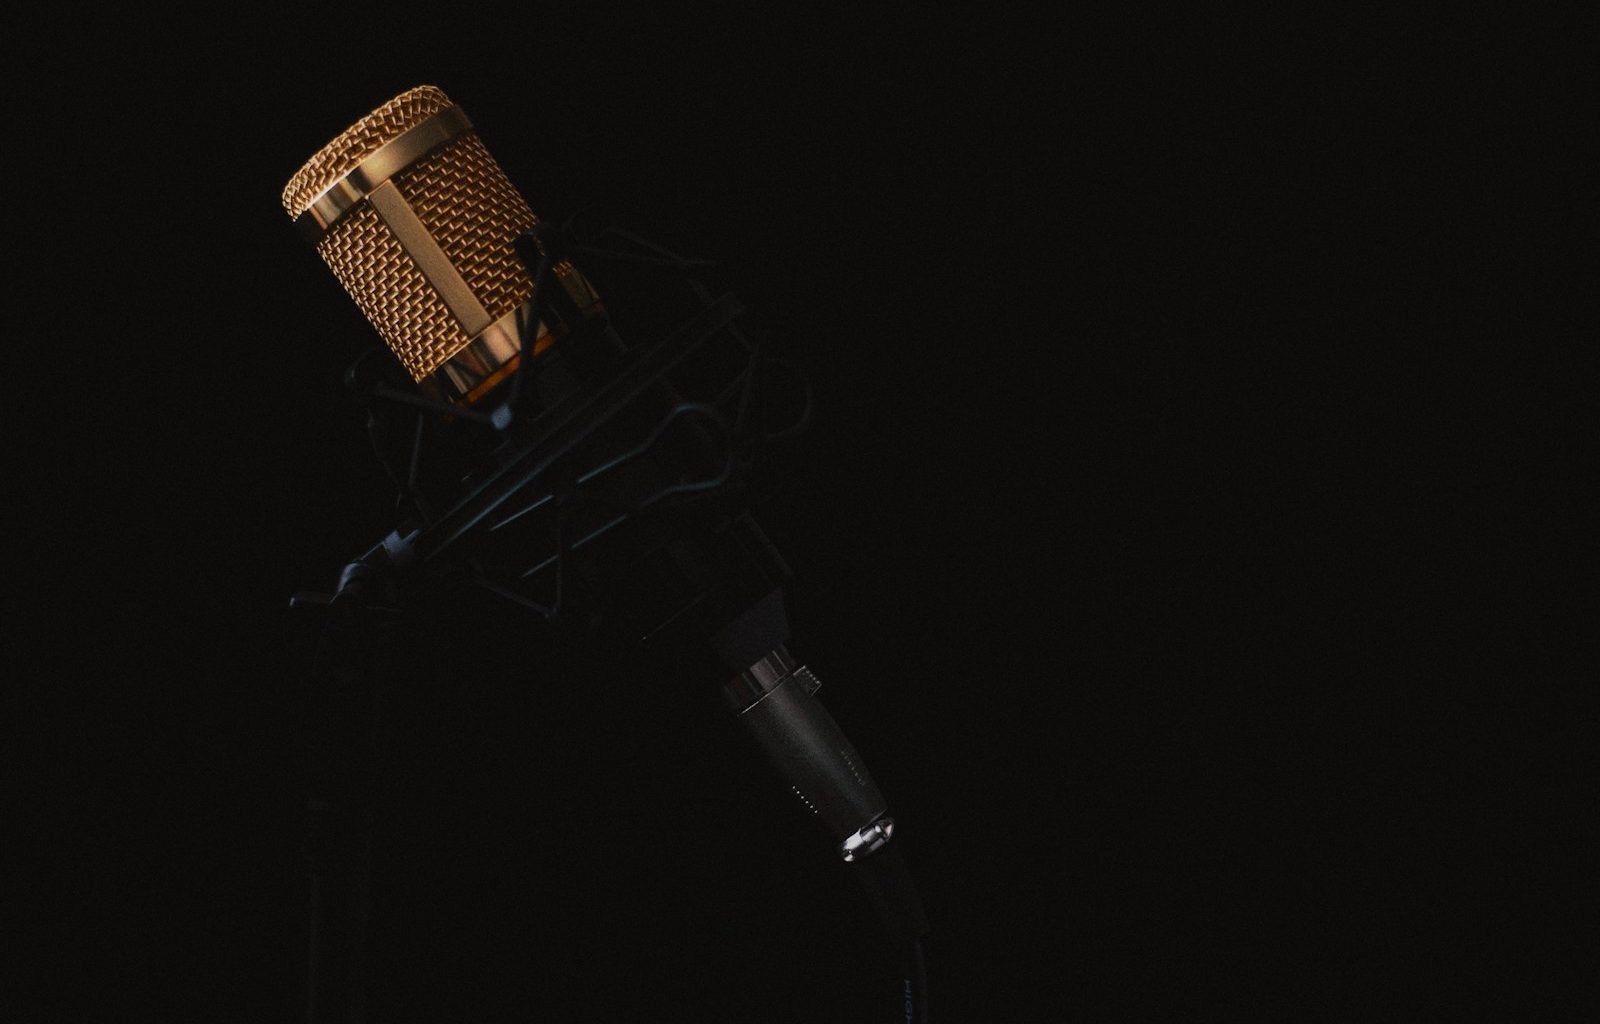
- Condenser Microphones: Perfect for capturing details and subtle nuances in your voice. These are ideal for home studios.
Tip: Start with an affordable condenser mic like the Audio-Technica AT2020 or Rode NT1-A.
2. An Audio Interface
An audio interface connects your microphone to your computer. It converts your voice into a digital format for recording.
Popular options include the Focusrite Scarlett 2i2 and PreSonus AudioBox.
3. A Pop Filter
A pop filter helps reduce plosive sounds (like “p” and “b”) that can distort your vocals. It’s an inexpensive tool that makes a big difference.
4. Headphones
To monitor your vocals accurately, use closed-back headphones. This prevents sound from leaking into your microphone.
5. Recording Software (DAW)
A DAW (Digital Audio Workstation) is software that lets you record, edit, and mix vocals. Popular options include:
- Audacity (free)
- GarageBand (free for Mac users)
- Reaper
- Logic Pro X
6. A Quiet Space
Your environment matters. The quieter the room, the cleaner your recordings will sound. If you can’t afford soundproofing, simple DIY fixes like blankets and pillows can absorb unwanted noise.
Setting Up Your Home Recording Space
Now that you have the tools, let’s set up your space. You don’t need a professional studio—just a clean, quiet area where you can focus on recording vocals at home.
1. Choose the Right Room
Pick a room that’s quiet and has minimal echo. Small rooms with soft furnishings (like carpets and curtains) work best.
2. Position Your Microphone
Place your microphone at mouth level, around 6-12 inches away from your face. Use a pop filter in front of the mic to control plosives.
3. Control Noise
If your room isn’t perfectly quiet, here’s how to reduce noise:
- Turn off fans, air conditioners, or electronics.
- Close windows and doors.
- Use blankets or foam panels to absorb sound reflections.
4. Test Your Setup
Before recording, do a quick test. Speak or sing into the microphone while monitoring through your headphones. Adjust your mic placement to find the best sound.
How to Record Vocals at Home Step-by-Step
Now that your setup is ready, it’s time to record! Here’s a step-by-step process to help you get the best results:
Step 1: Warm Up Your Voice
Never skip warming up! Vocal exercises help you sing clearly and avoid strain. Spend at least 10-15 minutes warming up before recording.
Step 2: Set Your Levels
Open your recording software and set your input levels. Speak or sing into the microphone and adjust the gain (volume) on your audio interface.
- Avoid Clipping: Your levels should stay in the green zone and never hit the red zone.
Step 3: Record Multiple Takes
Don’t stop at one take. Recording multiple takes gives you options during editing. You can combine the best parts of each take for a polished final track.
Step 4: Stay Consistent
Maintain consistent mic distance and posture throughout your recording. This helps keep your vocals even and smooth.
Step 5: Listen Back
After recording, listen to your takes. Identify areas for improvement, like timing, pitch, or pronunciation, and record again if needed.
Tips to Get Better Vocal Recordings
Here are a few extra tips to help you master how to record vocals at home:
- Use Proper Mic Technique: Avoid singing too close or far from the mic.
- Avoid Over-Processing: Don’t rely too much on effects like reverb and auto-tune.
- Record in Sections: If a song is challenging, break it into smaller parts and record section by section.
- Take Breaks: If your voice feels tired, take a short break to recover.
Editing Your Vocals
Once you’ve recorded your vocals, it’s time to edit them. Here’s a simple process:
- Clean Up the Track: Remove background noise or breaths.
- Adjust Timing: Use your DAW to align vocals with the music.
- Tuning: Light pitch correction can fix minor errors.
- Add Effects: Add subtle reverb, EQ, and compression to enhance your vocals.
Conclusion
Learning how to record vocals at home doesn’t have to be complicated. With the right tools, a simple setup, and a bit of practice, you can produce studio-quality recordings from the comfort of your home. Follow the steps in this guide, experiment, and most importantly—have fun with it!
Recording vocals at home is a skill that improves over time. The more you practice, the better your results will be. So set up your space, grab your mic, and start recording today.
For further reading, explore these related articles:
- How to Calculate Spotify Audio Mood: A Simple and Humanized Guide
- How to Create and Optimize Your SoundCloud Artist Account for Success
For additional resources on music marketing and distribution, visit DMT Records Private Limited.


