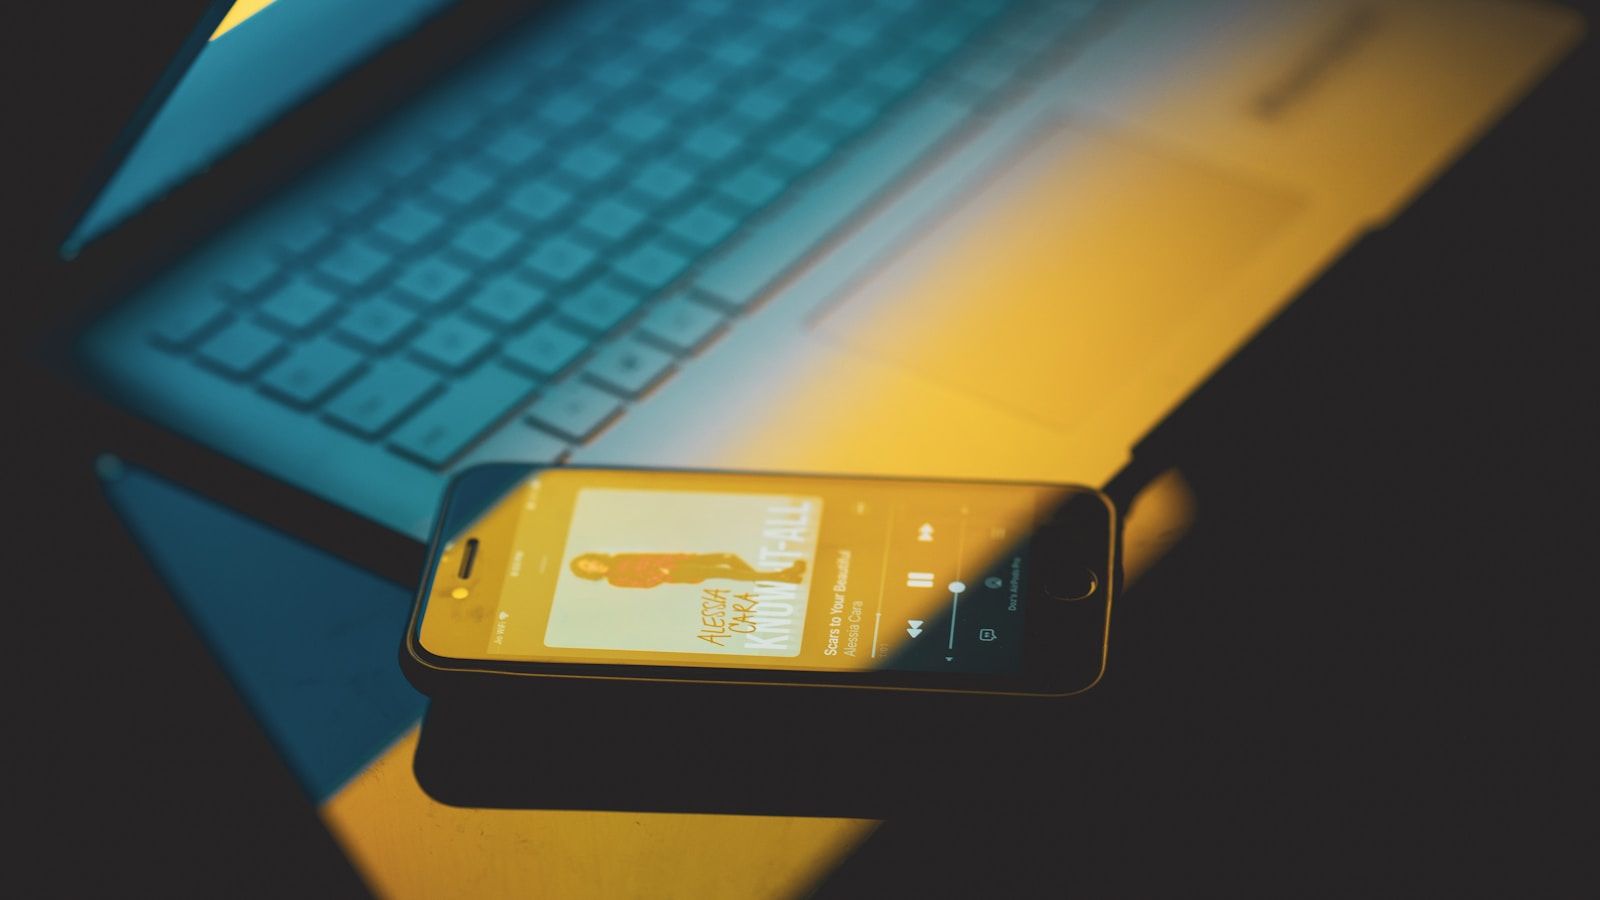
Apple Music is one of the most popular music streaming platforms today, offering a wide range of features that make listening to your favorite tunes a seamless experience. While sharing your playlists with friends can be fun, there are times when you might want to keep your playlists private. Whether you’re creating a personal mix for a special moment or just prefer a little privacy, Apple Music gives you the option to keep your playlists to yourself. In this guide, we’ll walk you through the step-by-step process of how to make playlists private on Apple Music. Let’s dive in!
Why Would You Want to Make a Playlist Private?
Before we get into the how-to, let’s talk about the why. Making your playlist private ensures that:
- Your taste in music stays personal – Some playlists are curated for intimate moments, and you might not want others to see them.
- You can avoid unwanted interactions – When playlists are public, people can like or comment on them, which might not always be welcome.
- You stay in control – By keeping a playlist private, you have complete control over who can access it.
Now that we know why this feature is useful, let’s move on to how you can enable it.
Steps to Make Playlists Private on Apple Music
Step 1: Open the Apple Music App
First, open the Apple Music app on your device. This could be your iPhone, iPad, or even your Mac. Ensure that you’re signed in with your Apple ID.
Step 2: Go to Your Library
Once the app is open, navigate to your library by tapping on the “Library” icon at the bottom of the screen. Here, you’ll see all your playlists, songs, and albums.
Step 3: Select the Playlist You Want to Make Private
In your library, locate the playlist you wish to make private. Tap on it to open the playlist details.
Step 4: Edit the Playlist Settings
Look for the “Edit” button, usually found at the top right corner of the screen. Tap on it to access the playlist’s settings.
Step 5: Disable the Public Option
Scroll down to find the “Show on My Profile and in Search” option. This setting makes the playlist visible to others. Toggle it off to make the playlist private. Once you’ve done this, your playlist will no longer be accessible to anyone else.
Step 6: Save Your Changes
After making the necessary adjustments, tap “Done” to save your changes. Congratulations! Your playlist is now private.
Tips for Managing Privacy on Apple Music
- Review Your Shared Playlists Regularly – Over time, you might forget which playlists are public. Periodically check your settings to ensure everything aligns with your preferences.
- Use Descriptive Playlist Names – If you’re keeping some playlists private, make sure the names are clear enough for you to identify them quickly.
- Keep Your Profile Settings Updated – Along with making playlists private, consider revisiting your overall profile settings to maintain complete control over your Apple Music presence.
- Log Out on Shared Devices – If you’ve signed into Apple Music on a shared device, always remember to log out to prevent others from accessing your account.
Wrapping It Up
Making playlists private on Apple Music is a straightforward process, and it’s an excellent way to ensure your musical preferences stay personal. With just a few taps, you can safeguard your playlists from prying eyes and enjoy your music the way you want to.
We hope this guide has been helpful! If you have any more questions about how to make playlists private on Apple Music or need assistance with other features, feel free to reach out. Your musical journey deserves to be as private or as public as you choose. Happy listening.
Related Articles:
For further reading, explore these related articles:
- The Evolution and Vibrance of the Indian Music Industry
- Zee Music Company Owner: Shaping the Sound of India
For additional resources on music marketing and distribution, visit DMT Records Private Limited.
