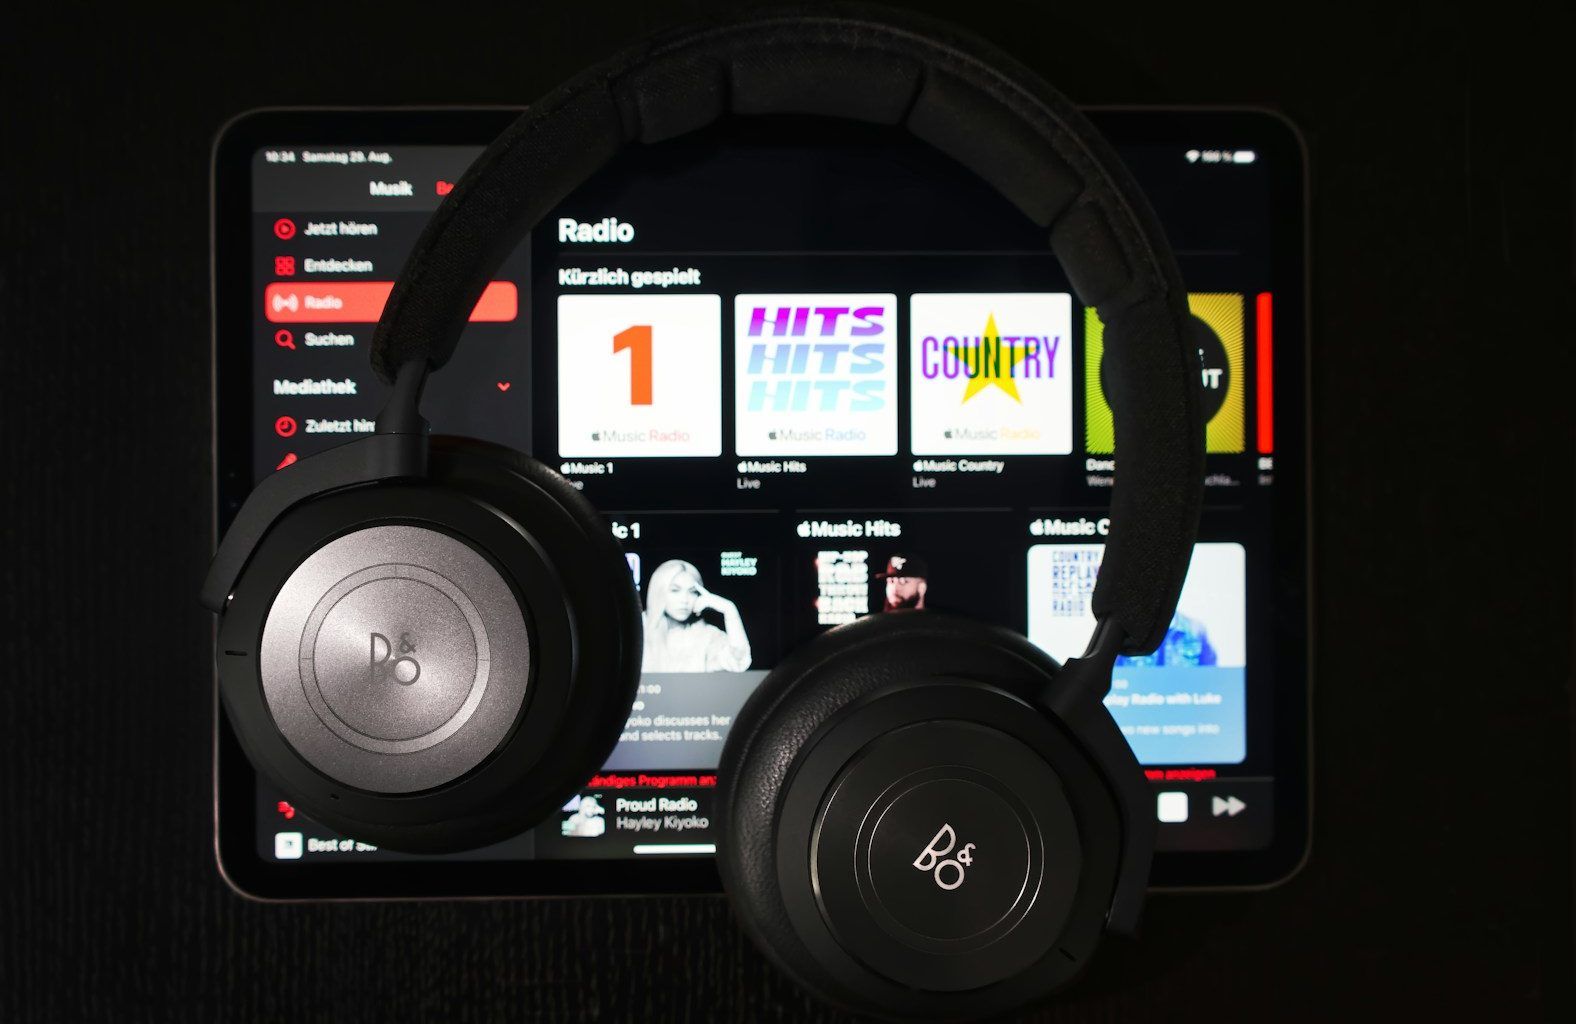
Apple Music is one of the most popular music streaming platforms, offering an incredible way to enjoy your favorite tunes and discover new ones. One of its best features is the ability to create playlists. Whether you’re curating a workout mix, a chill study playlist, or a collection of songs for a road trip, it’s easy to create a list tailored to your mood or activity. But what if you want to share your masterpiece with others? This blog will walk you through the simple steps to make your Apple Music playlist public, so your friends and followers can enjoy it too.
Why Make Your Playlist Public?
Sharing your playlist is a fantastic way to connect with others through music. Maybe you’ve crafted the perfect party mix or a calming playlist for yoga sessions, and you want others to vibe with your choices. Making your playlist public ensures anyone can discover your taste and enjoy the music you’ve picked.
In this guide, we’ll explain everything you need to know, from the basics of playlist creation to the step-by-step process of sharing it publicly. By the end of this, you’ll be a pro at showcasing your music curation skills!
Step 1: Create Your Playlist
Before you can make a playlist public, you need to create one! If you’re new to Apple Music, follow these steps:
- Open Apple Music: Launch the Apple Music app on your iPhone, iPad, or Mac.
- Go to Your Library: Tap the “Library” tab at the bottom of the screen.
- Start a New Playlist: Select “Playlists” and then tap “New Playlist.”
- Add Songs: Search for songs or browse your library. Once you find a song you like, tap the “+” or “Add” button to include it in your playlist.
- Name Your Playlist: Choose a fun or descriptive name that captures the vibe of your playlist. For example, “Summer Jams 2024” or “Relax & Unwind.”
- Add a Description and Artwork (Optional): Personalize your playlist further by adding a short description and custom cover art.
And there you go—your playlist is ready to be shared!
Step 2: Make Your Playlist Public
Now that your playlist is complete, it’s time to make it public. Here’s how:
- Open Your Playlist: Find the playlist you want to share in your library.
- Tap the “More” Button: This is the three-dot icon usually located near the top or next to your playlist name.
- Choose “Edit”: From the dropdown menu, tap “Edit.”
- Enable Sharing: Look for the toggle switch labeled “Show on My Profile and in Search.” Turn it on. This makes your playlist discoverable to anyone searching on Apple Music.
- Save Changes: Once you’ve enabled sharing, tap “Done” to save your changes.
Congratulations! Your playlist is now public. Other Apple Music users can find it by searching for your profile or the playlist’s name.
Making a playlist public is one thing, but sharing it directly with your friends or followers is even better. Here’s how to do it:
- Tap the Share Button: Open your playlist and find the share icon (a square with an upward arrow).
- Choose a Sharing Method: Select how you want to share it. You can send the link via Messages, Email, or social media platforms like Instagram and Twitter.
- Customize Your Message: Add a fun or personalized message to let people know why they should check out your playlist.
Sharing your playlist can spark conversations and connections around your favorite songs. Don’t hesitate to spread the joy of music!
Tips for Creating Amazing Playlists
Here are some tips to make your playlist stand out:
- Have a Theme: Whether it’s songs for a specific mood or activity, a theme helps tie your playlist together.
- Mix Old and New: Combine nostalgic hits with fresh tracks for an engaging listening experience.
- Balance Genres: Unless you’re focusing on a specific genre, try to mix different styles to appeal to a wider audience.
- Keep It Updated: Refresh your playlist regularly with new discoveries to keep it exciting.
Conclusion
Making an Apple Music playlist public is a simple yet powerful way to share your love of music with the world. Whether you’re sharing with close friends or hoping to reach a broader audience, following these steps ensures your playlist is ready to impress. So go ahead—curate, share, and let the music bring people together.
For further reading, explore these related articles:
For additional resources on music marketing and distribution, visit DMT Records Private Limited.


