Have you ever dreamed of having your own recording studio? Whether you’re a musician, podcaster, or just someone who loves audio, how to create a recording studio can be an exciting and fulfilling project. The best part? It’s easier than you think. With a little planning, the right tools, and some creativity, you can build a space that meets your needs without breaking the bank.
Understanding Your Needs
Before you dive into buying equipment and rearranging furniture, how to create a recording studio take a moment to think about what you need from your recording studio. Are you planning to record music, voiceovers, podcasts, or all of the above? Knowing your purpose will help you make better decisions about the equipment and layout.
For example, if you’re a musician, you might need space for instruments and gear. Podcasters might prioritize a quiet area with excellent sound clarity. Take some time to jot down your goals so you can focus on creating a studio that works for you.
Choosing the Right Space
The first step to creating a recording studio is choosing where to set it up. Ideally, you’ll want a room that is quiet, spacious, and free from echoes. If you have a spare bedroom, basement, or even a large closet, these spaces can work well. Avoid areas with too much outside noise or hard surfaces that reflect sound, like tiled bathrooms.
If you’re limited on space, don’t worry! Many people create fantastic recording studios in small areas. The key is to use what you have and make adjustments to improve the acoustics and layout.
Planning the Layout
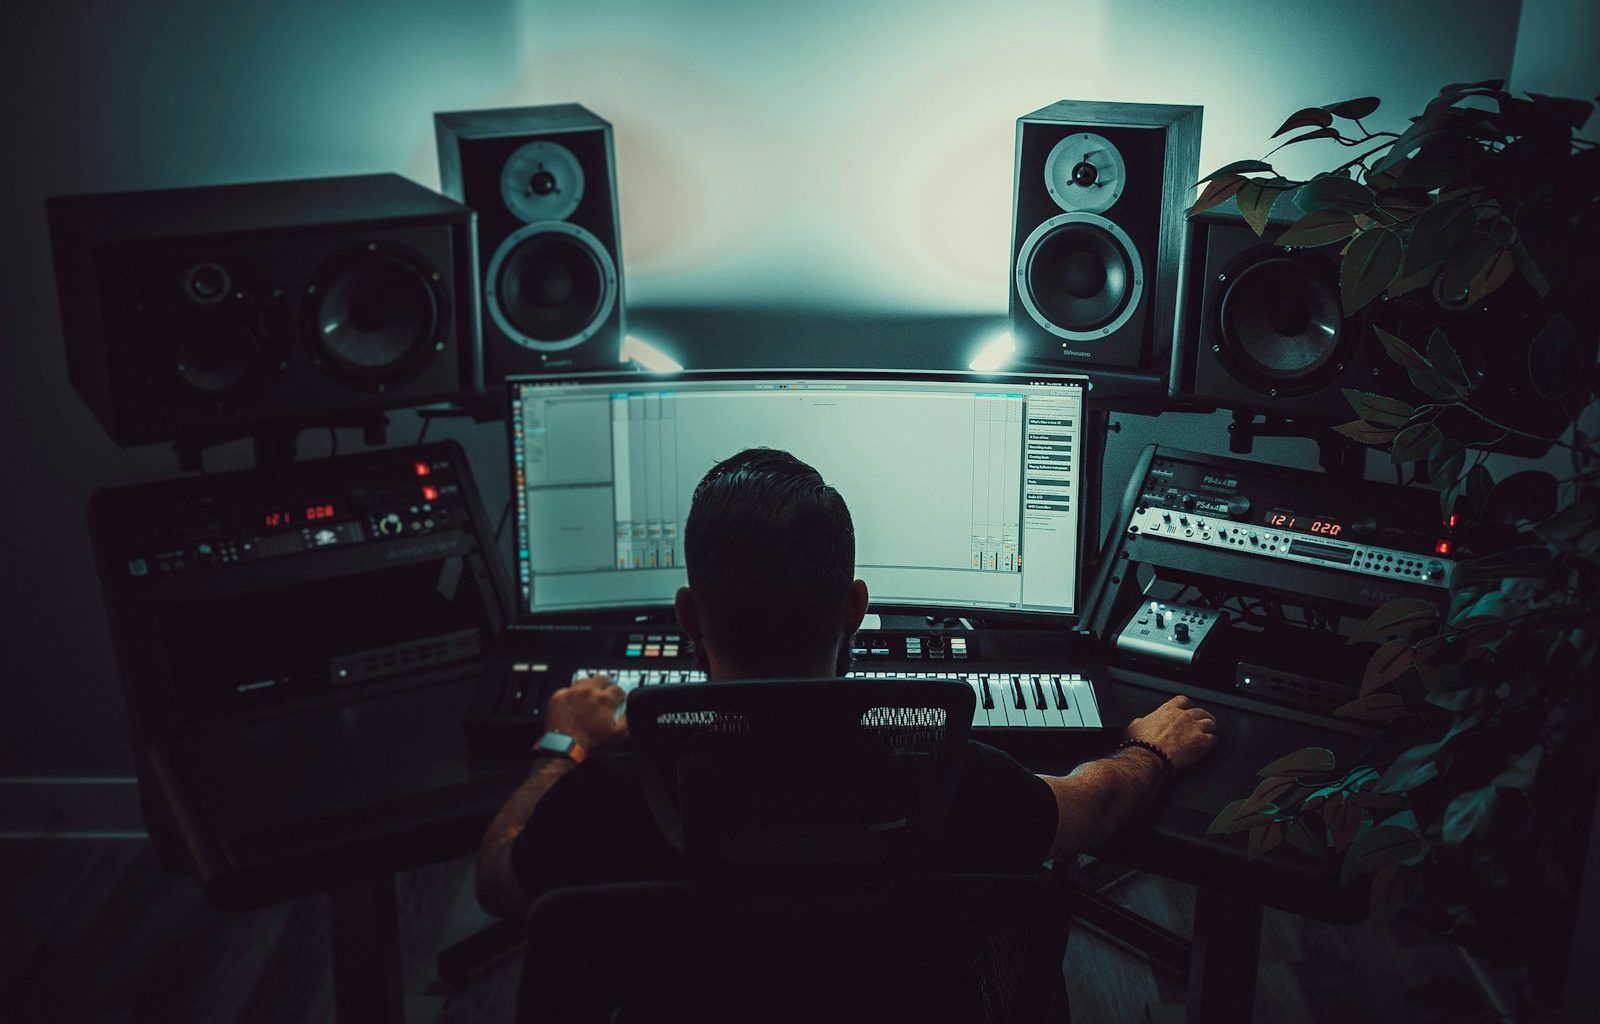
Once you’ve chosen your space, it’s time to think about the layout. Start by deciding where you’ll place your desk, computer, and other essential equipment. Make sure you have easy access to power outlets and enough room to move around comfortably. If you’re recording instruments, leave space for a drum set, keyboard, or guitar stand.
It’s also a good idea to separate your recording area from your mixing area if possible. This will help keep things organized and make the process more efficient.
Soundproofing Your Studio
One of the most important aspects of any recording studio is soundproofing. No matter how good your microphone is, background noise can ruin your recordings. Luckily, you don’t need to spend a fortune to achieve good soundproofing.
Start by sealing gaps around windows and doors with weather stripping. Thick curtains or blankets can help reduce outside noise. For walls, consider using foam panels or acoustic tiles. Even placing bookshelves filled with books against the walls can help absorb sound. Don’t forget to add a thick rug or carpet to reduce floor noise.
Improving Acoustics
While soundproofing keeps unwanted noise out, acoustics make your recordings sound professional. Poor acoustics can create echoes or make your audio sound hollow. To improve the sound in your studio, add soft furnishings like cushions, curtains, and rugs. You can also use acoustic panels strategically to absorb sound.
Experiment with different placements for your panels and test the sound until you’re happy. You don’t need to cover every inch of the room; focusing on key areas like corners and walls near your microphone can make a big difference.
Essential Equipment
Now that your space is ready, let’s talk about equipment. The good news is you don’t need the most expensive gear to get started. Here’s a basic list of what you’ll need:
- Computer: A reliable computer is essential for recording and editing audio. Make sure it has enough processing power and storage for your needs.
- Audio Interface: This device connects your microphone and instruments to your computer. Look for one that suits your budget and has the inputs you need.
- Microphone: A quality microphone is key for clear recordings. For vocals, a condenser microphone is a popular choice.
- Headphones: Invest in a good pair of studio headphones for monitoring your recordings.
- Software: Choose a digital audio workstation (DAW) for recording and editing. Many free options, like Audacity, are available.
- Cables and Stands: Don’t forget to buy XLR cables, mic stands, and pop filters.
Setting Up Your Equipment
Once you have your gear, it’s time to set it up. Start by placing your desk and computer in a comfortable spot. Connect your audio interface to your computer using a USB or Thunderbolt cable. Then, plug in your microphone and test the sound.
Position your microphone at a height and distance that works for your recording needs. Use a pop filter to reduce plosive sounds and a shock mount to prevent vibrations. Test everything to make sure it’s working properly before you start recording.
Testing and Tweaking
Before you dive into recording, spend some time testing your setup. Record a few samples and listen carefully for any issues. If you notice background noise or echoes, adjust your soundproofing and acoustics. Don’t be afraid to experiment until you get the sound you want.
You might also want to test different microphone placements and settings on your audio interface. These small adjustments can make a big difference in the quality of your recordings.
Adding Personal Touches
Your recording studio should be a space that inspires creativity. Add personal touches like artwork, plants, or lighting to make it feel welcoming. A comfortable chair and a clutter-free desk can also make a big difference in how much you enjoy working in your studio.
Remember, this is your space, so make it uniquely yours. Whether you prefer a sleek, minimalist look or a cozy, eclectic vibe, the goal is to create a place where you feel motivated to create.
Staying Within Your Budget
Creating a recording studio doesn’t have to cost a fortune. Start with the basics and upgrade as you go. Look for second-hand equipment or discounts online to save money. You’d be surprised how much you can achieve with affordable gear and a bit of DIY effort.
Focus on building a functional studio first, and then add extras like high-end microphones or fancy monitors later. The most important thing is to get started and keep improving over time.
Maintaining Your Studio
Once your studio is up and running, it’s important to keep it clean and organized. Dust can damage your equipment, so make a habit of wiping down surfaces and cleaning your gear regularly. Keep cables neatly coiled and stored to avoid tangles.
You should also back up your recordings frequently to avoid losing your work. External hard drives or cloud storage are great options for keeping your files safe.
Final Thoughts
how to create a recording studio is a rewarding project that can bring your creative ideas to life. By starting small and focusing on the essentials, you can build a space that meets your needs and grows with you over time. Remember, it’s not about having the fanciest gear—it’s about creating a space where you can express yourself and enjoy the process.
Now that you know how to create a recording studio, it’s time to get started. Whether you’re recording your first song or launching a podcast, your new studio will be the perfect place to bring your projects to life. Happy recording!
For further reading, explore these related articles:
- Discover the Magic Behind Olivia Rodrigo’s Vampire Lyrics
- Taylor Swift and Her Record Labels: A Journey of Music, Ownership, and Inspiration
For additional resources on music marketing and distribution, visit DMT Records Pvt. Ltd..
