Concert photography is exciting, isn’t it? Imagine standing near your favorite band, feeling the music’s energy, and capturing moments that tell stories. It’s like freezing time while everyone else is moving. But, let’s be honest—it can feel tricky, especially when the lights are dim, and the artists won’t stop moving. Don’t worry! In this blog, we’ll make it super easy for you to understand how to concert photography, step by step. Whether you’re just starting or want to get better, we’ve got you covered.
Why Should You Try Concert Photography?
If you love music and photography, concert photography is the perfect mix of both. Here’s why you should give it a shot:
- Capture Magical Moments: From the guitarist’s solo to the singer’s smile, your photos can show emotions like no words can.
- Be Part of the Action: You’re not just a fan anymore—you’re part of the event, capturing memories.
- Show Off Your Skills: Concert photos are bold, colorful, and full of life. They look great in portfolios or on Instagram.
What Do You Need for Concert Photography?
Great photos start with great tools. But don’t worry—you don’t need the fanciest gear to start. Here’s what helps:
1. A Good Camera
You’ll need a camera that works well in low light. DSLR or mirrorless cameras are perfect. Popular ones include:
- Canon EOS R5 (high-end but amazing).
- Sony Alpha A7 III (great for pros and beginners alike).
- Nikon D750 (old but reliable!).
2. Lenses (Your Camera’s Best Friend)
Your lens decides how much light enters your camera. For concerts, look for lenses with a big aperture (like f/1.8 or f/2.8). Some good options are:
- 50mm f/1.8: Perfect for close-ups.
- 24-70mm f/2.8: A zoom lens for versatility.
- 70-200mm f/2.8: Great for far-away shots.
3. Extras You’ll Thank Us For
- Spare Batteries: Nothing’s worse than a dead camera halfway through the concert.
- Extra Memory Cards: Live shows are fast, and you’ll click a lot of photos.
- Earplugs: Protect your ears while standing close to the speakers.
Getting Ready for the Big Night
Preparation makes everything easier. Here’s how to get ready before the show:
1. Know the Venue
- Check the stage layout. Will you shoot from the pit or the crowd?
- Find out about lighting. Some venues use colored lights, which can be tricky.
2. Study the Artists
Watch videos of the band performing. You’ll notice moments like when the singer jumps or the drummer bangs their sticks in the air.
3. Get Permissions
Some concerts need you to have a pass for photography. Ask the organizers or the band.
Easy Camera Settings for Concert Photography
Here’s where most beginners panic, but it’s simple if you follow these tips:
1. Start with Auto
Don’t be shy about using auto settings while you’re learning. Once you’re comfortable, try manual mode.
2. ISO: Keep It High
ISO decides how sensitive your camera is to light. In concerts, go for ISO 1600 or higher, so your photos aren’t dark.
3. Shutter Speed: Freeze the Action
Set your shutter speed to at least 1/200. This helps capture clear shots even when the band is moving.
4. Aperture: Keep It Wide
Use a low f-number (like f/2.8) to let more light into the camera. It also makes the background blurry, which looks cool!
Tricks to Take Stunning Photos
Want your photos to stand out? Try these:
1. Capture Emotions
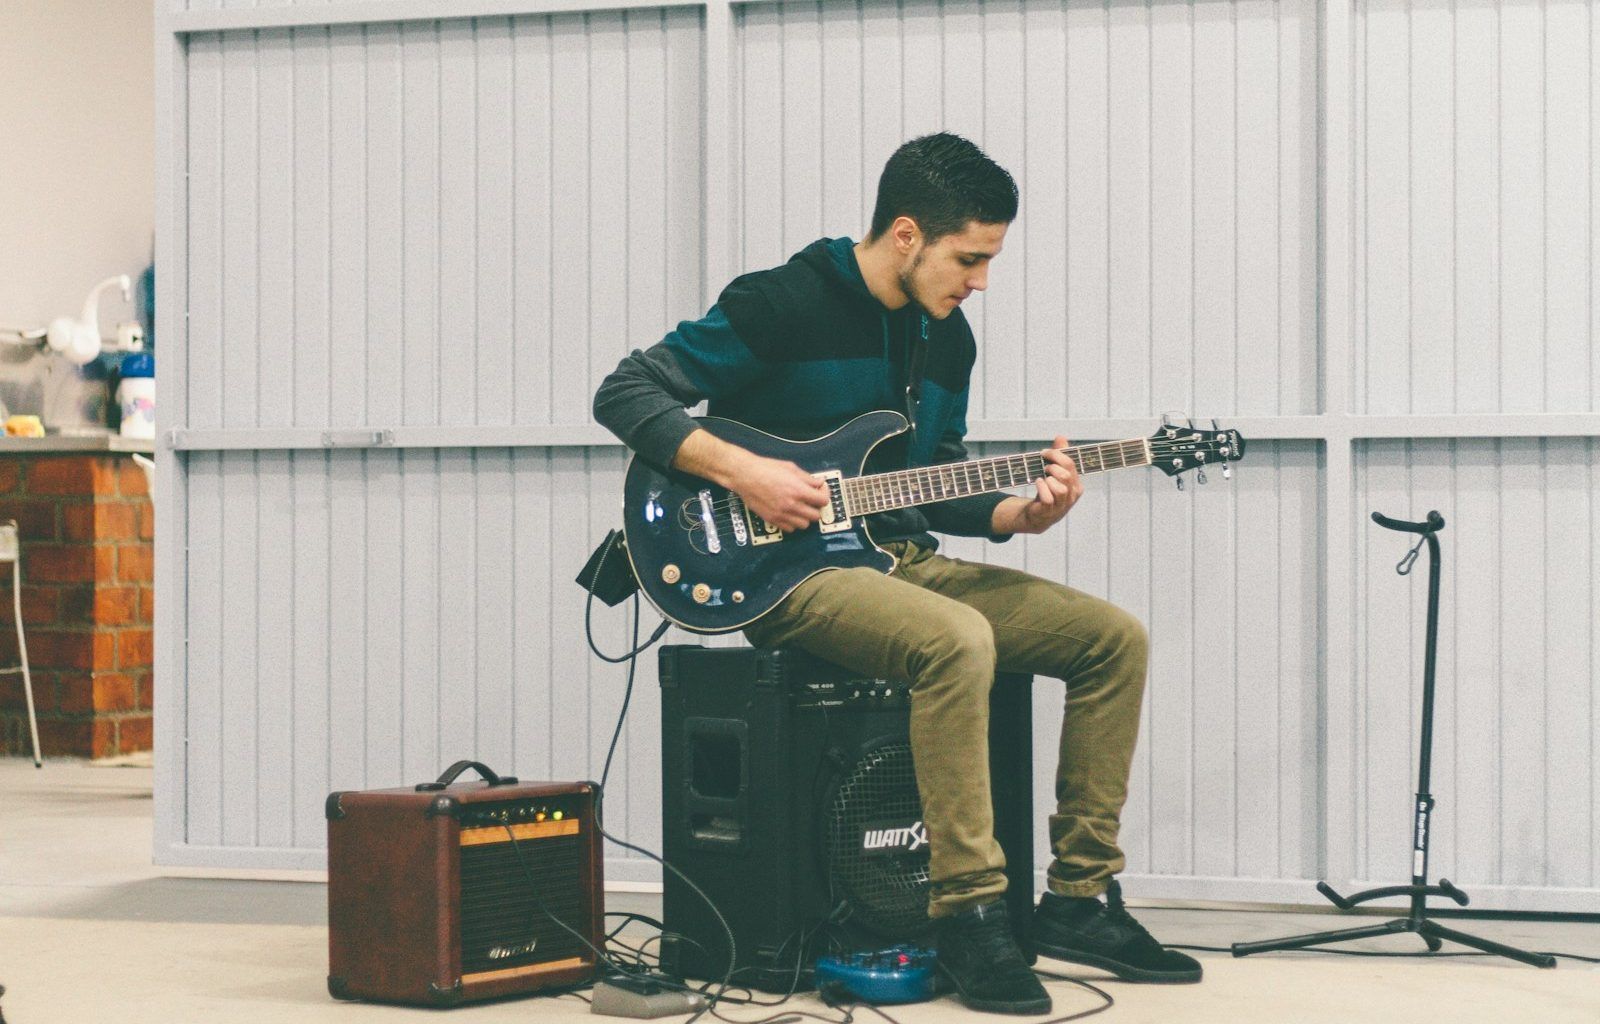
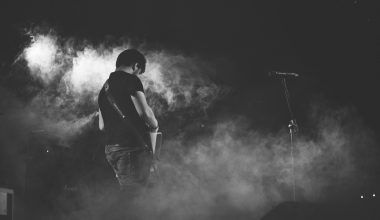
Focus on the singer’s expressions or the way the guitarist plays their instrument. It’s all about the feelings.
2. Play with Lights
Use the stage lights creatively. Sometimes, you can shoot into the light for a dramatic effect.
3. Look for Unique Angles
Don’t just shoot from eye level. Kneel down or find a higher spot for interesting perspectives.
4. Show the Crowd
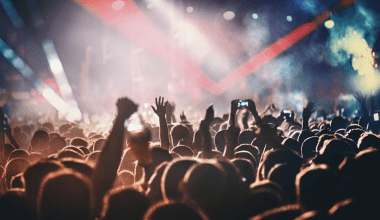
The audience is a big part of the concert vibe. Capture them waving their hands or lighting up their phones.
5. Tell a Story
Your photos should feel like a movie. Start with the empty stage, then capture the band arriving, and finish with the crowd cheering.
Challenges You’ll Face (And How to Win Over Them)
1. Low Light
Use a fast lens and higher ISO. Don’t worry about noise—you can fix it later during editing.
2. Moving Subjects
Switch to continuous autofocus. Your camera will keep tracking the band even if they move.
3. Too Many People
Use a zoom lens if you’re stuck in the crowd. It helps you focus on the stage.
4. Unpredictable Lights
Shoot in RAW format. It lets you fix colors and brightness later.
Editing Your Concert Photos
Editing makes your good photos great! Here’s how:
- Brighten Up: Adjust the exposure to make photos less dark.
- Fix the Colors: Concert lights can mess up colors. Use editing tools to correct them.
- Remove Noise: High ISO can cause grainy photos. Noise reduction tools help.
- Crop Smartly: Remove distractions like a random arm in the corner of your shot.
Practice Makes Perfect
The more you practice, the better you’ll get. Try shooting at:
- Local gigs or open mic nights.
- Festivals where there’s natural light.
- Band rehearsals (if you know someone in a band, even better!).
Growing as a Concert Photographer
Ready to take it to the next level? Here’s how to build your career:
- Build a Portfolio: Show off your best shots online.
- Connect with Artists: Reach out to local bands and offer to shoot their shows.
- Start Small, Dream Big: Begin with small events and work your way up to big concerts.
- Learn Non-Stop: Watch tutorials, read blogs, and try new things.
Wrapping Up
Now you know how to master concert photography! With the right tools, a little preparation, and lots of practice, you’ll be capturing amazing concert moments in no time. Remember, every photo you take is a chance to learn something new. So grab your camera, head to your next concert, and let the magic begin!
Related Articles:
For further reading, explore these related articles:
- Master Music Mixing Techniques Tutorials for Stunning Audio
- Your Ultimate Guide to Top Music Education
For additional resources on music marketing and distribution, visit DMT RECORDS PRIVATE LIMITED.
