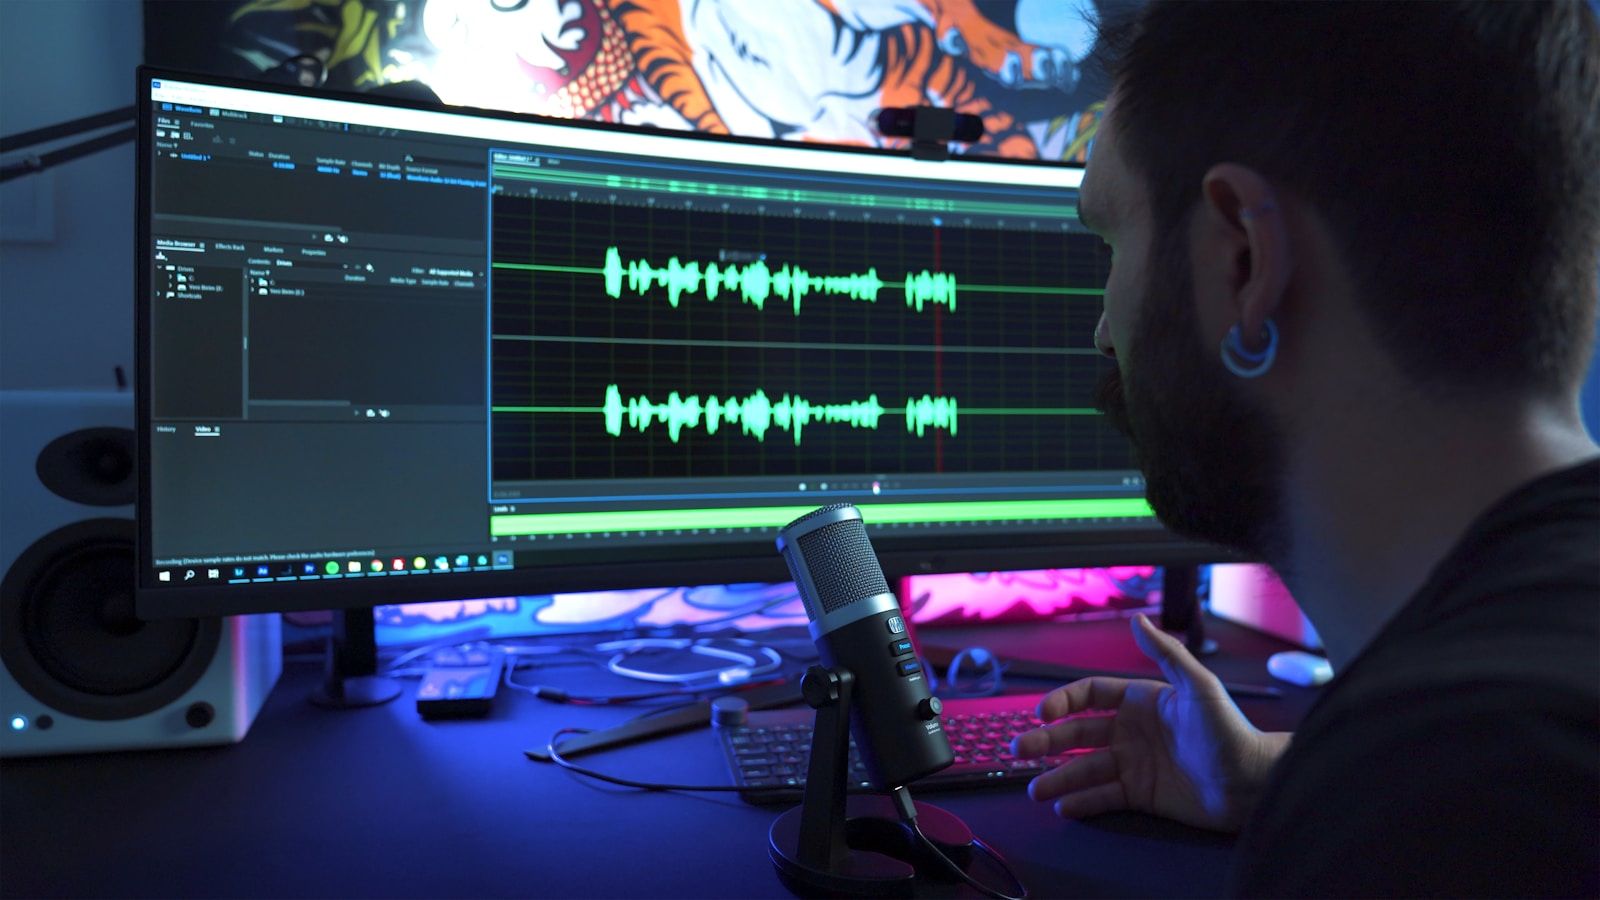
Creating a professional recording studio at home might sound like a big challenge, but with the right guidance, it’s entirely achievable. Whether you’re an aspiring musician, podcaster, or voice-over artist, having your own studio can save you money and make your workflow more efficient. Let’s break this down step-by-step so you can start producing professional-quality audio right from the comfort of your home.
Why Build a Home Recording Studio?
If you’ve ever rented studio time, you know how quickly costs add up. Building a professional recording studio at home gives you creative freedom, unlimited access, and the chance to personalize your space. Plus, with today’s technology, you don’t need a massive budget to achieve great results.
Step 1: Choosing the Right Space
The first step in building a professional recording studio at home is choosing the right space. Your choice will significantly impact the sound quality.
What to Look for in a Room:
- Size: Larger rooms with high ceilings usually sound better. Smaller rooms can be tricky but manageable with proper acoustic treatment.
- Location: Pick a space away from noisy areas like kitchens, bathrooms, or roads.
- Shape: Avoid square rooms. Odd-shaped rooms tend to produce better acoustics.
Quick Tips:
- Empty your chosen room of unnecessary items to reduce clutter.
- Test the space by clapping your hands to identify echoes or unwanted reverb.
Step 2: Soundproofing Your Studio
Soundproofing is essential for blocking outside noise and preventing your recordings from disturbing others. Let’s look at how to do this effectively.
Materials You’ll Need:
- Acoustic Panels: These absorb sound and reduce echo.
- Bass Traps: Place these in corners to manage low-frequency sounds.
- Door Seals: Use weatherstripping to seal gaps around your door.
- Thick Curtains: Hang them over windows to block external noise.
Pro Tip:
You don’t have to buy everything new. Repurposed materials like rugs and blankets can also help dampen sound.
Step 3: Investing in Essential Equipment
A professional recording studio needs the right gear. Don’t worry—you can start with the basics and upgrade over time.
The Must-Have Equipment:
- Microphone: Invest in a high-quality condenser or dynamic mic based on your needs.
- Audio Interface: This device connects your microphone to your computer and converts analog sound into digital.
- Headphones: Closed-back headphones are ideal for recording as they prevent sound leakage.
- Studio Monitors: These speakers provide accurate sound reproduction for mixing.
- Cables and Stands: High-quality XLR cables and adjustable mic stands are a must.
- DAW (Digital Audio Workstation): Popular options include Ableton Live, Logic Pro, and Audacity (free).
Budget Tip:
Start with a mid-range microphone and audio interface. You can always upgrade later.
Step 4: Setting Up Your Equipment
Now that you have your gear, it’s time to set everything up. Placement and arrangement matter a lot in a home studio.
Step-by-Step Setup Guide:
- Position Your Desk: Place it against the shortest wall to minimize sound reflections.
- Set Up Your Monitors: Use monitor stands and position them at ear level, forming an equilateral triangle with your head.
- Arrange Acoustic Panels: Cover about 50% of your walls for optimal sound absorption.
- Connect the Gear: Plug your microphone into the audio interface, then connect the interface to your computer.
Bonus Tip:
Use cable organizers to keep everything tidy and reduce the risk of tripping.
Step 5: Acoustic Treatment
Even with good soundproofing, your recordings won’t sound professional without proper acoustic treatment.
Types of Acoustic Treatment:
- Reflection Filters: Place these behind your microphone to reduce echo.
- Diffusers: These scatter sound waves, creating a balanced listening environment.
- Carpeting: Use rugs to reduce floor reflections.
DIY Options:
- Use foam mattress toppers or thick blankets on walls.
- Build your own bass traps using rock wool and fabric.
Step 6: Testing and Adjusting
Once everything is set up, test your studio to ensure optimal sound quality.
How to Test:
- Record a few samples and listen for unwanted noise or echo.
- Adjust acoustic panels or add more bass traps as needed.
- Experiment with microphone placement for the best sound.
Step 7: Adding Personal Touches
Make your studio a space where you feel creative and comfortable. Add some personality with:
- Mood lighting (LED strips work great!).
- Artwork or posters that inspire you.
- Plants for a fresh, calming vibe.
Final Thoughts
Building a professional recording studio at home doesn’t have to be overwhelming. By following these steps, you can create a space that meets your needs and grows with your passion. Start small, be patient, and keep refining your setup. Before you know it, you’ll be producing top-quality sound right from your home.
For further reading, explore these related articles:
For additional resources on music marketing and distribution, visit DMT Records Private Limited.


