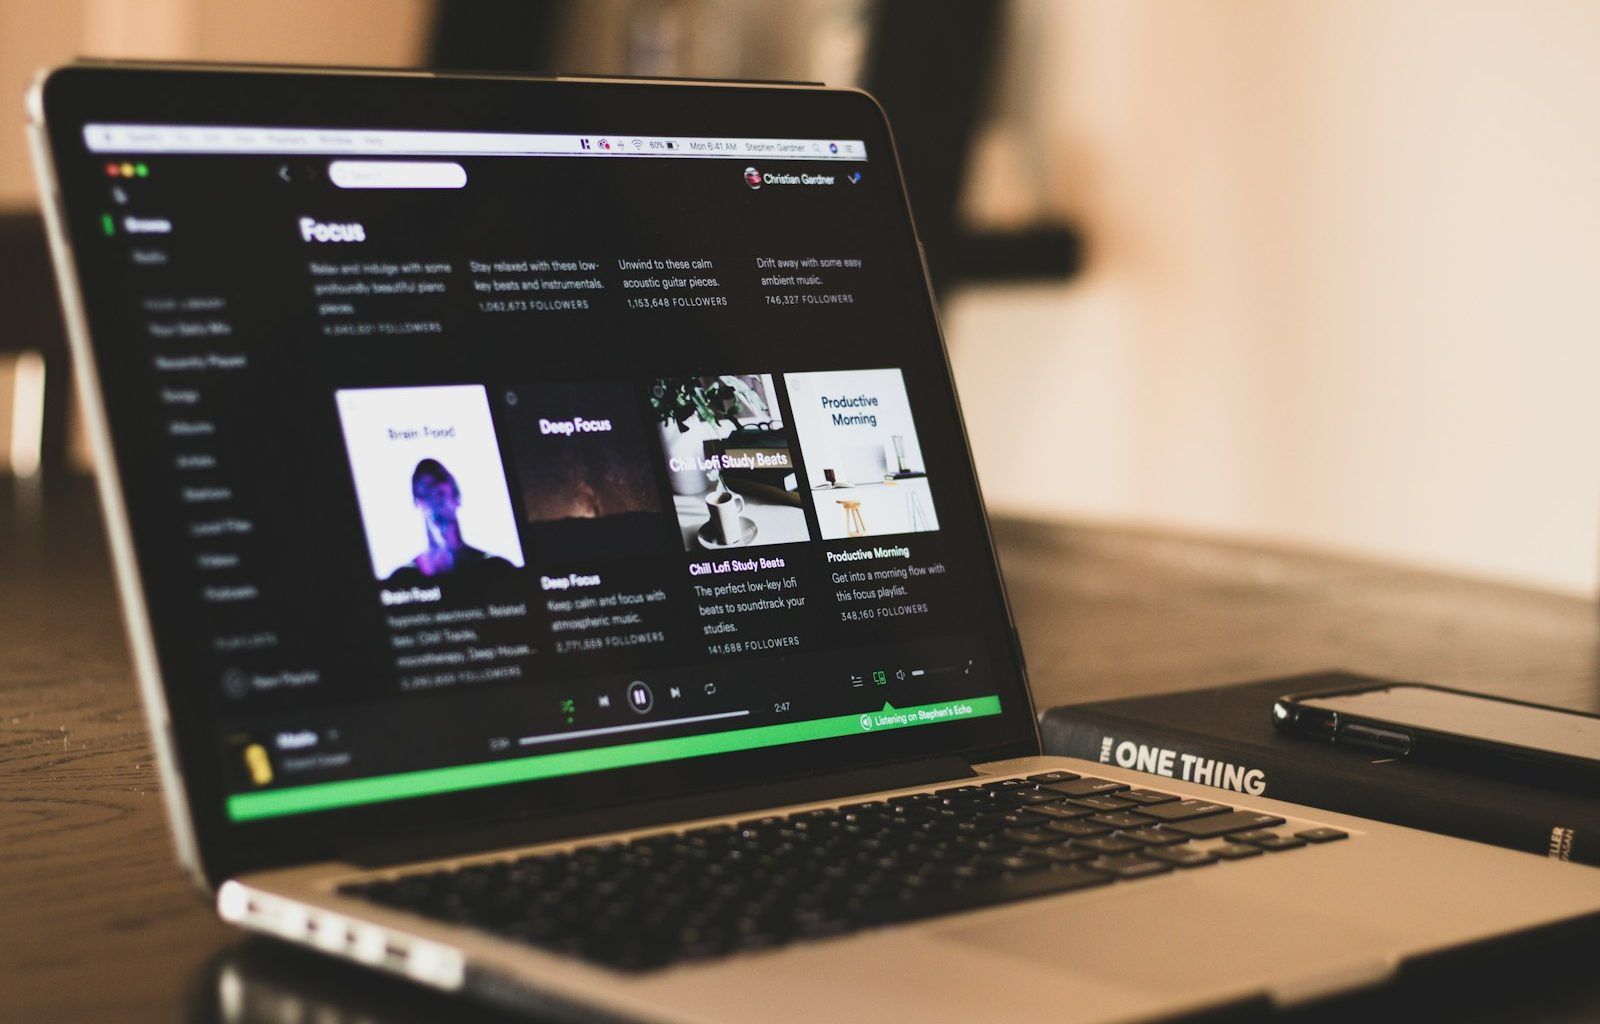
Have you ever dreamed of sharing your music with the world? If so, Spotify is the perfect place to start. With millions of active users and a strong global presence, this platform can connect your music to a worldwide audience. But you might be wondering, “How do I upload my own music to Spotify?” Don’t worry—it’s easier than you think. Let’s dive into everything you need to know, step by step.
Why Should You Upload Your Music to Spotify?
Before we get into the technical details, let’s talk about why Spotify is the right choice for you. As one of the most popular music streaming platforms, Spotify gives artists the chance to:
- Reach millions of listeners.
- Earn royalties for every stream.
- Build a personal brand and fanbase.
- Gain valuable insights into audience behavior with Spotify for Artists.
It’s not just for famous artists either! Independent musicians have the same opportunity to shine on Spotify. Ready to start your journey? Let’s go!
Step 1: Create Your Music
The first step to uploading music to Spotify is, of course, having music to upload. Whether you’re a singer, producer, or instrumentalist, make sure your tracks are polished and professional. You might want to:
- Record in a quality studio or invest in good recording equipment.
- Collaborate with sound engineers to master your tracks.
- Experiment with genres to find your unique sound.
Once your music is ready, you’re one step closer to reaching your audience.
Step 2: Choose a Distributor
Now, here’s the catch: you can’t upload music to Spotify directly unless you’re a big record label or Spotify partner. For everyone else, you need a music distributor. These companies act as middlemen between you and Spotify, making sure your music gets uploaded properly.
Some popular distributors include:
- DistroKid: Affordable and beginner-friendly.
- TuneCore: Known for detailed royalty tracking.
- CD Baby: Offers additional services like physical album distribution.
- Amuse: Free distribution with premium upgrades.
Choose one based on your needs and budget. Most distributors charge a small fee or take a percentage of your royalties, but the process is straightforward.
Step 3: Prepare Your Files
Your music files need to meet certain requirements before uploading them to Spotify. Here’s a quick checklist:
- Audio quality: Use WAV or FLAC files for the best sound.
- Metadata: Add details like song title, artist name, album name, and genre.
- Album art: Spotify requires a high-quality image (3000×3000 pixels, in JPEG format).
Having these elements ready will make the uploading process much smoother.
Step 4: Set Up Your Artist Profile
Once your music is uploaded, you’ll need an artist profile to engage with your listeners. Here’s how to do it:
- Sign up for Spotify for Artists.
- Verify your identity as an artist.
- Add a bio, photos, and social media links to your profile.
This is your chance to tell your story. Share what inspires your music and give your audience a glimpse into your world.
Step 5: Submit Your Music
After choosing a distributor and preparing your files, it’s time to submit your music. Most distributors will guide you through this process:
- Upload your tracks to the distributor’s platform.
- Fill in the metadata fields.
- Select Spotify as one of the streaming platforms.
- Choose a release date.
Pro tip: Pick a release date at least two weeks in the future. This gives Spotify enough time to process your music and include it in curated playlists.
Step 6: Promote Your Music
Now that your music is live, it’s time to spread the word. Here are some ways to promote your music on Spotify:
- Social Media: Share your Spotify links on Instagram, Twitter, and Facebook.
- Playlists: Submit your tracks to Spotify’s editorial playlists and collaborate with independent curators.
- Live Performances: Promote your Spotify page during gigs and live streams.
- Engage with Fans: Use Spotify for Artists to analyze your audience and connect with them.
Remember, promotion doesn’t stop after release day. Keep engaging with your audience to build momentum.
Step 7: Monitor Your Progress
Spotify for Artists provides valuable analytics to help you track your growth. Pay attention to metrics like:
- Monthly listeners.
- Number of streams per track.
- Geographic data on where your audience is located.
Use these insights to refine your strategy and make informed decisions for your next release.
Common Questions About Uploading Music to Spotify
How long does it take for my music to appear on Spotify?
It typically takes 3-5 business days for your music to go live. However, this may vary depending on your distributor and the time of year.
Can I upload music to Spotify for free?
Some distributors like Amuse offer free plans, but they may come with limitations. Paid options often provide more features and faster processing times.
Will I earn money from Spotify streams?
Yes! Spotify pays royalties based on the number of streams your music receives. While the payout per stream is small, it adds up over time, especially as your audience grows.
Wrapping It Up
Uploading your own music to Spotify is an exciting journey that can open countless doors. By creating high-quality tracks, choosing the right distributor, and actively promoting your music, you’ll be well on your way to success. Don’t wait—start sharing your music with the world today!
Related Articles:
For further reading, explore these related articles:
- How Many Songs Do BTS Have? A Look Into Their Amazing Music Journey
- I Fall Apart Lyrics – Understanding the Song That Speaks to Your Heart
For additional resources on music marketing and distribution, visit DMT RECORDS PRIVATE LIMITED


