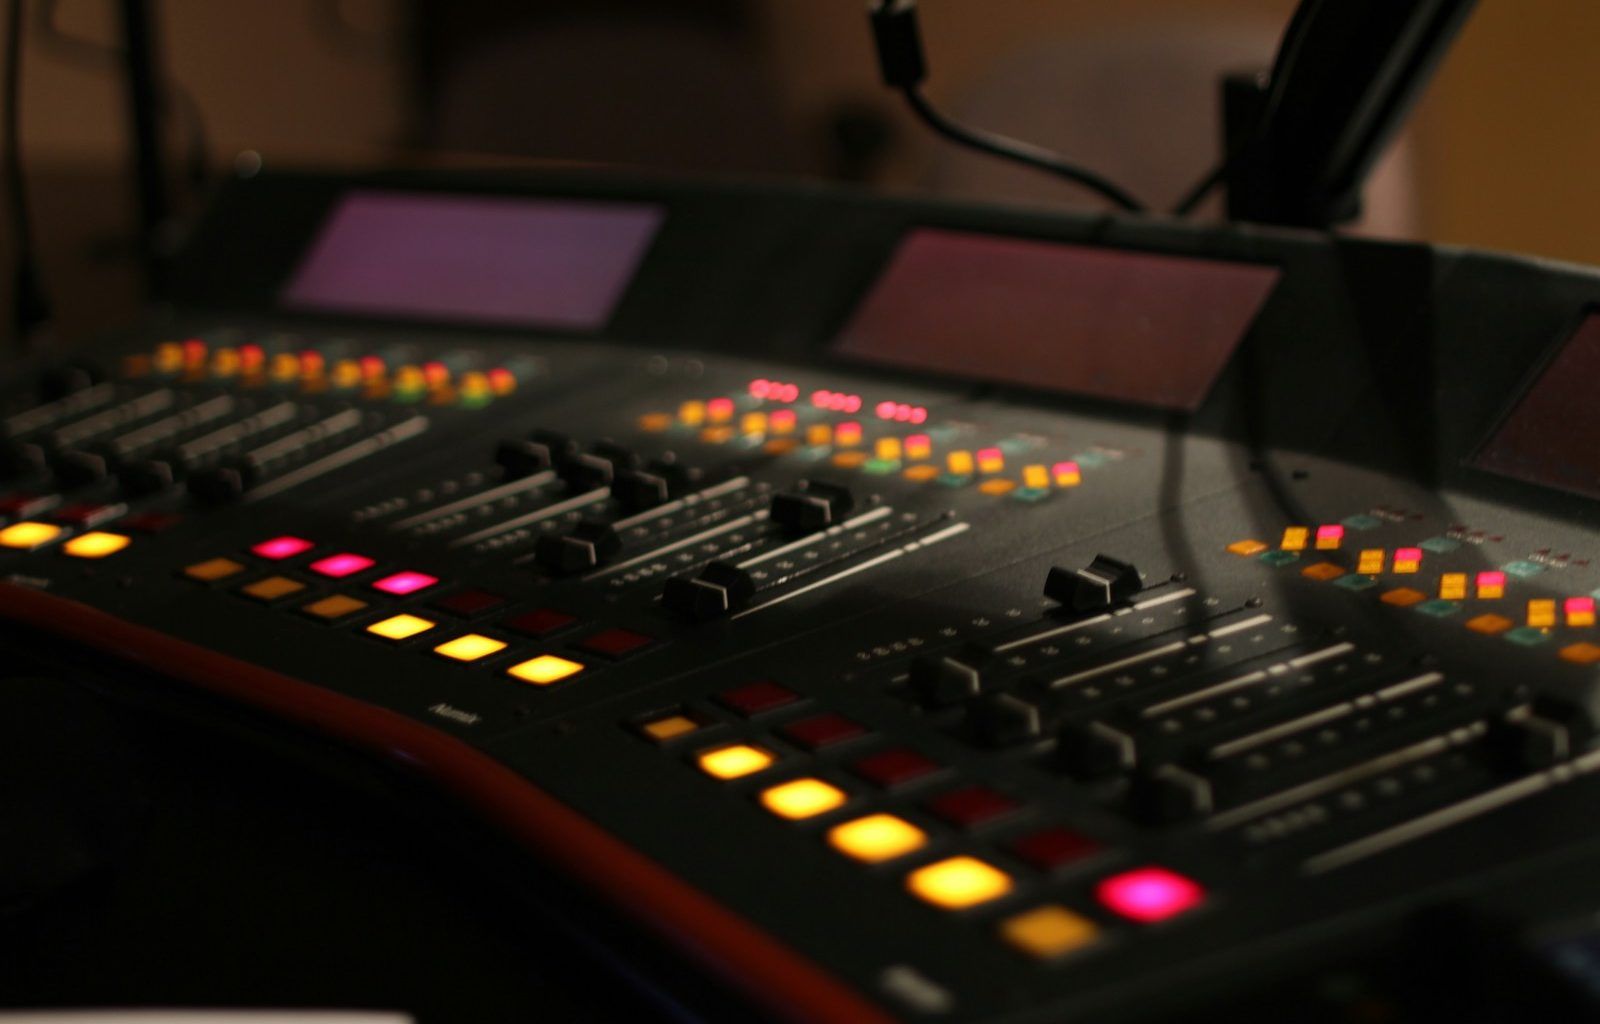
Are you dreaming of creating your own music at home but unsure where to start? A homemade music studio setup might sound like a daunting project, but with a bit of planning and some creative thinking, you can turn even a small space into a music haven. In this guide, we’ll walk you through everything you need to know to get started, whether you’re a budding musician or an experienced producer.
Why Build a Homemade Music Studio?
There’s something magical about having a space where you can pour your creativity into making music. A homemade music studio setup offers several advantages. First, it saves you the cost of renting studio time, which can add up quickly. Second, it gives you the freedom to experiment and create at your own pace. Finally, it’s just plain convenient—you can make music anytime inspiration strikes!
But how do you go about creating a functional, effective music studio at home? Don’t worry; it’s easier than you think.
Step 1: Choose the Perfect Space
Before you start buying equipment, you need to decide where your music studio will be. The space doesn’t have to be huge, but it should be quiet and free from distractions. A spare bedroom, a corner in your basement, or even a closet can work as your homemade music studio setup.
When choosing a space, think about:
- Noise Levels: Avoid areas with a lot of outside noise.
- Accessibility: Pick a spot that’s easy to get to so you’ll actually use it.
- Acoustics: A room with minimal echo is ideal.
If you’re working with a larger area, you’ll have more flexibility. However, even a small space can be transformed with the right setup.
Step 2: Plan Your Acoustic Treatment
Good acoustics are the backbone of any music studio. Without proper acoustic treatment, even the best equipment can’t give you high-quality sound. Luckily, you don’t need to spend a fortune to improve the sound in your homemade music studio setup.
Here’s what you can do:
- Use Acoustic Panels: These help reduce echo and improve sound quality.
- Add Rugs or Carpets: Hardwood floors can cause sound to bounce around. A rug can help absorb some of that noise.
- Use Heavy Curtains: They’re great for blocking outside noise and reducing echo.
- DIY Bass Traps: Corners of rooms often cause low-frequency sound issues. Bass traps can help balance this out.
Step 3: Gather Your Essential Equipment
A homemade music studio setup doesn’t have to break the bank. Start with the essentials and upgrade as you grow. Here are the must-have items for your studio:
- Computer: Your computer will be the heart of your setup. Make sure it’s powerful enough to handle music production software.
- Digital Audio Workstation (DAW): This software is where you’ll record, edit, and mix your music. Popular options include Ableton Live, FL Studio, and GarageBand.
- Audio Interface: This connects your instruments and microphones to your computer and improves sound quality.
- Studio Monitors: These are special speakers designed for accurate sound reproduction.
- Microphone: A good microphone is essential for recording vocals or acoustic instruments.
- Headphones: Invest in a pair of high-quality headphones for detailed listening.
- Cables and Stands: Don’t forget the little things like XLR cables, microphone stands, and pop filters.
Step 4: Set Up Your Equipment
Once you’ve gathered your equipment, it’s time to set it up. Position your desk or workstation in the room’s center or along one wall. Place your computer and audio interface within easy reach. Set up your studio monitors at ear level and in an equilateral triangle for optimal sound.
Take your time with this step. A well-organized homemade music studio setup makes creating music more enjoyable.
Step 5: Optimize Your Workflow
Efficiency is key in a home music studio. Keep your workspace tidy and organized. Use cable management tools to avoid clutter. Arrange your equipment so that you can reach everything without breaking your creative flow.
Think about adding:
- Storage Solutions: Use shelves or drawers to keep your gear neat.
- Ergonomic Furniture: A comfortable chair and desk can make long sessions more bearable.
- Lighting: Soft, adjustable lighting can set the mood for creativity.
Step 6: Explore Additional Gear
Once you’ve got the basics down, you can start adding extras to your homemade music studio setup. Here are a few ideas:
- MIDI Controller: This makes it easier to create melodies and beats.
- Synthesizers: For adding unique sounds and textures.
- Outboard Gear: Such as compressors and equalizers for advanced mixing.
- Second Monitor: More screen space can help with complex projects.
Step 7: Learn and Experiment
Having a homemade music studio setup is just the beginning. The real magic happens when you start experimenting and learning. Watch tutorials, take online courses, and practice regularly. Don’t be afraid to make mistakes—that’s how you grow.
Conclusion: Start Creating Today
Building a homemade music studio setup is a journey. It takes time, effort, and a bit of trial and error. But the reward? A personal space where you can create, experiment, and bring your musical ideas to life.
Remember, your studio doesn’t have to be perfect from the start. Begin with what you have, and improve it as you go. The most important thing is to enjoy the process and let your creativity shine.
For further reading, explore these related articles:
- The Ultimate Guide to Online Song Mastering: Everything You Need to Know
- How to Create a DIY Small Music Room: Your Complete Guide
For additional resources on music marketing and distribution, visit DMT Records Private Limited.


