Are you a musician, podcaster, or content creator dreaming of a space where creativity flows effortlessly? A home music studio can be your sanctuary. Imagine having a personal space to compose, record, and mix music without external interruptions. With today’s affordable technology and equipment, building a studio at home has never been easier.
The best part? You can customize it to suit your style and workflow. Whether you’re a beginner or a seasoned artist, this guide will walk you through everything you need to know to set up your dream home music studio.
Planning Your Space
Step 1: Choose the Right Location
The location of your home music studio is critical. Look for a quiet area in your home that offers minimal distractions and external noise. A spare bedroom, a basement, or even a well-insulated garage can work wonders. Prioritize spaces with minimal echo and background noise.
Step 2: Consider the Layout
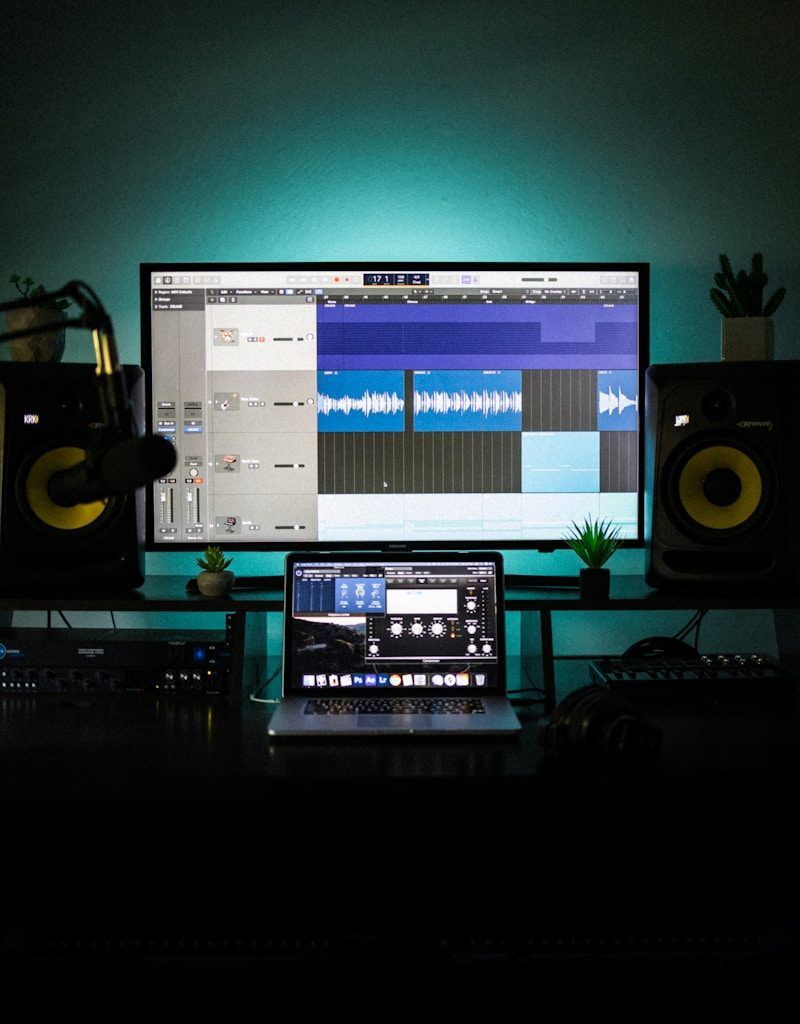
Think about how you’ll use the space. Will you be recording instruments, vocals, or just mixing? Arrange your gear for easy access and workflow efficiency. For example, place your desk at the center of the room with speakers at ear level to create an optimal listening environment.
Essential Equipment for a Home Music Studio
Building a home music studio requires a mix of essential tools. Here’s a checklist to get started:
1. Computer
Your computer is the heart of your studio. Invest in a system with sufficient processing power to run Digital Audio Workstations (DAWs) and plugins smoothly. Macs and PCs both work well; choose based on your preference.
2. Digital Audio Workstation (DAW)
A DAW is the software you’ll use for recording, editing, and mixing. Popular options include Logic Pro, Ableton Live, FL Studio, and Pro Tools. Most DAWs offer free trials, so test a few before committing.
3. Audio Interface
An audio interface connects your instruments and microphones to your computer. Look for models with high-quality preamps and at least two inputs for versatility.
4. Studio Monitors and Headphones
Accurate sound reproduction is key. Invest in studio monitors and headphones designed for critical listening. Popular choices include Yamaha HS5 monitors and Audio-Technica M50x headphones.
5. Microphones
Choose microphones based on your needs. A condenser microphone works well for vocals and acoustic instruments, while a dynamic microphone is great for loud sound sources like drums or electric guitar amps.
6. MIDI Controller
A MIDI controller allows you to play virtual instruments and control your DAW. A 49-key MIDI keyboard is a great starting point.
Setting Up Your Studio
Step 1: Soundproofing and Acoustic Treatment
One of the biggest challenges in a home music studio is controlling sound. Proper soundproofing ensures minimal noise escapes your studio, while acoustic treatment improves the sound quality inside.
- Soundproofing: Use thick curtains, rugs, and foam panels to block external noise. For serious soundproofing, consider installing mass-loaded vinyl or building a double-layered wall.
- Acoustic Treatment: Add bass traps, diffusers, and foam panels to reduce echo and create a balanced sound environment.
Step 2: Cable Management
Messy cables can kill your creative vibe. Invest in cable organizers and Velcro ties to keep your workspace tidy. Label your cables for easy identification.
Step 3: Lighting
Good lighting enhances the vibe of your studio. Opt for adjustable LED lights or smart bulbs to set the mood for different tasks—bright for mixing and dim for creative jamming sessions.
Recording Techniques for Beginners
Setting Levels
When recording, ensure your input levels are neither too low nor too high. Aim for a signal that peaks between -12dB and -6dB to prevent distortion while maintaining good headroom.
Mic Placement
The placement of your microphone can significantly affect the quality of your recordings. Experiment with different angles and distances to find the sweet spot for your sound source.
Layering Tracks
Don’t be afraid to layer multiple takes for a fuller sound. For example, record a rhythm guitar track twice and pan each take left and right for a stereo effect.
Budget-Friendly Tips for Building a Home Music Studio
- Start Small: Focus on essential gear first, and upgrade as your skills improve.
- DIY Acoustic Panels: Build your own acoustic panels using affordable materials like rock wool and wooden frames.
- Second-Hand Gear: Look for used equipment on platforms like eBay or Reverb to save money.
- Free Plugins: Many companies offer free VST plugins that deliver professional-quality sound. Check out Spitfire Audio LABS or Valhalla Supermassive.
Maintaining Your Home Music Studio
Once your studio is up and running, regular maintenance is key. Clean your equipment often, back up your files, and stay updated with software and firmware updates. Regularly evaluate your setup and make adjustments to improve efficiency.
Final Thoughts
Creating a home music studio doesn’t have to be overwhelming. With a bit of planning and the right gear, you can design a space that inspires creativity and helps you produce high-quality music. Take it step by step, and don’t forget to enjoy the journey—after all, your home music studio is all about making your passion come to life.
For further reading, explore these related articles:
- How to Make a Music Video: A Step-by-Step Guide
- How to Release Songs on Amazon Music: A Step-by-Step Guide
For additional resources on music marketing and distribution, visit DMT Records Private Limited.


