Dreaming of a Home Music Recording Studio Set up? Whether you’re a beginner or an experienced musician, having your own space to create music is exciting and empowering. Don’t worry; setting up your studio doesn’t need to break the bank or overwhelm you. This guide will walk you through every step to build your studio and achieve professional-quality recordings.
Why Set Up a Home Music Recording Studio?
Having your own home music recording studio gives you freedom. You can record at your pace, experiment with ideas, and save money on studio rentals. Plus, with advances in technology, creating high-quality tracks at home is easier than ever. Let’s dive into what you’ll need and how to make your studio dreams a reality.
Step 1: Choosing the Perfect Space
Your studio space plays a big role in your recordings. Here are some tips to find the right spot:
- Quiet Environment: Choose a room away from noisy areas like roads or crowded spaces.
- Soundproofing Potential: Look for a space where you can add soundproofing materials.
- Comfort: Ensure it’s a comfortable space since you’ll spend hours there.
Even a small room can work wonders if set up properly. Many great songs were recorded in tiny home setups!
Step 2: Basic Equipment You’ll Need
Building a home music recording studio doesn’t mean you need every piece of gear at once. Start with the essentials:
1. Computer
Your computer is the heart of your setup. Choose one with:
- A fast processor.
- Plenty of RAM (at least 8GB).
- Reliable storage (SSD is recommended).
2. Digital Audio Workstation (DAW)
DAWs are software where you record, edit, and mix your tracks. Popular options include:
- Logic Pro
- Ableton Live
- GarageBand (great for beginners)
3. Audio Interface
This device connects your instruments or microphone to your computer. Look for one with:
- Multiple input/output options.
- Good sound quality.
Brands like Focusrite and PreSonus are excellent for beginners.
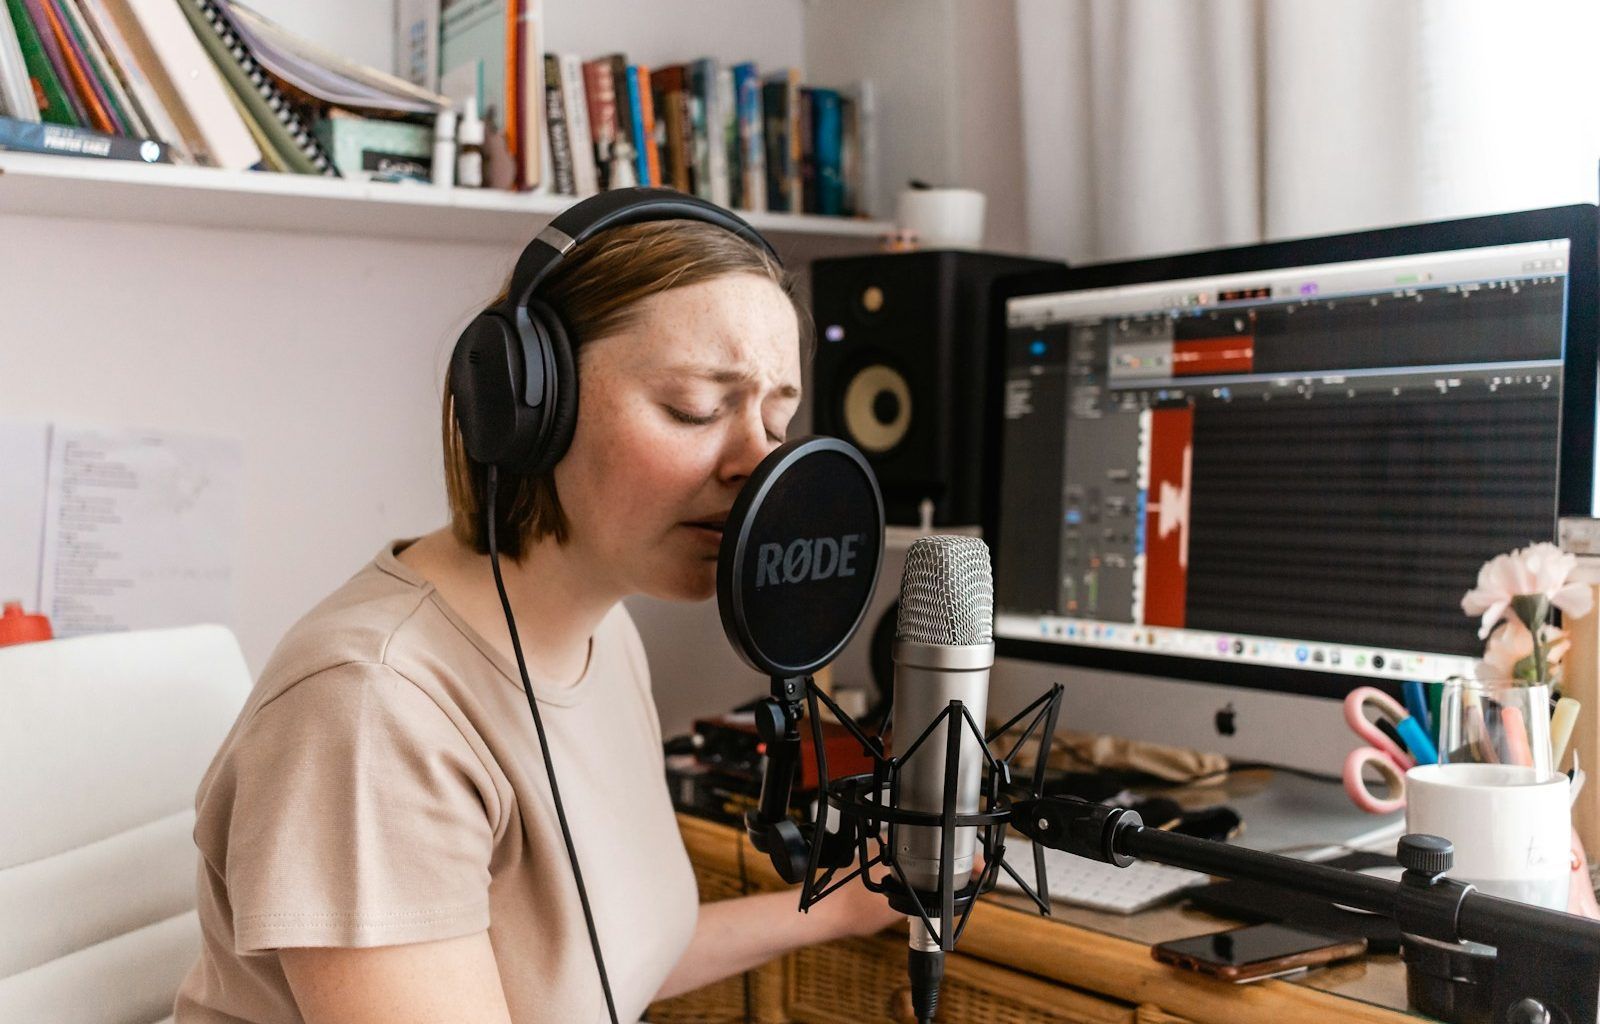
4. Microphone
For vocals and acoustic instruments, a quality mic is essential. Start with:
- A condenser microphone for detailed sound.
Pair it with a sturdy microphone stand and a pop filter to reduce plosive sounds.
5. Headphones and Monitors
Invest in good-quality studio headphones and monitor speakers for accurate sound playback. Popular options include:
- Audio-Technica ATH-M50x headphones.
- KRK Rokit monitor speakers.
6. Cables and Accessories
Don’t forget the smaller things:
- XLR cables.
- Power strips.
- Mic stands.
Step 3: Setting Up Your Space
After gathering your gear, it’s time to arrange it. Here’s how:
Positioning
- Desk: Place your desk centrally, with your monitor speakers at ear level.
- Acoustics: Use foam panels or blankets on walls to reduce echo and improve sound clarity.
- Lighting: Add soft lighting for a cozy vibe. It helps creativity flow.
Cables and Wires
Keep your workspace neat with cable organizers or Velcro ties. A clutter-free space makes working easier and safer.
Step 4: Soundproofing and Acoustics
A great home music recording studio needs good acoustics. Here are some simple fixes:
- Use rugs or carpets to minimize floor reflections.
- Hang curtains or heavy blankets for better sound absorption.
- Add bass traps in corners to manage low-frequency sounds.
These small tweaks can make a big difference without costing much.
Step 5: Recording Tips for Beginners
Now that your studio is ready, let’s record your first track!
- Mic Placement: Experiment with distances to get the best sound.
- Test Levels: Check your input levels to avoid distortion.
- Warm-Up: Always warm up your voice or instruments before recording.
Step 6: Upgrading Over Time
As you grow, so will your studio needs. Consider adding:
- A MIDI keyboard for creating beats or melodies.
- Multiple microphones for versatile recording options.
- Advanced plugins for mixing and mastering.
Invest in upgrades slowly to ensure you make the most of each piece.
Conclusion
Setting up a home music recording studio is a journey, but it’s worth every effort. Start small, stay creative, and soon you’ll have a setup that inspires great music. Whether you dream of creating hits or simply enjoy the art, your studio will be your sanctuary.
Frequently Asked Questions (FAQs)
Q1: How much does it cost to set up a basic home studio? It can start from as low as ₹20,000 for basic gear and go up as you add advanced equipment.
Q2: Do I need expensive soundproofing? No, you can use affordable items like rugs, foam panels, and curtains to improve acoustics.
Q3: Can I use my laptop for recording? Yes, most laptops with decent specs can handle music production software.
Q4: What’s the best DAW for beginners? GarageBand and Audacity are great for starters, while Logic Pro and Ableton Live are excellent as you progress.
By following this guide, you’ll be well on your way to creating a fantastic home music recording studio. Happy recording!
For further reading, explore these related articles:
- Revolutionizing Music Creation with Spotify Music Generation
- How to Record a Song at Home: Easy Steps for Beginners
For additional resources on music marketing and distribution, visit Deliver My Tune.
