Starting a recording studio might feel like a big challenge, but with the right equipment and a clear plan, it’s completely doable. Whether you dream of producing music, podcasts, or voiceovers, building a home or professional recording studio is an exciting journey. This guide will walk you through everything you need to know about the equipment needed to start a recording studio to kick off your studio setup.
Why Setting Up a Recording Studio is Worth It
Creating a recording studio gives you the power to produce high-quality audio projects from the comfort of your own space. You can work at your own pace, experiment with sounds, and fine-tune your craft without booking expensive studio time. Plus, it can open doors to creative opportunities and even new income streams.
But first, you need to gather the right gear. Let’s explore the equipment needed to start a recording studio.
Basic Recording Studio Equipment Checklist
Before diving into details, here’s a quick checklist of the key equipment needed to start a recording studio:
- A computer
- Digital Audio Workstation (DAW) software
- An audio interface
- Studio monitors
- Microphones
- Headphones
- Mic stands and pop filters
- Acoustic treatment
Now, let’s break down each item so you know exactly what to look for.
The Heart of Your Studio: A Reliable Computer
The computer is the foundation of your recording studio. It’s where all the recording, mixing, and editing magic happens. Choose a computer with enough processing power and memory to handle audio production software.
Most producers opt for either a Mac or a PC, depending on their preferences. Here are a few things to keep in mind:
- RAM: At least 16GB is recommended.
- Storage: SSDs are faster and more reliable than HDDs. Aim for 500GB or more.
- Processor: A multi-core processor like Intel i7 or better ensures smooth performance.
Your computer doesn’t have to be the most expensive option, but it should be powerful enough to avoid frustrating crashes or lag.
Get the Right DAW Software
The Digital Audio Workstation (DAW) is where you record, edit, and mix your audio. It’s an essential piece of software for any recording studio. Popular DAWs include:
- Pro Tools: Widely used in professional studios.
- Logic Pro X: A favorite among Mac users.
- Ableton Live: Ideal for electronic music production.
- FL Studio: Great for beginners and beatmakers.
- GarageBand: A beginner-friendly free option for Mac users.
Choose a DAW that feels intuitive and suits the type of projects you’ll be working on.
Audio Interface: Your Bridge to High-Quality Sound
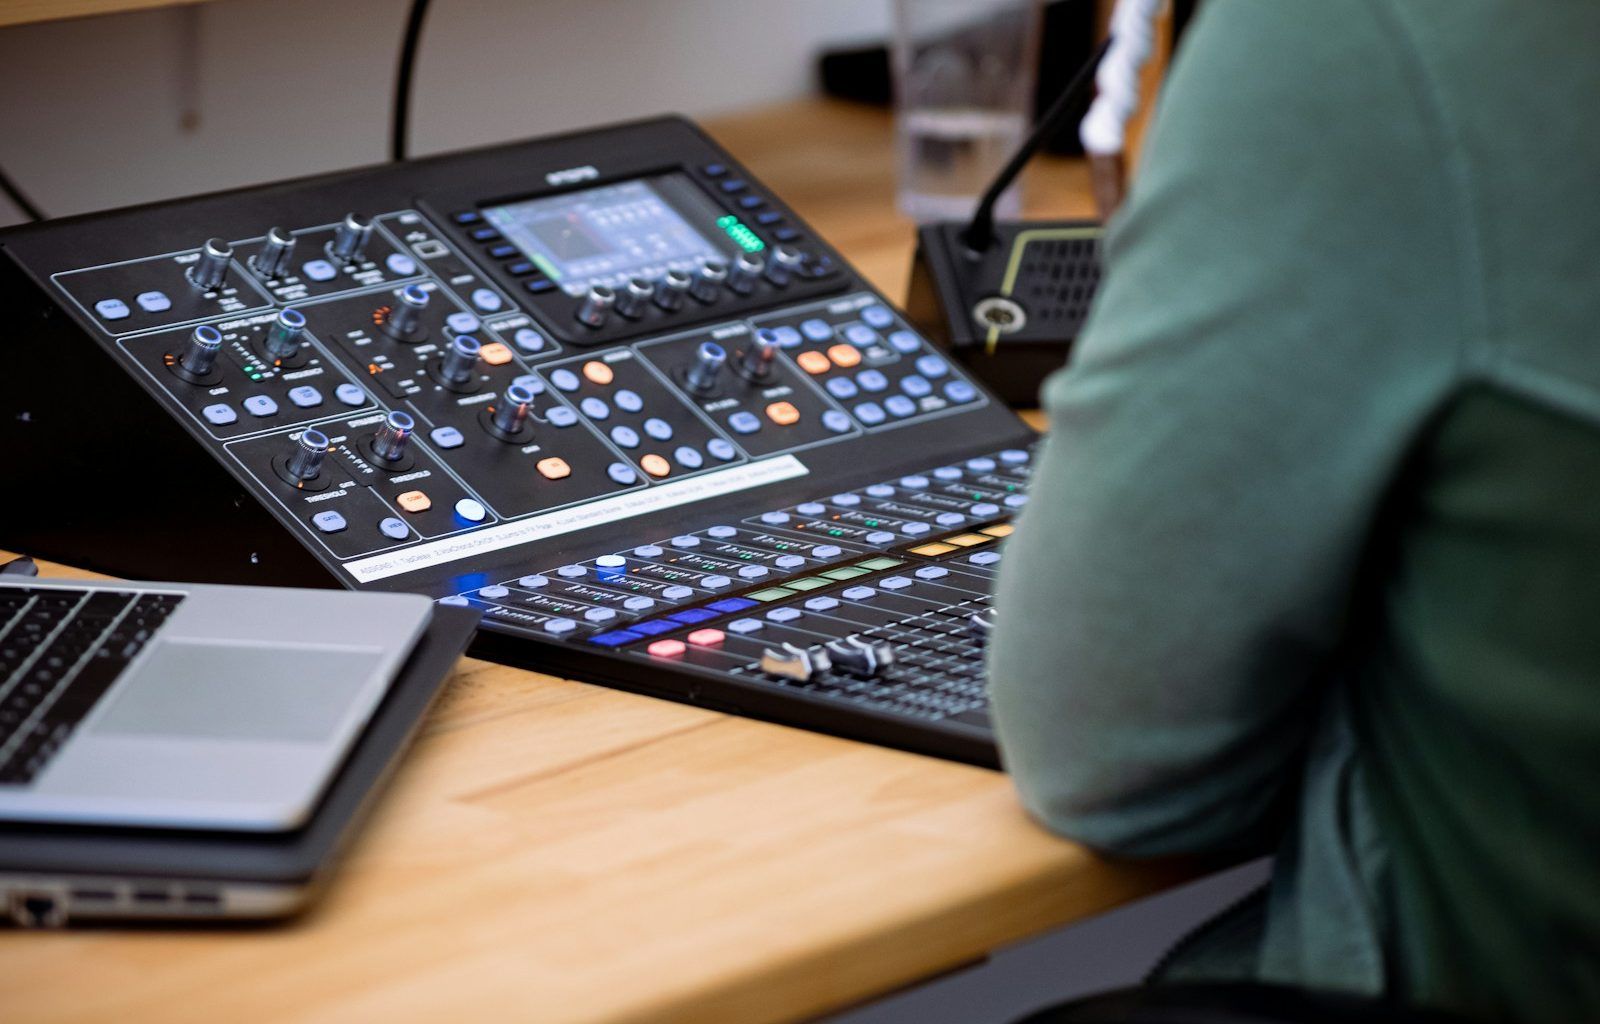
An audio interface connects your microphones and instruments to your computer. It ensures the sound you record is clear and professional. Look for an interface with these features:
- Multiple inputs and outputs: To connect mics, instruments, and monitors.
- Phantom power: Needed for condenser microphones.
- Low latency: For seamless audio recording and playback.
The Focusrite Scarlett series and Universal Audio Apollo Twin are great options for beginners.
Invest in Studio Monitors
Studio monitors are speakers designed specifically for accurate audio playback. Unlike regular speakers, they don’t enhance bass or treble, giving you a true representation of your sound.
Some popular beginner-friendly studio monitors include:
- KRK Rokit series
- Yamaha HS series
- JBL 305P MKII
Place your monitors at ear level and ensure they’re positioned correctly for the best sound quality.
Microphones: Capture Crystal-Clear Sound
Microphones are one of the most important tools in your studio. The type of microphone you choose depends on what you plan to record.
- Condenser microphones: Perfect for vocals and acoustic instruments.
- Dynamic microphones: Great for drums and amplified instruments.
Popular choices for beginners include the Audio-Technica AT2020 and Shure SM58.
Studio-Quality Headphones
A good pair of studio headphones is essential for monitoring and editing your recordings. Look for headphones that offer a flat frequency response, so you hear an accurate representation of your audio.
Some great options include:
- Audio-Technica ATH-M50X
- Beyerdynamic DT 770 PRO
- Sennheiser HD 280 PRO
Closed-back headphones are best for recording, as they prevent sound from leaking into the microphone.
Accessories: Mic Stands, Pop Filters, and Cables
Accessories might not be as exciting as the main gear, but they’re just as important. Here’s what you’ll need:
- Mic stands: Keep your microphone stable during recording.
- Pop filters: Reduce harsh “p” and “s” sounds.
- Cables: Invest in high-quality XLR and instrument cables for reliable connections.
These small items make a big difference in your recording process.
Acoustic Treatment: Control Your Room’s Sound
Acoustic treatment helps eliminate unwanted echoes and noise, ensuring your recordings sound clean and professional. Focus on these elements:
- Bass traps: Absorb low frequencies.
- Acoustic panels: Reduce reflections and mid-to-high frequencies.
- Diffusers: Scatter sound evenly to avoid a “dead” room.
You don’t need to spend a fortune. DIY options, like foam panels or thick curtains, can work well in a home studio.
Optional Extras to Enhance Your Studio
Once you’ve got the essentials, consider adding these optional tools:
- MIDI controller: For creating beats and melodies.
- External hard drives: For backing up your projects.
- Patch bay: To organize your studio connections.
These extras aren’t necessary to start but can make your workflow smoother over time.
Tips for Choosing the Best Equipment
When shopping for recording studio equipment, keep these tips in mind:
- Set a budget: Decide how much you’re willing to spend.
- Research and compare: Read reviews and watch tutorials.
- Start small: Focus on the essentials before upgrading.
- Test gear in person: If possible, visit a music store to try out equipment.
Final Thoughts
Building a recording studio is an investment in your creativity. With the right equipment and a bit of patience, you can create professional-quality recordings in no time. Remember, you don’t need to buy everything at once. Start with the essentials and upgrade as you grow.
Now that you know the equipment needed to start a recording studio, it’s time to take the first step. Happy recording!
For further reading, explore these related articles:
- Everything You Need to Know About the Billboard Top 100
- Billboard Charts: The Journey, The Power, and The Magic
For additional resources on music marketing and distribution, visit DMT Records Pvt. Ltd..
