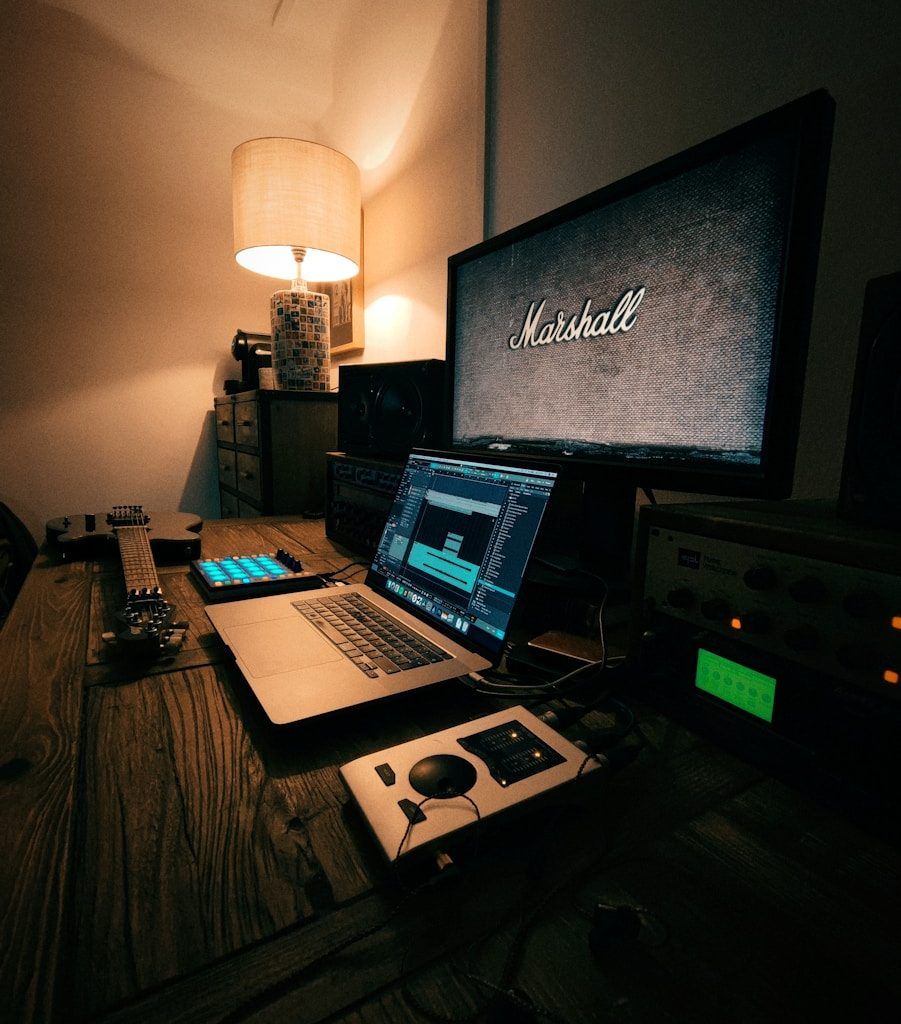
Creating a DIY small music room can feel like a dream come true for musicians, audiophiles, or anyone who loves immersing themselves in music. With a little planning, creativity, and effort, you can transform even the tiniest space into a functional and inspiring music haven. Whether you’re setting up a home studio, a jam space, or simply a peaceful retreat to enjoy your favorite tunes, this guide will help you get started.
Why You Need a Dedicated Music Room
Having a dedicated music room isn’t just a luxury; it’s a game-changer. It gives you a place to:
- Practice without interruptions.
- Create and record music in a controlled environment.
- Safely store your instruments and equipment.
- Stay inspired in a personalized, creative space.
Let’s dive into the steps to make your DIY small music room a reality.
Step 1: Choosing the Right Space
The first step in your DIY journey is picking the perfect spot. Since space is limited, think about underutilized areas in your home. A spare bedroom, a walk-in closet, or even a corner of your living room can work. When deciding, consider:
- Size: It doesn’t need to be huge—even a compact area can become a great music room.
- Noise: Try to pick a room away from high-traffic areas or shared walls to minimize disturbances.
- Accessibility: Make sure the space is easy to reach and has access to electrical outlets for your gear.
If you’re tight on space, don’t worry. Small music rooms can feel cozy and intimate, adding to the vibe.
Step 2: Soundproofing Your Music Room
Soundproofing is one of the most important parts of building your DIY small music room. Nobody wants to disturb the neighbors or other members of the house. Plus, good soundproofing improves the acoustics inside your room.
Tips for Soundproofing:
- Seal the Gaps: Use weather stripping on doors and windows to block sound from escaping.
- Add Rugs and Carpets: These absorb sound and prevent echoes.
- Install Acoustic Panels: Foam panels are affordable and effective for small spaces.
- Use Heavy Curtains: Thick drapes can reduce sound reflections and block outside noise.
- Double Up on Walls: If possible, create a second layer of drywall with a soundproofing barrier in between.
Step 3: Organizing Your Equipment
In a small music room, organization is key. With limited space, you’ll want to maximize every square foot while keeping your gear accessible.
Ideas for Organizing:
- Wall-Mounted Racks: Hang your guitars or other instruments on the wall to save floor space.
- Shelving Units: Use shelves to store smaller items like cables, microphones, and sheet music.
- Multi-Functional Furniture: Look for items like storage ottomans or foldable desks.
- Cable Management: Use zip ties or cable organizers to keep cords from tangling.
Keeping your space tidy not only looks better but also helps you stay focused.
Step 4: Setting Up Your Gear
Now comes the exciting part—setting up your instruments and equipment. In a small room, placement matters to ensure you’re using the space efficiently.
Basic Setup Checklist:
- Desk: Choose a compact desk for your computer, mixer, or recording equipment.
- Monitors: Position your speakers at ear level, forming an equilateral triangle with your listening spot.
- Instrument Zone: Create a designated area for your primary instrument, like a keyboard or drum set.
- Lighting: Add warm, ambient lighting to make the space feel cozy and inviting.
Remember, your setup will depend on the type of music you create, so feel free to adjust based on your needs.
Step 5: Personalizing Your Music Room
A DIY small music room isn’t just about functionality; it’s about creating a space that inspires you. Adding personal touches will make the room feel uniquely yours.
Decoration Ideas:
- Posters and Art: Hang up artwork or posters of your favorite bands.
- Plants: Add greenery for a fresh, lively feel.
- Mood Lighting: String lights or LED strips can set the perfect tone.
- Color Scheme: Choose calming or inspiring colors to match the vibe you want.
Step 6: Budget-Friendly Tips
Creating a music room doesn’t have to break the bank. Here are some ways to save money:
- DIY Acoustic Panels: Build your own panels using affordable materials like foam and fabric.
- Thrift Store Finds: Look for furniture and decor at second-hand stores.
- Repurpose Items: Use old bookshelves or desks you already own.
- Buy Used Gear: Check online marketplaces for pre-owned equipment in good condition.
Step 7: Maintaining Your Small Music Room
Once your DIY small music room is ready, it’s important to keep it in good shape. Regular maintenance ensures your space stays functional and enjoyable.
Maintenance Tips:
- Clean Regularly: Dust your equipment and vacuum the floors to prevent buildup.
- Organize Weekly: Put things back in their place after each session.
- Check Equipment: Periodically inspect your gear for wear and tear.
Final Thoughts
Building a DIY small music room is a rewarding project that can bring endless joy and creativity into your life. With a bit of planning and resourcefulness, you can create a space that feels personal, functional, and inspiring. Whether it’s a place to play, record, or simply enjoy music, your new room will be a sanctuary for your passion.
For further reading, explore these related articles:
- How to Upload Music for Free: A Complete Guide
- The Ultimate Guide to Online Song Mastering: Everything You Need to Know
For additional resources on music marketing and distribution, visit DMT Records Private Limited.


