Creating a DIY recording studio might sound overwhelming, but it doesn’t have to be. With a little planning and the right tools, you can turn a spare room or corner into a professional-quality studio. Whether you’re a musician, podcaster, or voice-over artist, having your own recording setup offers endless creative freedom.
Let’s dive into the step-by-step process to set up your DIY recording studio.
Why Build a DIY Recording Studio?
Before we get into the how, let’s talk about the why. A DIY recording studio gives you control over your sound production. You don’t have to rent expensive studio time or compromise on quality. Plus, the convenience of recording anytime you want is invaluable.
Not to mention, building your own studio can save you money in the long run and become a fun, rewarding project.
Step 1: Choose the Perfect Space for Your Studio
The first step is picking the right spot in your home. A good space for your DIY recording studio should have minimal external noise, adequate size, and a place you can easily soundproof. Here are a few options to consider:
- Spare Room: Ideal if you have a whole room to dedicate to your studio.
- Closet: Surprisingly, closets work well for voiceovers and small setups due to their natural sound absorption.
- Garage or Basement: These spaces are great but might require extra soundproofing.
Make sure to pick a location away from heavy foot traffic or noisy appliances.
Step 2: Soundproofing Your DIY Studio
Soundproofing is essential for a high-quality recording environment. Without it, outside noises can ruin your audio, and your recording might disturb others in your home.
Here’s how you can soundproof your space on a budget:
- Acoustic Foam Panels: These absorb sound and reduce echoes.
- Heavy Curtains: Hang these over windows to block external noise.
- Rugs and Carpets: Cover hard floors to prevent sound from bouncing.
- Weatherstripping: Seal any gaps in doors and windows to minimize sound leaks.
Pro tip: DIY bass traps in the corners of your room can help control low-frequency sounds.
Step 3: Gather Essential Recording Equipment
A recording studio is only as good as the equipment you use. Don’t worry if you’re on a budget; you can still find quality gear without breaking the bank. Here’s what you’ll need:
1. Microphone
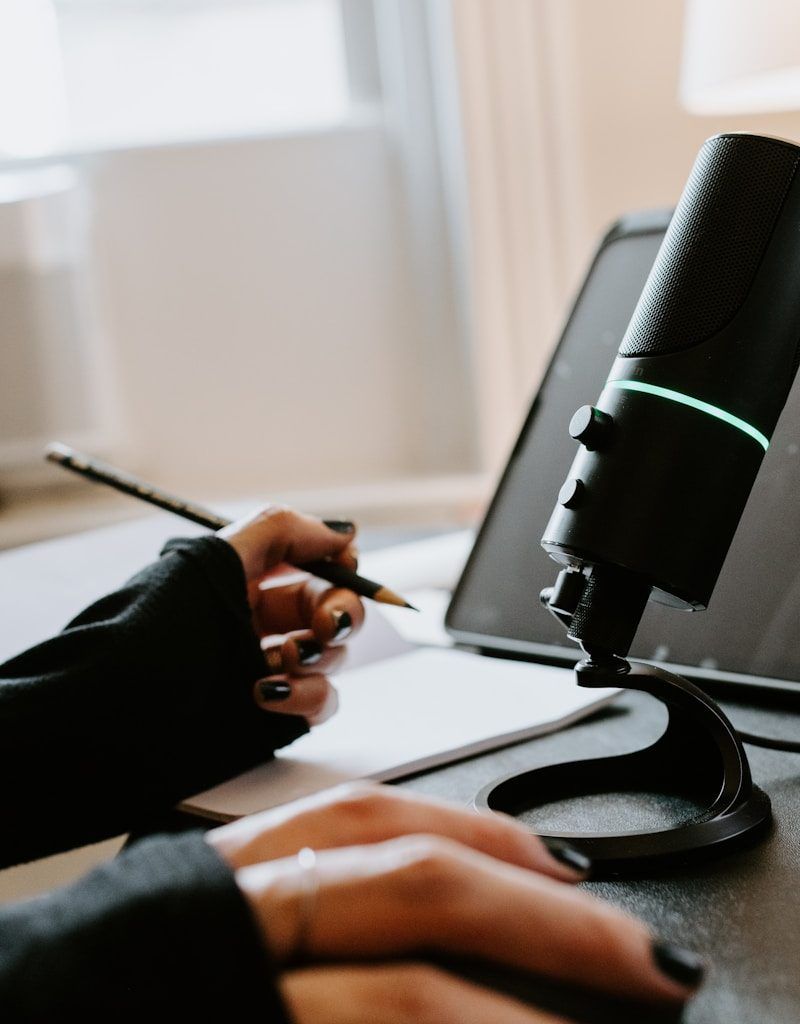
Invest in a good-quality microphone that suits your recording needs. For example:
- Dynamic Microphones: Great for loud sounds, such as vocals and instruments.
- Condenser Microphones: Perfect for vocals and delicate sound details.
2. Audio Interface
An audio interface connects your microphone and instruments to your computer. Look for models with clean preamps and enough input/output options.
3. Headphones
Closed-back headphones are ideal for recording as they prevent sound bleed into your microphone.
4. Pop Filter
This accessory helps reduce plosive sounds (“p” and “b” sounds) that can distort your recordings.
5. Cables and Stands
Don’t forget XLR cables, mic stands, and shock mounts to complete your setup.
Step 4: Choose the Right Software
You’ll need a digital audio workstation (DAW) to record, edit, and mix your tracks. Popular options include:
- Audacity: Free and beginner-friendly.
- GarageBand: Great for Mac users.
- Ableton Live or Pro Tools: Perfect for more advanced users.
Step 5: Arrange Your Studio Layout
Now that you have your equipment, it’s time to set everything up. The layout of your DIY recording studio can greatly affect the quality of your recordings. Here are a few tips:
- Position Your Desk and Monitor Speakers: Place them against the shorter wall to minimize sound reflections.
- Angle Your Speakers: Set them at ear level and form an equilateral triangle with your head.
- Minimize Clutter: Keep cables organized and your workspace clean.
Step 6: Test Your Studio’s Acoustics
Before hitting record, test the acoustics of your space. Clap your hands and listen for echoes. Make adjustments with acoustic panels or additional rugs if needed.
Record a test track and listen carefully. This will help you identify any issues with soundproofing or setup.
Step 7: Learn Basic Recording Techniques
Having a studio is great, but knowing how to use it is even better. Spend time learning:
- Proper microphone placement
- Adjusting gain levels on your audio interface
- Using your DAW for editing and mixing
Step 8: Personalize Your Space
Finally, make your studio feel like yours. Add personal touches like LED lighting, posters, or plants. A comfortable and inspiring environment can boost your creativity.
For further reading, explore these related articles:
For additional resources on music marketing and distribution, visit DMT Records Private Limited.


