Are you a musician with a vision for your songs but not quite sure how to bring it to life? Creating your own music videos doesn’t have to be overwhelming or expensive. In fact, DIY music videography is an exciting and rewarding process that puts you in complete control of how your music is visually represented. This guide will walk you through everything you need to know to make your own music video, step by step.
Why DIY Music Videography?
First, let’s talk about why you should consider DIY music videography. Sure, hiring a professional team can save time, but it can also drain your budget. Doing it yourself allows you to:
- Express your creativity on your terms.
- Stay within your budget without compromising quality.
- Learn new skills that are valuable for future projects.
Plus, in today’s world of social media and streaming platforms, authentic, homemade videos often resonate better with audiences. They feel real and personal, which helps you connect with your fans.
Step 1: Plan Your Video
Before you grab your camera, start with a clear plan. Begin by brainstorming ideas that align with the mood and message of your song. Ask yourself:
- What’s the story or vibe you want to convey?
- Who is your target audience?
- What resources (locations, props, and people) do you have available?
Creating a storyboard can be incredibly helpful. Draw rough sketches or jot down descriptions of each scene. This step will save you time and frustration later by giving you a roadmap to follow.
Step 2: Gather Your Equipment
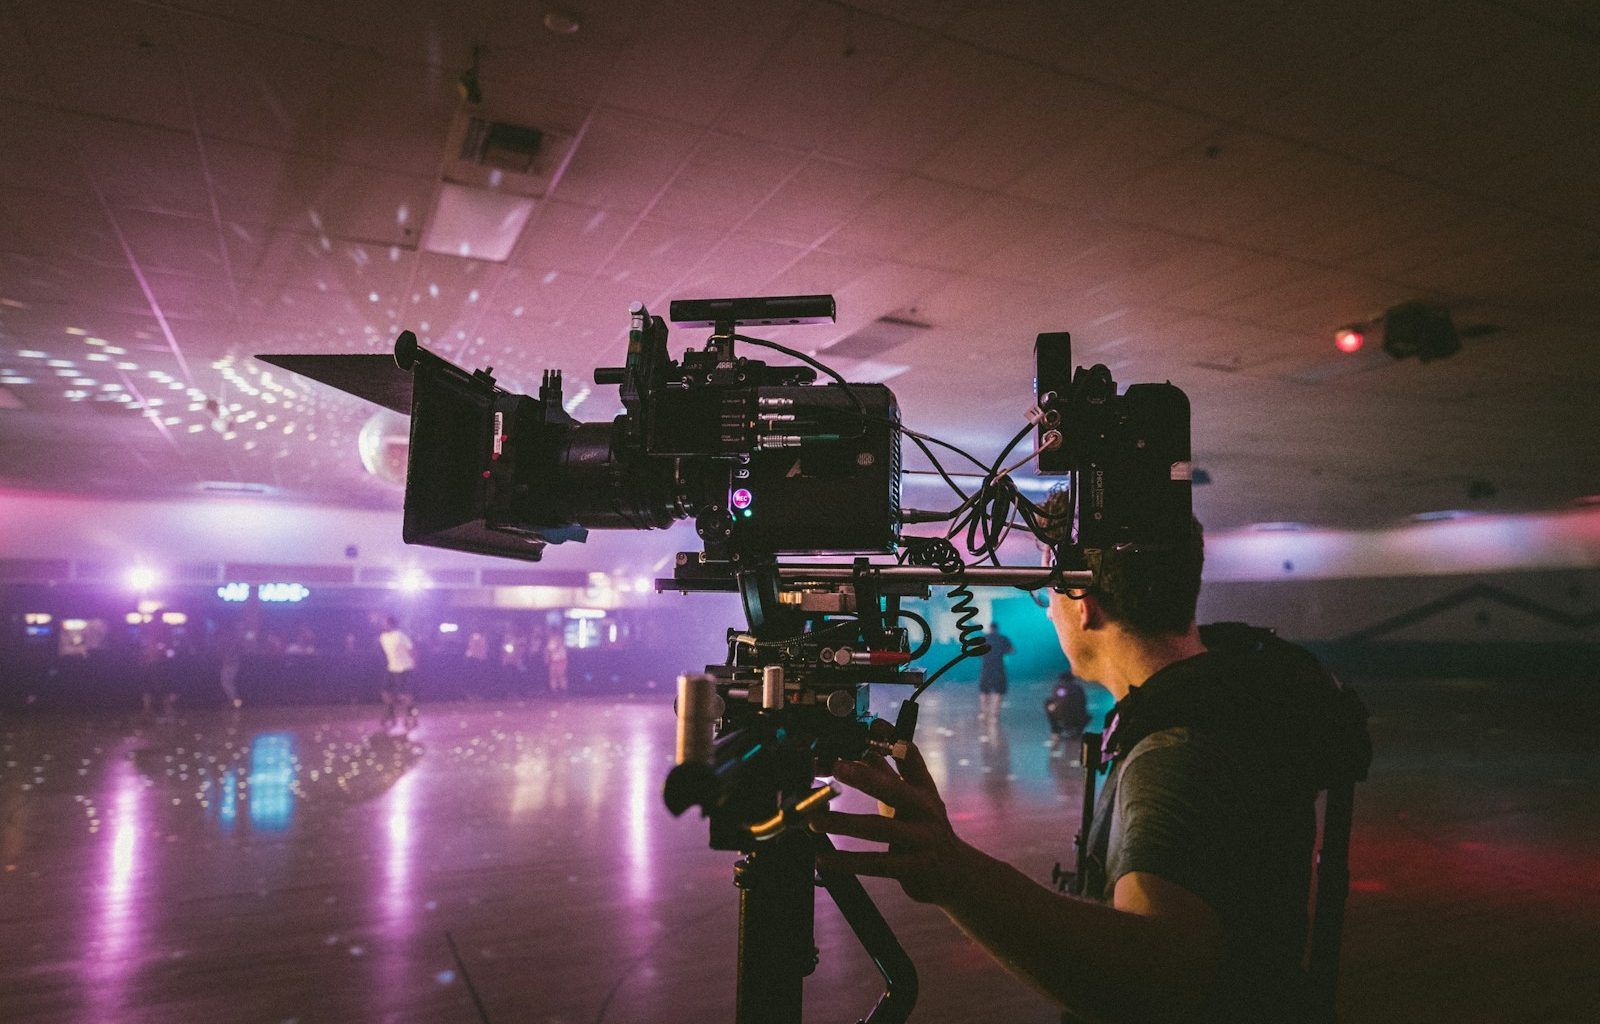
You don’t need expensive gear to get started with DIY music videography. Use what you have and focus on creativity. Here’s a basic list of tools to consider:
- Camera: A smartphone, DSLR, or mirrorless camera works well.
- Tripod or Stabilizer: Keep your shots steady and professional-looking.
- Lighting: Natural light is free, but you can also use affordable ring lights or LED panels.
- Editing Software: Programs like iMovie, DaVinci Resolve, or Adobe Premiere are great options, depending on your budget and experience.
Remember, it’s not about having the fanciest equipment but knowing how to use it effectively.
Step 3: Scout Your Location
The location sets the tone for your music video, so choose wisely. Look for places that match your song’s vibe, whether it’s a cozy indoor setup, a vibrant urban backdrop, or a serene natural setting. Before filming, visit your chosen location to:
- Check the lighting conditions.
- Ensure there’s enough space for your shots.
- Identify potential distractions or obstacles.
You’d be surprised how many cool locations you can find in your neighborhood. Parks, rooftops, and even your own backyard can work wonders with a bit of creativity.
Step 4: Master the Art of Shooting
Once you’re ready to film, keep these tips in mind to capture great footage:
- Shoot multiple takes of each scene to give yourself options during editing.
- Experiment with angles and camera movements to keep your video visually interesting.
- Focus on storytelling by letting your shots flow naturally from one to the next.
Don’t be afraid to get creative! Try slow-motion shots, close-ups, or wide angles to add variety. And always review your footage after each take to ensure you’re happy with the results.
Step 5: Add the Finishing Touches in Editing
Editing is where your music video truly comes to life. It’s the step where you can:
- Sync your video to the music.
- Add transitions and effects for a polished look.
- Adjust colors and lighting to match the mood of your song.
If you’re new to editing, don’t worry. Start with basic software and watch tutorials to learn the ropes. Take your time and remember that every great editor started as a beginner.
Common Challenges and How to Overcome Them
DIY music videography comes with its own set of challenges. Here are a few and how to tackle them:
- Limited budget: Focus on creativity over costly equipment.
- Lack of experience: Practice makes perfect. The more videos you create, the better you’ll get.
- Time constraints: Plan efficiently and stick to a schedule.
By embracing these challenges, you’ll grow as both a musician and a visual storyteller.
Sharing Your Masterpiece
Once your video is complete, it’s time to share it with the world! Upload it to platforms like YouTube, Instagram, and TikTok. Promote your video through:
- Social media posts with behind-the-scenes content.
- Email newsletters to your fans.
- Collaborations with influencers or fellow musicians.
The more effort you put into promoting your video, the more people will see and appreciate your hard work.
Final Thoughts
DIY music videography is a journey filled with learning, creativity, and personal growth. By taking charge of your music videos, you’re not just showcasing your songs—you’re telling a story that’s uniquely yours. So grab your camera, start planning, and let your imagination run wild. With each video you create, you’ll get closer to mastering the art of DIY music videography.
Related Articles:
For further reading, explore these related articles:
- TikTok Sounds List: A Fun Guide to Find and Use Trending Audio
- Exploring Taylor Lover Lyrics: A Journey Into Taylor Swift’s World of Love
For additional resources on music marketing and distribution, visit DMT RECORDS PRIVATE LIMITED
