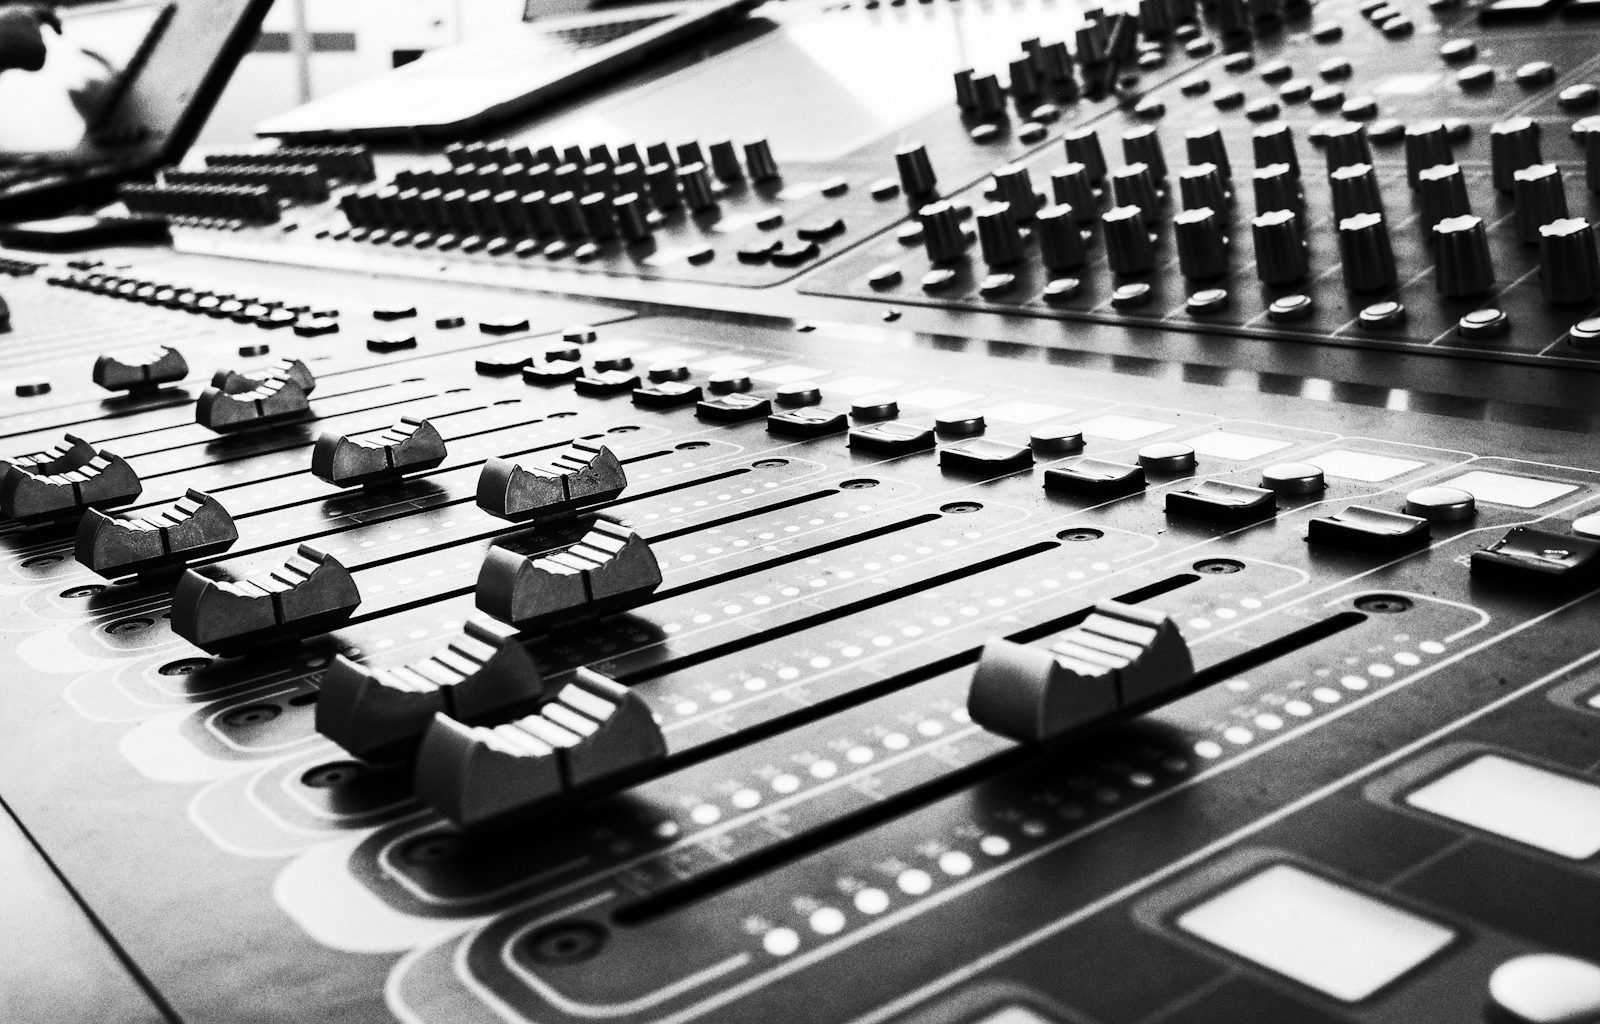
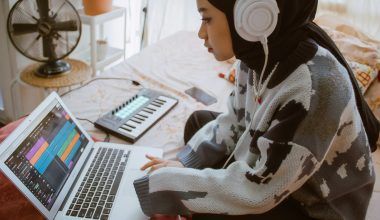
Do you dream of having a space where you can create music whenever inspiration strikes? Setting up a DIY home music studio might sound complicated, but it’s much easier than you think. With a little planning, some basic equipment, and a pinch of creativity, you can have your perfect music haven right at home. Whether you’re a budding musician or an experienced producer, this guide will walk you through the process step by step.
Why Build a DIY Home Music Studio?
Having a home music studio means you no longer have to rent expensive studio time or deal with the hassle of scheduling sessions. It’s a space dedicated to your craft, where you can experiment and refine your skills at your own pace. Plus, designing your studio allows you to customize it to your specific needs and preferences. It’s a project that’s as rewarding as it is functional.
Picking the Right Space
Before diving into equipment, think about where you want to set up your DIY home music studio. It doesn’t have to be a big room—even a small, quiet corner can work wonders. Look for a space that has minimal noise interference and enough room for your essential gear. If possible, choose a spot away from heavy foot traffic to ensure uninterrupted sessions.
Tips for Choosing a Space:
- Avoid areas with excessive background noise.
- Opt for a room with good acoustics. Carpeted floors and thick curtains can help reduce echoes.
- Consider proximity to power outlets.
Essential Equipment for Your DIY Home Music Studio
You don’t need to break the bank to set up your music studio. Start with the basics and upgrade as you go. Here are the must-haves:
1. Computer
Your computer will be the brain of your studio. It’s where all your recording, mixing, and editing will happen. Whether you prefer a laptop or a desktop, make sure it has enough processing power to handle music production software.
2. Digital Audio Workstation (DAW)
A DAW is the software you’ll use to create and edit music. Popular options include Ableton Live, Logic Pro, and FL Studio. Pick one that aligns with your skill level and goals.
3. Audio Interface
An audio interface is essential for connecting your instruments and microphones to your computer. It improves sound quality and reduces latency, giving your recordings a professional touch.
4. Microphone
Invest in a good-quality microphone for vocals and acoustic instruments. A condenser microphone is a great choice for studio use.
5. Studio Monitors and Headphones
Studio monitors provide accurate sound reproduction, which is crucial for mixing. Pair them with quality headphones for late-night sessions.
6. MIDI Keyboard
A MIDI keyboard opens up endless possibilities for creating melodies, beats, and harmonies. Even a small, 25-key keyboard can be a powerful tool.
Optimizing Your Studio Layout
Once you have your equipment, it’s time to arrange it in a way that maximizes comfort and efficiency. Start by positioning your desk and monitor speakers. The speakers should be at ear level and form an equilateral triangle with your seating position for the best sound.
Quick Tips for Layout:
- Place your desk against a wall, but keep speakers away from it to prevent sound reflections.
- Use an ergonomic chair for long hours of work.
- Keep frequently used items within arm’s reach.
Soundproofing and Acoustics
Soundproofing your DIY home music studio is important, especially if you have neighbors or live in a shared space. While professional soundproofing can be expensive, there are affordable DIY options to improve your studio’s acoustics.
Easy Soundproofing Hacks:
- Use thick rugs and carpets to absorb sound.
- Add foam panels or blankets to walls.
- Seal gaps in doors and windows with weatherstripping.
Improving Acoustics:
- Place bass traps in corners to reduce low-frequency echoes.
- Use diffusers to scatter sound evenly around the room.
- Experiment with furniture placement to minimize reverb.
Staying Organized
A clutter-free studio isn’t just aesthetically pleasing—it also boosts productivity. Invest in cable organizers, storage bins, and shelves to keep your gear tidy.
Organization Tips:
- Label your cables to avoid confusion.
- Keep your desk clean and free from unnecessary items.
- Use Velcro ties to manage loose cords.
Upgrading Over Time
Building a DIY home music studio is a journey. Start with the essentials and gradually upgrade as your skills and budget grow. Here are some upgrades to consider:
- High-quality microphones for specific recording needs.
- Additional monitors for a more immersive mixing experience.
- Advanced plugins for your DAW.
Adding Personal Touches
Your home music studio should inspire creativity. Add personal touches like artwork, lighting, or even plants to make the space truly yours. Ambient lighting, such as LED strips, can create a vibe that enhances your music-making process.
Learning and Growing
Once your DIY home music studio is set up, the real fun begins. Spend time learning your equipment and software. Watch tutorials, join online communities, and, most importantly, create! Your skills will grow with every project.
Building a DIY home music studio is a rewarding process that brings your musical dreams within reach. By taking it step by step, you’ll soon have a space where you can create, experiment, and thrive as an artist. So, roll up your sleeves and get started on your musical journey today!
Related Articles:
For further reading, explore these related articles:
- The Magic of Album Movies: A Journey of Music and Storytelling
- What Do “Bad Bunny Mia Lyrics” Mean? A Simple and Fun Explanation
For additional resources on music marketing and distribution, visit DMT Records Pvt. Ltd.
