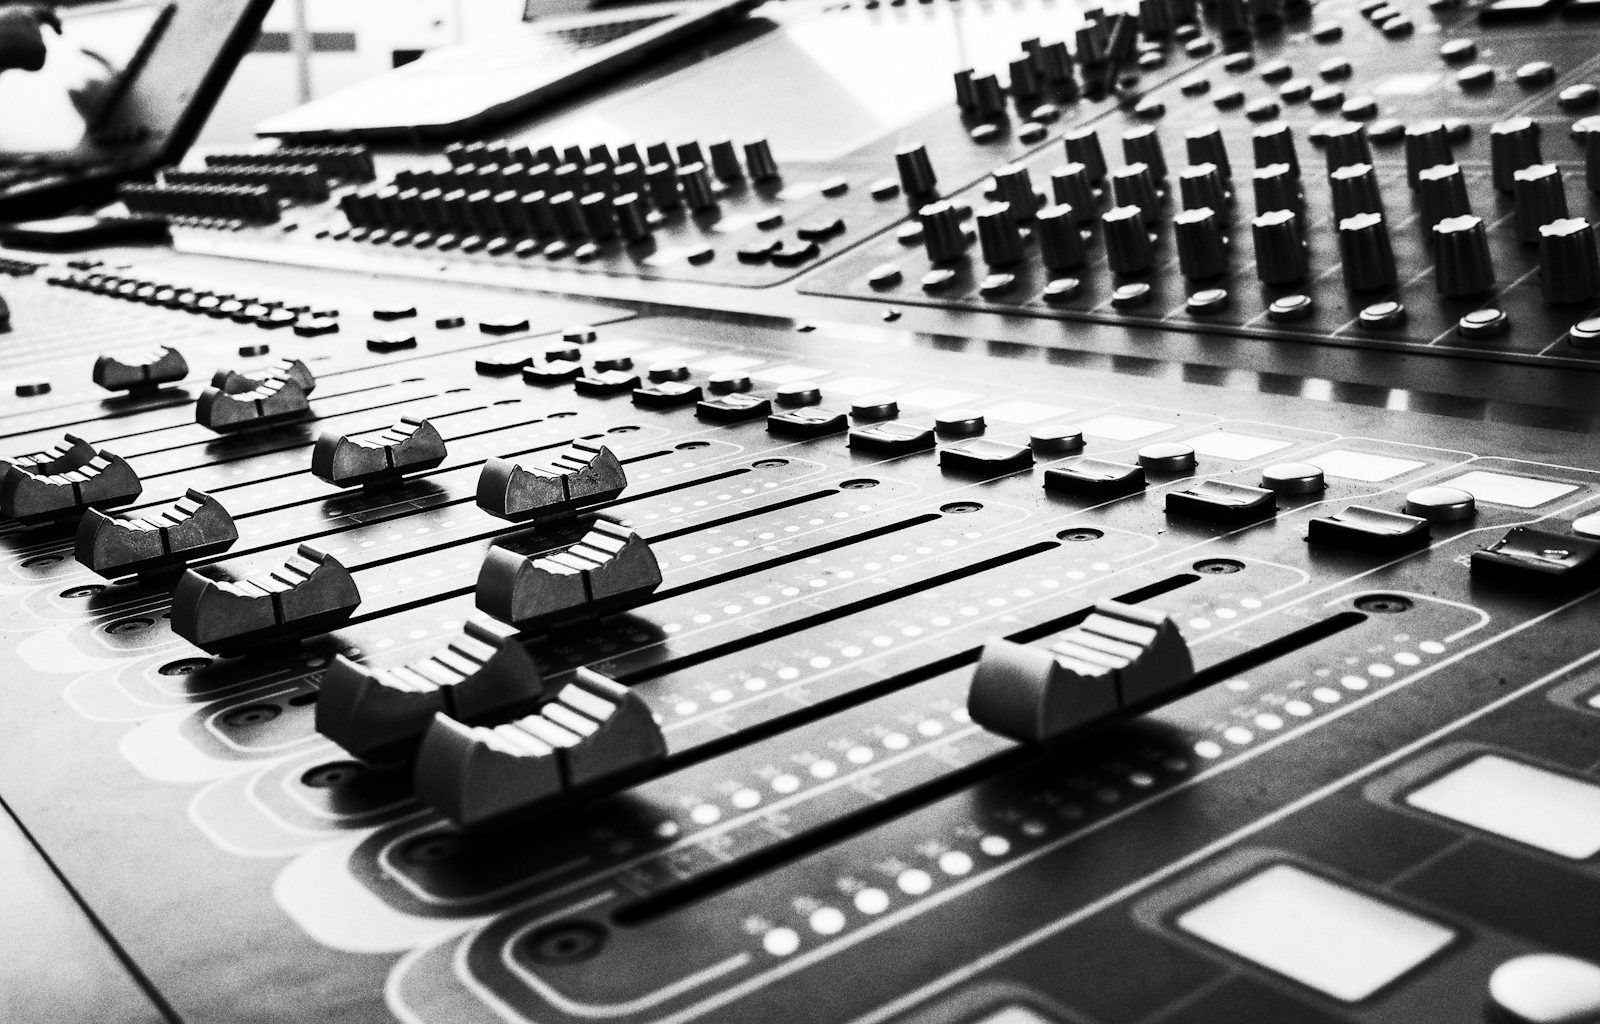
If you’ve ever dreamed of creating your own space for recording music, podcasts, or voiceovers, you’re not alone. Building a recording studio can seem overwhelming at first, but with the right guidance, it’s entirely achievable. Whether you’re a seasoned professional or just starting out, this guide will walk you through everything you need to know to turn your dream into reality.
Why Build Your Own Recording Studio?
Let’s start with the obvious question: why would you want to build a recording studio instead of renting one? Having your own studio provides creative freedom. You’re no longer bound by someone else’s schedule or rates. Plus, it’s a long-term investment. While there’s an upfront cost, owning a recording studio saves money over time. Most importantly, it gives you a space where you can experiment, create, and refine your work on your terms.
Choosing the Right Location
The first step in building a recording studio is choosing the perfect location. Ideally, your studio should be in a quiet area, away from traffic, construction, or other noisy environments. A spare room in your house, a basement, or even a backyard shed can work well. The key is to find a space that offers enough room for your equipment and ensures minimal outside noise.
Once you’ve chosen your space, consider the layout. Will you have separate rooms for recording and mixing, or will it be a single-room studio? Each choice has its pros and cons. A dedicated control room offers better sound isolation, but a single-room setup can be more cost-effective and cozy.
Soundproofing: Keeping the Noise Out
Soundproofing is one of the most crucial steps in building a recording studio. Without proper soundproofing, external noises can ruin your recordings. Start by sealing all gaps around doors and windows with weatherstripping. Next, consider adding mass to your walls, such as drywall or soundproof panels, to reduce sound transmission.
Don’t forget about the ceiling and floor. Carpeting can help absorb sound, and acoustic tiles can minimize reflections. Remember, soundproofing isn’t just about keeping noise out—it’s also about preventing your sound from leaking and disturbing others.
Acoustic Treatment: Fine-Tuning Your Sound
While soundproofing keeps unwanted noise out, acoustic treatment improves the sound quality inside your studio. To do this, focus on controlling sound reflections. Use bass traps to handle low frequencies and acoustic panels to manage mids and highs. Diffusers can also help by scattering sound waves evenly throughout the room.
Place your acoustic treatments strategically. For example, install panels on the walls opposite your speakers and behind your microphone to minimize reflections. This step makes a massive difference in how your recordings sound, so don’t skip it.
Picking the Right Equipment
Now comes the fun part: choosing your gear. The equipment you need will depend on what you’re planning to record. Here are some essentials:
- Microphones: Choose microphones based on your needs. Dynamic mics work well for vocals and live instruments, while condenser mics are ideal for studio recordings.
- Audio Interface: This device connects your microphones and instruments to your computer. Look for one with multiple inputs and good preamps.
- Computer and Software: A powerful computer is essential for running digital audio workstation (DAW) software. Popular options include Pro Tools, Logic Pro, and Ableton Live.
- Monitors and Headphones: Studio monitors provide accurate sound representation, while quality headphones are crucial for detailed listening.
- Cables and Accessories: Don’t overlook small but essential items like XLR cables, mic stands, and pop filters.
Setting Up Your Workspace
Once you have your equipment, it’s time to set everything up. Start by arranging your desk and monitors in a way that creates an equilateral triangle between you and the speakers. This setup ensures accurate sound imaging. Place your computer, audio interface, and other devices within easy reach.
Next, position your microphone and other recording equipment. Ensure the microphone stand is sturdy and placed in an area with minimal reflections. Test your setup by recording a few takes and making adjustments as needed.
Managing Cables and Power
Cables can quickly become a mess if not organized. Use cable ties or clips to keep everything neat. Label your cables to avoid confusion, especially if you have multiple devices connected. Additionally, invest in a reliable power conditioner to protect your equipment from power surges and noise.
Creating a Comfortable Environment
A recording studio isn’t just about the technical side; it’s also about the vibe. Add some personal touches to make the space inviting. Use soft lighting, comfortable seating, and maybe even some plants to create a relaxed atmosphere. A comfortable environment can inspire creativity and make long recording sessions more enjoyable.
Testing and Tweaking
Once your studio is set up, take the time to test everything. Record a few tracks and listen carefully. Are there any unwanted noises? Does the sound feel balanced? Don’t hesitate to tweak your setup until you’re satisfied. Small adjustments, like repositioning your acoustic panels or fine-tuning your EQ settings, can make a big difference.
Maintaining Your Studio
Building a recording studio is just the beginning. To keep it running smoothly, regular maintenance is essential. Clean your equipment, check your cables, and update your software. Staying on top of maintenance ensures your studio is always ready for action.
Final Thoughts
Building a recording studio might seem like a daunting task, but it’s incredibly rewarding. By following these steps and taking it one step at a time, you’ll create a space that’s perfect for your needs. Whether you’re recording your next album or starting a podcast, your studio will be a place where your creativity can thrive.
Related Articles:
For further reading, explore these related articles:
- Remembering Kenny Rogers: A Journey Through His Songs
- Suge Knight: The Man Who Changed Hip-Hop Forever
For additional resources on music marketing and distribution, visit DMT RECORDS PRIVATE LIMITED


