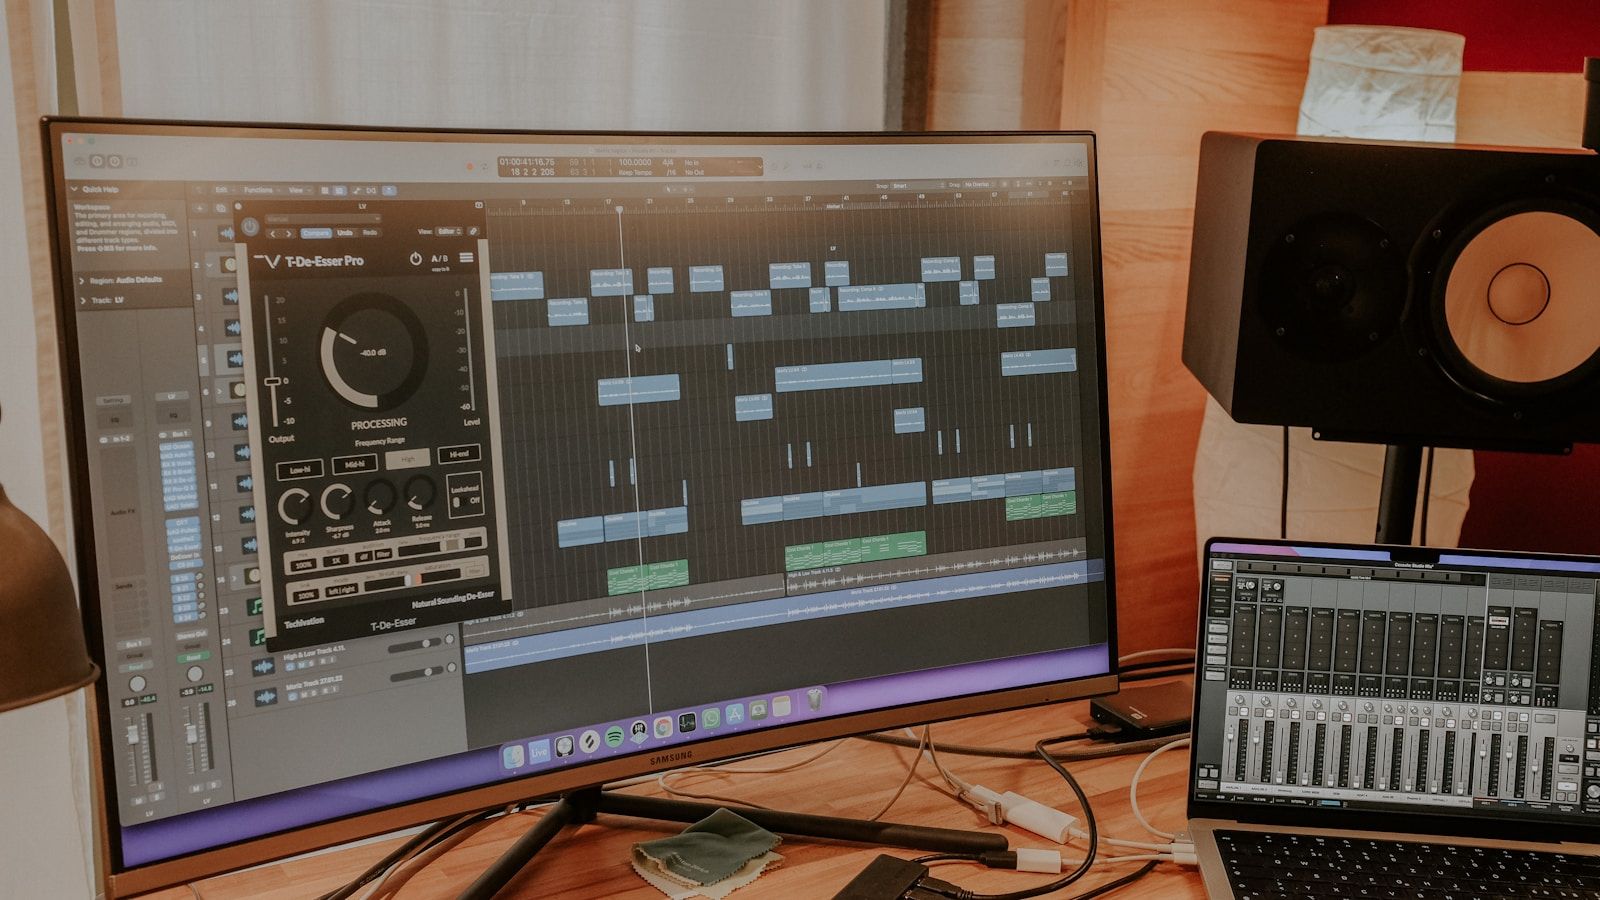
Are you dreaming of recording your own music, podcasts, or voiceovers without leaving your home? Building a home recording studio might sound overwhelming, but with the right steps, it’s easier than you think. Let’s break it down into manageable tasks and get you one step closer to creating professional-quality recordings right from your house.
Why Build a Home Recording Studio?
Before we dive into the details, let’s talk about why you might want to build a home recording studio. Whether you’re an aspiring musician, a podcaster, or someone who loves experimenting with audio, having a dedicated space for recording offers convenience and creative freedom. Imagine being able to record whenever inspiration strikes, without worrying about studio rental fees or scheduling conflicts.
Step 1: Choose the Perfect Space
The first step in building a home recording studio is finding the right space. You don’t need a huge room to get started. A spare bedroom, basement, or even a corner of your living space can work. The key is to choose a space with minimal outside noise and good acoustics.
Things to Consider:
- Noise Levels: Avoid rooms near busy streets or noisy appliances.
- Room Shape: Square rooms can create unwanted echoes. If possible, opt for a rectangular space.
- Accessibility: Make sure the room is easy to access and has enough outlets for your equipment.
Step 2: Soundproofing Your Space
Once you’ve chosen your space, it’s time to make it soundproof. Soundproofing ensures that external noise doesn’t interfere with your recordings and that your work doesn’t disturb others in your home.
Tips for Soundproofing:
- Seal Gaps: Use weather stripping or door sweeps to close gaps around doors and windows.
- Add Rugs and Curtains: These can help absorb sound and reduce echo.
- Install Acoustic Panels: Place these on walls and ceilings to manage sound reflections.
- Use a Heavy Door: Lightweight doors can let in noise; consider upgrading to a solid-core door.
Step 3: Plan Your Layout
A well-planned layout can make your studio more functional and comfortable. Think about where you’ll place your desk, monitors, and recording equipment. Keep frequently used items within arm’s reach to maximize efficiency.
Key Zones to Include:
- Recording Area: For your microphone and instruments.
- Mixing Zone: For your computer, audio interface, and speakers.
- Storage: To keep cables, accessories, and other gear organized.
Step 4: Invest in Essential Equipment
Now comes the fun part—shopping for equipment! While it’s tempting to buy everything at once, focus on the essentials first. You can always upgrade as you go.
Must-Have Gear:
- Computer: A reliable computer with sufficient processing power.
- Audio Interface: This connects your microphone and instruments to your computer.
- Microphone: Start with a versatile condenser microphone.
- Headphones: Invest in closed-back headphones for accurate monitoring.
- Studio Monitors: These speakers offer a flat frequency response for mixing.
Step 5: Set Up Your Equipment
Once you have your gear, it’s time to set it up. Position your desk and monitors so that they form an equilateral triangle with your listening position. This ensures balanced audio playback. Place your microphone away from walls to avoid unwanted reflections.
Pro Tip:
Label your cables to keep your setup tidy and troubleshoot issues quickly.
Step 6: Optimize Acoustics
Even with soundproofing, room acoustics play a huge role in the quality of your recordings. Acoustic treatment helps control how sound behaves in your space.
Acoustic Treatment Tips:
- Bass Traps: Place these in corners to manage low-frequency sounds.
- Diffusers: Use these to scatter sound waves and prevent harsh echoes.
- Absorption Panels: Position these at primary reflection points for clarity.
Step 7: Master Your Software
Every home studio needs a Digital Audio Workstation (DAW). This software allows you to record, edit, and mix your projects.
Popular DAWs:
- Logic Pro
- Ableton Live
- Pro Tools
- GarageBand (great for beginners)
Take the time to learn your DAW through online tutorials or practice sessions. The more comfortable you are with the software, the smoother your workflow will be.
Step 8: Test and Troubleshoot
Before diving into a big project, test your setup with a few practice recordings. Listen carefully for any issues, such as background noise or distorted audio. Adjust your settings and placement as needed.
Checklist:
- Are your levels balanced?
- Is your microphone picking up unwanted noise?
- Are your headphones and monitors giving accurate playback?
Step 9: Keep Improving
Building a home recording studio is an ongoing process. As you gain experience, you’ll discover what works best for your needs. Don’t hesitate to upgrade your equipment, tweak your layout, or add new acoustic treatments.
Final Tips:
- Stay organized with cable management.
- Backup your projects regularly.
- Keep experimenting to find your unique sound.
Conclusion
Building a home recording studio is a rewarding journey that opens up endless creative possibilities. By following these steps and using your focus keyword—building a home recording studio—strategically, you can create a space that inspires you to produce your best work. Now, it’s time to start building and recording.
Related Articles:
For further reading, explore these related articles:
- How to Cancel SoundCloud Go: A Step-by-Step Guide
- Apple Music Stats Tracker: Why You Need One and How to Get Started
For additional resources on music marketing and distribution, visit DMT Records Private Limited.


