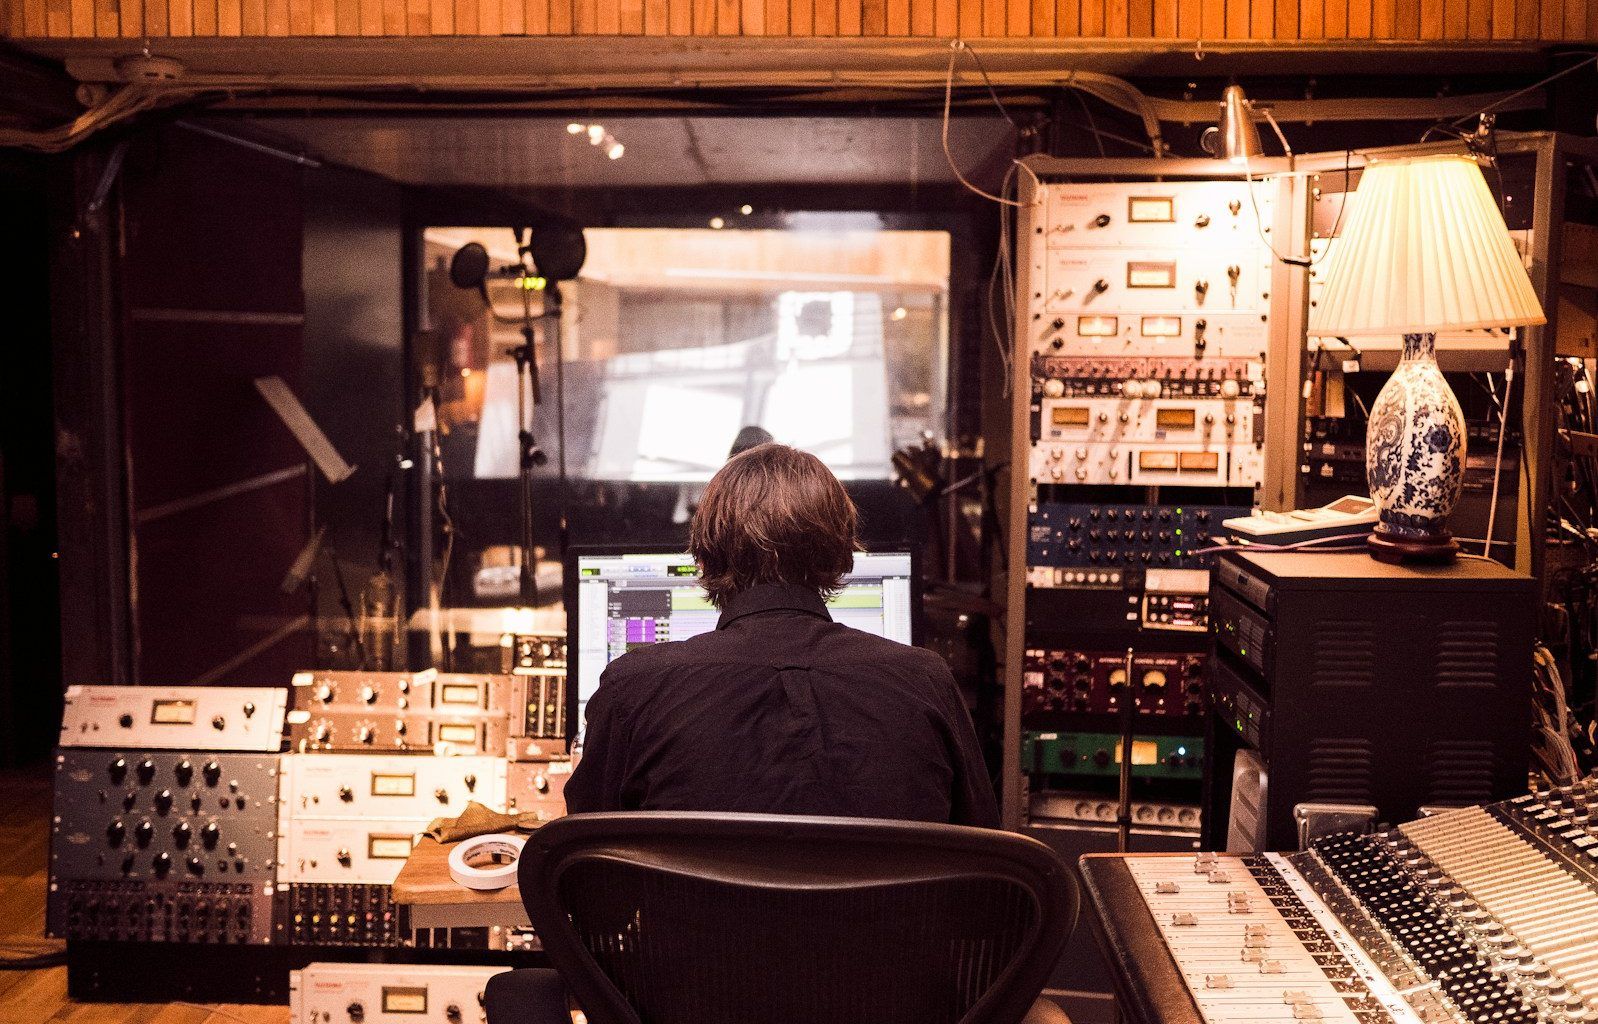
Building a studio is an exciting yet overwhelming process, whether you’re an artist, musician, content creator, or photographer. A studio is more than just a space—it’s your creative haven. With the right planning and execution, you can transform an ordinary area into a place that inspires and supports your work.
In this guide, we’ll break down how to build a studio step by step, offering tips and insights to make the process smooth and rewarding.
Understanding Your Needs
Before diving into construction or design, take a moment to define what you need from your studio. Ask yourself:
- What activities will I be doing here? (e.g., painting, recording, filming)
- How much space do I require?
- What equipment will I need to accommodate?
- What is my budget?
This clarity will guide every decision you make as you build your studio.
Choosing the Right Location
The location of your studio is crucial. Whether it’s a spare room in your home, a garage, or a rented space, consider the following:
- Accessibility: Can you easily get to your studio? If clients will visit, is it convenient for them?
- Noise Levels: A quiet environment is essential for recording or focused work. If the space is noisy, you may need additional soundproofing.
- Lighting: Natural light is a blessing for many creative tasks, but you may also need to plan for artificial lighting.
Planning Your Layout
Your studio layout should prioritize functionality and comfort. Begin by sketching a basic floor plan that considers:
- Work Areas: Define zones for specific tasks, such as a desk for editing or a corner for filming.
- Storage: Keep your space clutter-free by incorporating shelves, cabinets, or bins.
- Electrical Outlets: Ensure you have enough outlets for your equipment, and consider installing surge protectors.
Preparing the Space
Once you’ve chosen a location and finalized your layout, it’s time to prep the area. This step may involve:
- Clearing Out the Space: Remove unnecessary furniture or items.
- Cleaning Thoroughly: Start with a clean slate to avoid any issues later.
- Repairing and Painting: Fix any cracks or holes and paint the walls in a color that inspires creativity.
Soundproofing the Studio
Soundproofing is especially important if you’re building a music or recording studio. Here’s how you can minimize outside noise:
- Acoustic Panels: Install panels to absorb sound and reduce echo.
- Weatherstripping: Seal doors and windows to block noise.
- Carpeting: Use rugs or carpets to dampen sound.
- Double Doors/Windows: If possible, invest in double-layered doors or windows for extra insulation.
Setting Up the Lighting
Lighting can make or break your studio’s functionality and ambiance. Here are some tips:
- Natural Light: If your studio has windows, maximize natural light.
- Overhead Lights: Install adjustable overhead lighting to brighten the room.
- Task Lighting: Use desk lamps or spotlights for detailed work.
- Smart Lighting: Consider smart bulbs to control brightness and color temperature easily.
Choosing the Right Furniture
The furniture you choose should be ergonomic and practical. Consider these options:
- Desks and Tables: Pick a sturdy desk with enough surface area for your work.
- Chairs: Invest in a comfortable, adjustable chair to support long hours.
- Shelving Units: Use shelves to organize tools, equipment, or materials.
- Carts: Rolling carts can provide mobile storage for frequently used items.
Installing Essential Equipment
Your equipment will vary depending on the type of studio you’re building. Here are some essentials:
- Music Studio: Microphones, mixers, speakers, and instruments.
- Photography Studio: Cameras, backdrops, and lighting kits.
- Art Studio: Easels, canvases, and a sink for cleaning.
- Content Creation Studio: Cameras, tripods, and a green screen.
Organizing the Space
A well-organized studio is a productive studio. Use these strategies to keep your workspace tidy:
- Label Everything: Clearly label bins, drawers, and shelves.
- Create Zones: Dedicate specific areas to different tasks or tools.
- Use Storage Solutions: Invest in stackable bins, pegboards, and drawer organizers.
Adding Personal Touches
Finally, make your studio a place where you feel at home. Add personal touches like:
- Artwork or posters that inspire you.
- Plants for a touch of nature.
- Comfortable cushions or rugs for a cozy feel.
- Mood-enhancing colors or decor.
Maintaining Your Studio
Once your studio is complete, regular maintenance will keep it functional and inspiring. Dedicate time to:
- Decluttering: Spend a few minutes tidying up every day.
- Updating Equipment: Replace outdated tools or gadgets.
- Deep Cleaning: Thoroughly clean the space every month.
Related Articles:
For further reading, explore these related articles:
- Building Your Dream Small Sound Studio: A Complete Guide
- How to Upload Songs: A Step-by-Step Guide for Beginners
For additional resources on music marketing and distribution, visit DMT Records Private Limited.


