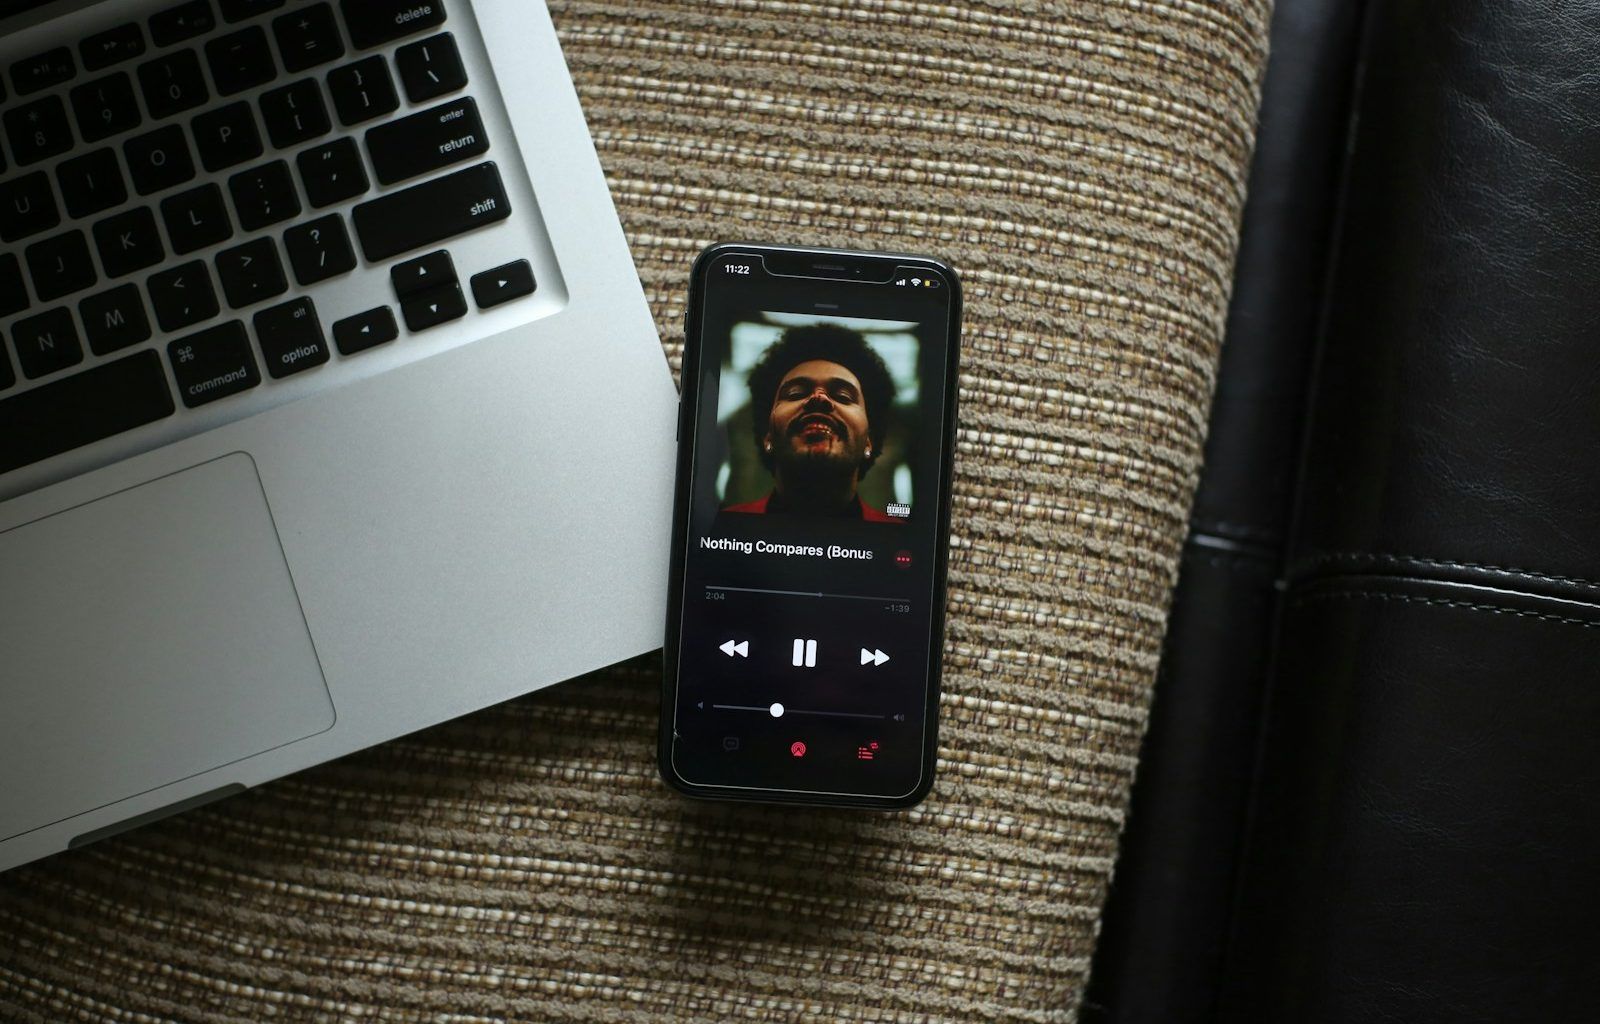
Apple Music is one of the most popular music streaming platforms in the world. If you’re an artist, getting your songs on Apple Music can significantly increase your reach and grow your audience. But how do you actually upload songs to Apple Music? Don’t worry – we’ve got you covered! This guide will walk you through the entire process, step by step. Whether you’re an independent artist or working with a label, you’ll find everything you need to know right here.
Why Upload Your Songs to Apple Music?
Before diving into the how-to, let’s quickly talk about why uploading your music to Apple Music is worth it. With millions of active users worldwide, Apple Music provides an incredible platform for exposure. Not only can fans discover your songs, but the platform also pays royalties to artists every time their music is streamed. Plus, being on Apple Music makes your music more accessible and adds credibility to your brand as an artist.
Step 1: Get Your Music Ready
Uploading your music to Apple Music starts with preparation. Here are some tips to ensure your tracks are ready to shine:
- High-Quality Audio: Ensure your song is mixed and mastered professionally. Apple Music requires songs to meet specific quality standards.
- Correct File Format: Apple Music accepts tracks in AAC, MP3, or WAV formats. Aim for a high bitrate for optimal sound quality.
- Album Artwork: Make sure your cover art is eye-catching and meets Apple’s requirements (at least 4000 x 4000 pixels in JPEG or PNG format).
Step 2: Choose a Distribution Service
Apple Music does not allow independent artists to upload songs directly to its platform. Instead, you need to work with a music distribution service. These services act as intermediaries, helping you get your music on Apple Music and other streaming platforms like Spotify, Amazon Music, and Tidal.
Here are some popular music distribution services:
- DistroKid: Known for its affordable pricing and quick turnaround time.
- TuneCore: Offers a user-friendly interface and additional marketing tools.
- CD Baby: Provides excellent support for independent artists.
- Amuse: Free to use, with an optional premium plan.
Each of these services has its pros and cons, so take some time to research which one fits your needs best.
Step 3: Create an Account with Your Chosen Distributor
Once you’ve picked a distributor, the next step is to create an account. Here’s what you’ll need:
- Personal Information: Full name, email address, and contact details.
- Payment Information: To receive royalties, you’ll need to provide payment details.
- Music Details: Be prepared to upload your song, album artwork, and any relevant metadata (song title, artist name, genre, etc.).
Step 4: Upload Your Music
With your distributor account set up, it’s time to upload your music. Here’s a step-by-step breakdown:
- Log In: Access your distributor’s dashboard.
- Upload Track: Select the song(s) you want to upload.
- Fill Out Metadata: Enter essential details like song title, album name, release date, and genre.
- Attach Artwork: Upload your cover art.
- Set Release Date: Choose when you want your song to go live on Apple Music.
- Submit: Review everything to ensure accuracy, then hit submit!
Step 5: Wait for Approval
Once you’ve submitted your music, your distributor will send it to Apple Music for review. This process typically takes a few days but can vary depending on the distributor and Apple’s review team. During this time, double-check all your details to avoid any delays.
Step 6: Promote Your Music
Congratulations! Your music is now live on Apple Music. But the journey doesn’t stop here. Promoting your songs is key to reaching more listeners. Here are some effective strategies:
- Social Media: Share your Apple Music link on platforms like Instagram, Twitter, and Facebook.
- Email List: Notify your fans via email when your new song is available.
- Collaborations: Work with other artists or influencers to expand your reach.
- Apple Music for Artists: Use this tool to track your performance and understand your audience better.
Final Thoughts
Uploading songs to Apple Music is a straightforward process once you understand the steps involved. By choosing the right distributor, preparing your music properly, and promoting it effectively, you’re setting yourself up for success. Now it’s your turn to share your music with the world! Follow this guide and get started today. Your audience is waiting.
Related Articles:
For further reading, explore these related articles:
For additional resources on music marketing and distribution, visit DMT Records Private Limited.


