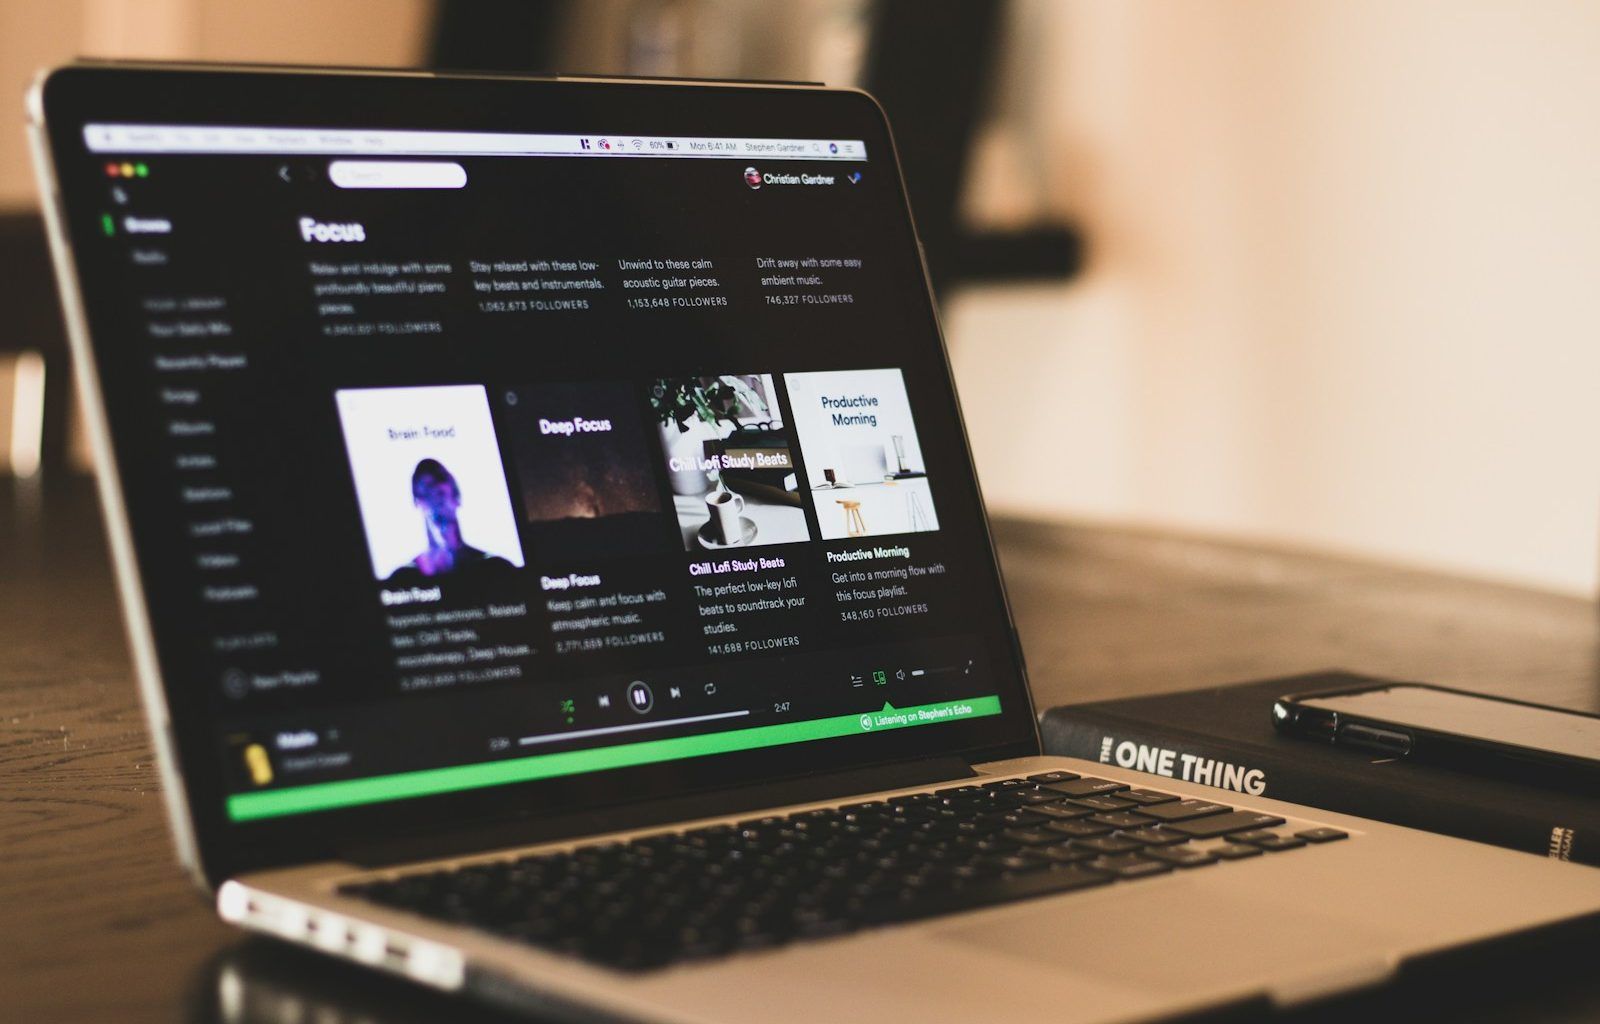
If you’ve ever dreamed of sharing your music with the world, Spotify is one of the best platforms to do it. With millions of active users every day, it’s a golden opportunity for musicians to showcase their work. But figuring out how to upload your own songs to Spotify might seem tricky if you’re new to it. Don’t worry; we’ve got you covered. In this guide, we’ll break down the steps in simple, easy-to-follow terms.
Why Spotify Is the Perfect Platform for Your Music
Spotify is where listeners go to discover new music. Whether you’re an indie artist or a budding band, having your music on Spotify can significantly increase your reach. With features like playlists, personalized recommendations, and sharing options, it’s easier than ever to connect with fans. Plus, Spotify gives artists a way to earn royalties for every stream, which is a nice bonus.
Step 1: Prepare Your Music
Before diving into the upload process, make sure your songs are ready for the big stage. Here’s what you need to do:
- Record and Mix Your Song: Ensure your track is polished and professional. High-quality sound is essential because listeners will judge your music based on its production value.
- Master Your Track: Mastering is the final step in audio production. It ensures your song sounds great on all devices, whether someone’s listening on a phone, headphones, or speakers.
- Check File Format: Spotify requires your music files to be in WAV format, with a sample rate of 44.1 kHz and 16-bit resolution. This ensures the best sound quality for streaming.
Step 2: Choose a Distributor
Here’s the thing: you can’t upload your music directly to Spotify unless you’re a record label. Independent artists need to use a distributor. These platforms act as the middleman, helping you get your music on Spotify and other streaming services like Apple Music, Amazon Music, and more.
Some popular distributors include:
- DistroKid: Affordable and fast, it’s a favorite for many independent musicians.
- TuneCore: Known for its extensive artist services.
- CD Baby: Offers both distribution and physical CD options.
- Amuse: A free option with a user-friendly interface.
When choosing a distributor, consider their pricing, features, and royalty-sharing policies. Most of them charge a yearly fee or take a percentage of your earnings.
Step 3: Create an Account with Your Distributor
Once you’ve picked a distributor, sign up on their platform. The process is straightforward:
- Go to the distributor’s website.
- Create an account with your email and password.
- Fill out your profile details, such as your artist name and contact information.
Some platforms may also ask for tax information since you’ll be earning royalties.
Step 4: Upload Your Songs
Now comes the exciting part! Uploading your own songs to Spotify is easier than you think. Here’s how:
- Log In to Your Distributor Account: Once logged in, navigate to the “Upload” section.
- Add Your Song Files: Upload your WAV files. Double-check to ensure they meet Spotify’s quality standards.
- Provide Metadata: Metadata includes your song title, artist name, album name (if applicable), and release date. This information will appear on Spotify, so make sure it’s accurate.
- Add Cover Art: Your music needs a professional-looking cover. The image should be 3000 x 3000 pixels, in JPG format, and free of text that might get cropped.
- Choose a Release Date: Decide when you want your music to go live. Some artists prefer immediate releases, while others schedule for a specific day.
Step 5: Submit and Wait
Once you’ve completed all the steps, submit your music for distribution. Most platforms take a few days to process your submission, so be patient. You’ll receive a confirmation email once your music is live on Spotify.
Tips for Promoting Your Songs on Spotify
Getting your music on Spotify is just the first step. To maximize your reach, you need a promotion strategy. Here’s how:
- Share Your Spotify Link: Post it on your social media accounts, website, and email newsletters.
- Pitch Your Songs to Spotify Playlists: Use Spotify for Artists to submit your tracks for playlist consideration.
- Collaborate with Other Artists: Featuring on other artists’ songs can help you reach their audience.
- Engage with Fans: Reply to comments and messages, and let your listeners know how much you appreciate them.
Frequently Asked Questions
Can I upload my own songs to Spotify for free?
While Spotify doesn’t charge artists directly, most distributors require a fee. However, some platforms like Amuse offer free distribution with limited features.
How long does it take for my music to appear on Spotify?
It usually takes 3-7 days for your music to go live, but it’s a good idea to submit it at least two weeks before your planned release date.
Do I keep 100% of my earnings?
This depends on your distributor. Some take a small percentage of your royalties, while others allow you to keep all your earnings in exchange for a yearly fee.
Can I edit my song details after uploading?
Yes, most distributors let you make changes to your metadata even after your song is live.
Final Thoughts
how to upload your own songs to spotify might feel like a daunting task at first, but it’s completely manageable when broken into steps. With the right preparation and tools, you can share your music with the world and start building your fan base. Follow these guidelines, stay consistent, and most importantly, enjoy the journey of being an artist on Spotify!
For further reading, explore these related articles:
- The Story of Kesha: A Journey of Music, Strength, and Inspiration
- Exploring the World’s Smallest Speaker: Tiny but Powerful!
For additional resources on music marketing and distribution, visit Deliver My Tune.


