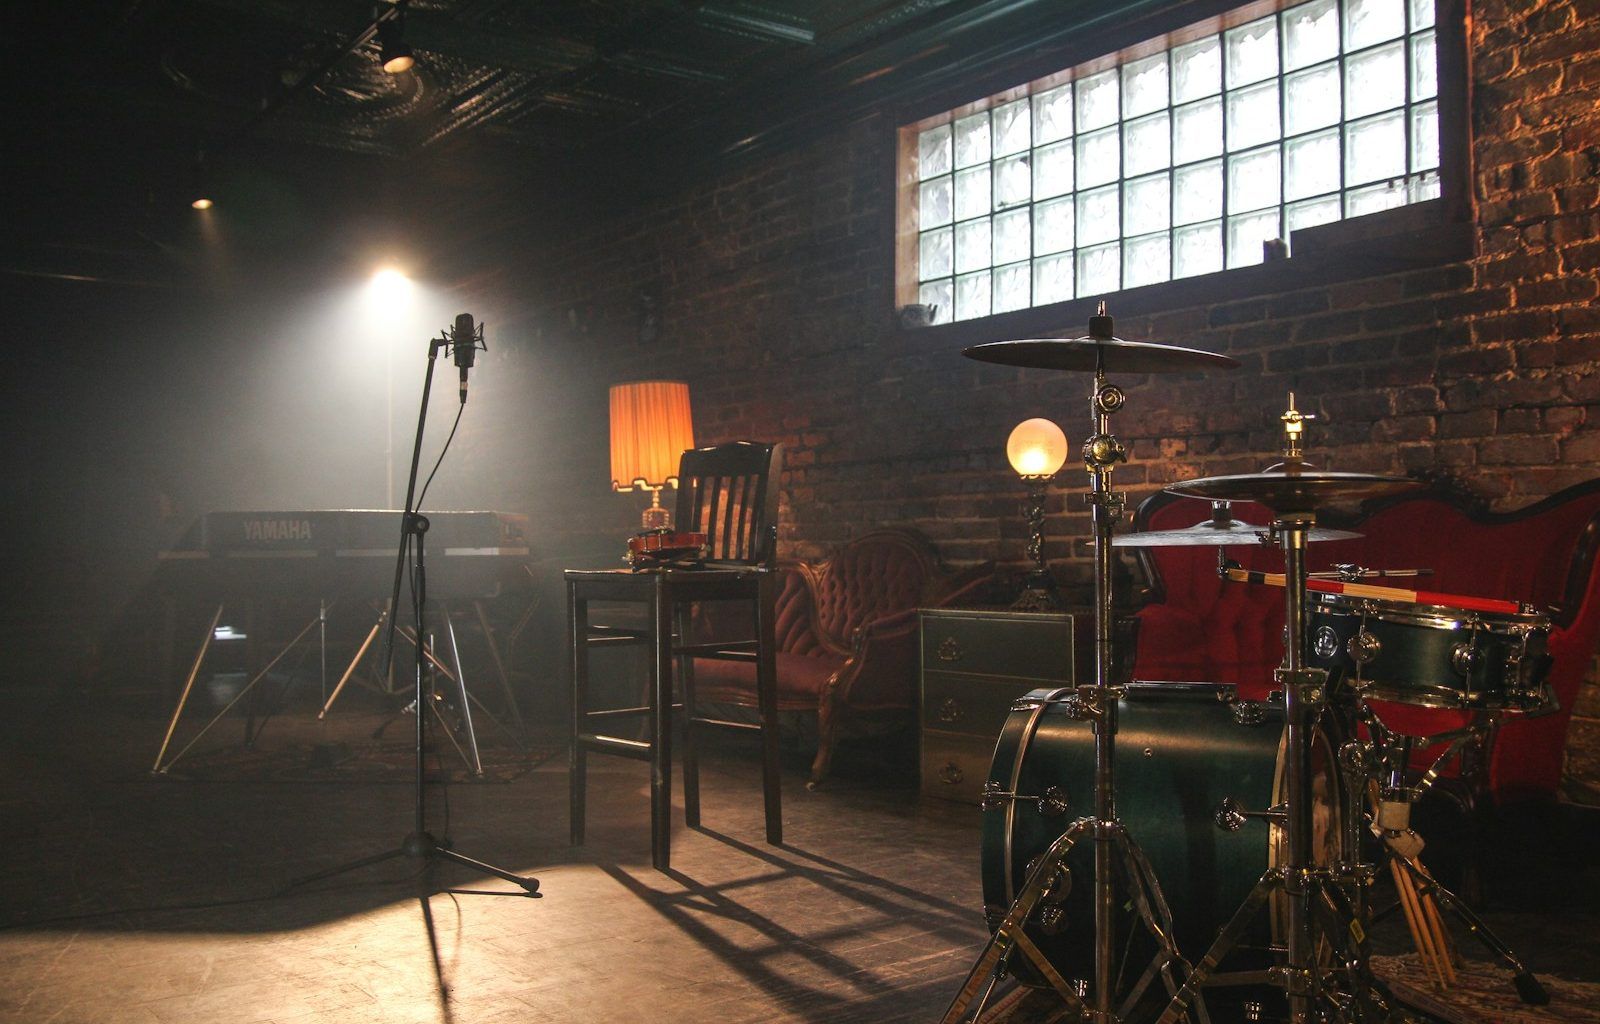
Designing a home music studio is an exciting journey for any music enthusiast, producer, or budding artist. It’s about creating a space where inspiration flows freely and creativity thrives. Whether you’re working on a tight budget or aiming for a professional-grade setup, the right design can make all the difference. Let’s explore how you can build a music studio that meets your needs and amplifies your passion for music.
Why Home Music Studio Design Matters
A well-designed home music studio isn’t just a luxury; it’s an essential tool for productivity and creativity. The right environment allows you to focus, experiment, and produce your best work. Moreover, a functional studio minimizes distractions and ensures that your recordings have professional-grade quality.
Benefits of a Home Music Studio
- Convenience: You can create whenever inspiration strikes.
- Cost-Effective: No more paying for studio time.
- Control: Customize the space and workflow to suit your preferences.
Now that we’ve highlighted the importance of a home music studio, let’s dive into the step-by-step process of designing one.
Choosing the Right Location
The first step in your home music studio design is selecting the ideal location. Not every room is suitable for recording and producing music. Here’s what to consider:
Space Considerations
- Size: A larger space provides more flexibility for equipment and acoustics.
- Noise: Choose a location away from high-traffic areas to minimize external noise.
- Privacy: A secluded spot ensures uninterrupted focus.
Popular Choices
- Spare bedrooms
- Basements
- Attics
- Garages (with proper insulation)
Think about what’s available in your home and how you can adapt it to meet your music studio’s needs.
Setting the Foundation: Soundproofing and Acoustics
Soundproofing and acoustics play a vital role in home music studio design. Without proper treatment, external noises can creep into your recordings, and your sound quality might suffer.
How to Soundproof Your Studio
- Seal Gaps: Use weather stripping on doors and windows.
- Add Insulation: Acoustic panels, foam, or even thick curtains help block sound.
- Install Rugs: Carpets or rugs can minimize echo and reverb.
Enhancing Acoustics
- Bass Traps: Control low-frequency sounds.
- Diffusers: Spread sound evenly throughout the room.
- Acoustic Panels: Absorb unwanted reflections.
Soundproofing and acoustic treatments are investments that pay off in better sound quality and fewer distractions.
Designing the Layout
The layout of your studio affects how you work and the overall vibe of your space. A good layout prioritizes comfort, accessibility, and functionality.
Equipment Placement
- Desk and Monitors: Position these at the center, with monitors at ear level.
- Recording Equipment: Keep microphones and stands easily accessible.
- Cables: Use cable management tools to keep things tidy.
Ergonomics
- Choose an adjustable chair to avoid discomfort during long sessions.
- Keep frequently used tools within arm’s reach.
Zones
Consider creating different zones for specific tasks:
- Recording Zone: Dedicated to instruments and microphones.
- Editing Zone: Focused on your computer and mixing console.
- Storage Zone: Organize cables, accessories, and unused gear neatly.
Selecting the Right Gear
When it comes to gear, focus on quality rather than quantity. It’s easy to get carried away, but starting with essentials ensures you have what you need to get started.
Must-Have Gear for Your Home Music Studio
- Computer: A powerful computer with enough processing power for music production software.
- Digital Audio Workstation (DAW): Popular choices include Ableton Live, Logic Pro, and FL Studio.
- Audio Interface: For connecting your instruments and microphones to the computer.
- Microphones: Choose a versatile condenser microphone for vocals and instruments.
- Studio Monitors: Invest in monitors that deliver accurate sound.
- Headphones: A good pair of closed-back headphones is crucial for mixing.
Optional Gear
- MIDI keyboard
- Drum machine
- External hard drives for storage
Do your research and prioritize the items that align with your music style and goals.
Personalizing Your Space
A home music studio should reflect your personality. Adding personal touches not only makes the space inviting but also fuels creativity.
Ideas for Personalization
- Lighting: Install LED lights or lamps to set the mood.
- Decor: Hang posters, album covers, or inspirational quotes.
- Plants: Add greenery for a calming effect.
- Color Scheme: Choose colors that inspire and energize you.
Maintaining Your Studio
Once your home music studio is up and running, regular maintenance keeps it in top condition.
Tips for Studio Maintenance
- Clean Regularly: Dust can damage sensitive equipment.
- Organize Cables: Use labels to identify each cable.
- Update Software: Ensure your DAW and plugins are always up-to-date.
- Backup Files: Protect your projects with regular backups.
Final Thoughts
Designing a home music studio is a rewarding experience that enhances your ability to create and produce music. By carefully planning your space, investing in essential gear, and personalizing the environment, you can build a studio that inspires your best work. Remember, it’s not about having the most expensive setup; it’s about designing a space that feels right for you.
For further reading, explore these related articles:
- The Evolution and Vibrance of the Indian Music Industry
- Zee Music Company Owner: Shaping the Sound of India
For additional resources on music marketing and distribution, visit DMT Records Private Limited.


