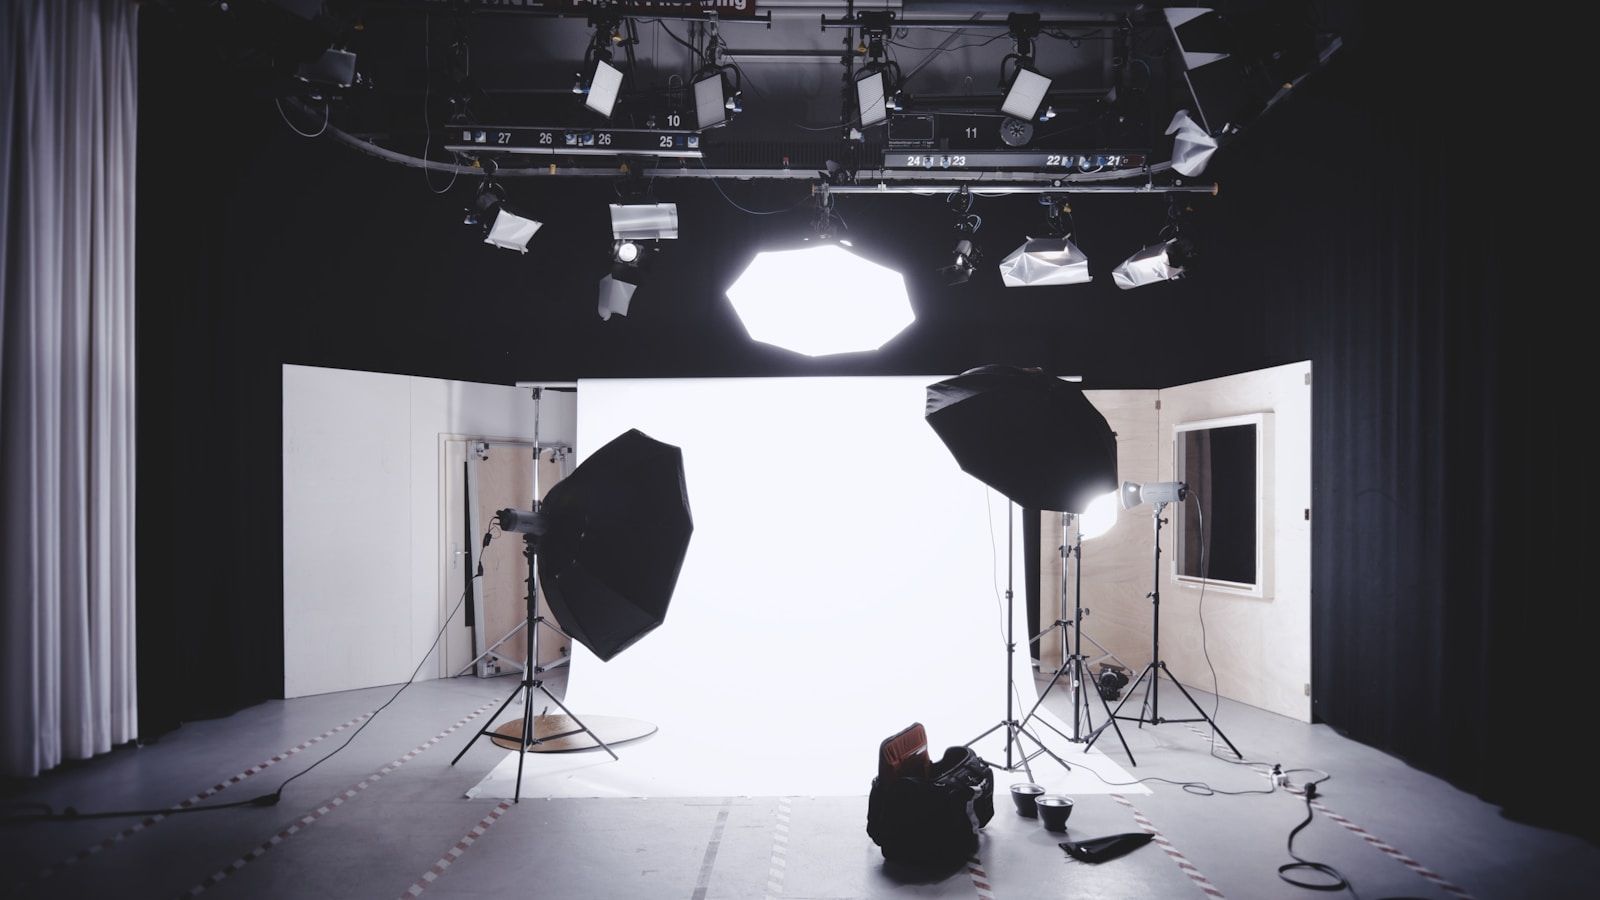
If you’re passionate about recording music, podcasts, or voiceovers, having a functional home recording studio can make all the difference. Designing the perfect space doesn’t have to be complicated or expensive. With the right home recording studio design ideas, tools, and inspiration, you can transform a corner of your room, basement, or garage into an efficient studio that sparks creativity.
Understanding Your Space and Needs
Before diving into the details, think about your specific needs. Are you recording vocals, instruments, or both? Do you need a quiet space, or are you focusing on mixing and editing?
Take note of the available space in your home. You don’t need a large room to start—many professional-sounding recordings happen in compact, well-designed spaces. Even a small bedroom can become your creative hub with the right approach.
Tip: Measure the dimensions of your space. Knowing your room size will help you decide on furniture, equipment placement, and sound treatment solutions.
Choosing the Right Room for Your Studio
Selecting the ideal room is essential when thinking about home recording studio design ideas. Here are a few considerations to help you decide:
- Noise Levels: Choose a room with minimal outside noise, like a basement or spare room away from the street.
- Shape and Size: Rectangular rooms often work better than square ones because they reduce sound reflections.
- Accessibility: Pick a spot where you can easily set up and pack up your gear if needed.
For those with limited space, a corner in your living room or bedroom can work just fine. Use clever design solutions like soundproof curtains or movable panels to adapt to your environment.
Soundproofing Your Home Studio
One of the biggest challenges in a home recording studio is dealing with noise—both coming in and going out. You want to eliminate unwanted sounds to ensure clean recordings. Here’s how:
1. Use Acoustic Foam Panels
Acoustic foam panels are affordable and highly effective at absorbing echoes and reducing reflections. Place them on walls, corners, and ceilings for better sound control.
2. Install Bass Traps
Bass traps are ideal for corners where low-frequency sounds tend to build up. They help achieve a more balanced sound in your room.
3. Use Thick Rugs or Carpets
Hard floors reflect sound, while rugs and carpets absorb it. Placing a thick rug in your studio can minimize echo.
4. Seal Gaps
Sound can escape through cracks, doors, and windows. Use weatherstripping tape, heavy curtains, or draft stoppers to seal gaps and create a quieter space.
Soundproofing doesn’t have to break the bank. You can even DIY some of these solutions using blankets, egg cartons, or plywood.
Designing the Layout of Your Studio
Now that you’ve tackled the sound, it’s time to design the layout of your home recording studio. A thoughtful layout improves workflow and makes the space enjoyable to use.
1. Create Zones
Divide your studio into three zones: recording, monitoring, and production.
- Recording Zone: This is where you set up your microphone, instruments, or vocal booth.
- Monitoring Zone: Place your desk, computer, and monitors here for mixing and editing.
- Production Zone: Store instruments, cables, and accessories to keep your space tidy.
Even in small spaces, organizing these zones will make your workflow smooth.
2. Position Your Desk and Monitors Correctly
Your desk and studio monitors play a crucial role in sound clarity. Follow these tips for the best results:
- Place your monitors at ear level and angle them toward your listening position.
- Keep your desk in the center of the room to avoid sound imbalance.
- Use monitor stands to reduce vibrations.
3. Use Wall-Mounted Solutions
If you’re short on space, consider wall-mounted shelves for storing equipment. They keep your gear off the floor and free up room for movement.
Essential Equipment for Your Home Studio
Building a functional home studio doesn’t require fancy gear, but there are some essentials you can’t skip. Here’s what you need:
1. Computer and DAW
A reliable computer is the heart of your studio. Pair it with a Digital Audio Workstation (DAW) like Pro Tools, Logic Pro, or Ableton Live to record and edit your tracks.
2. Audio Interface
An audio interface connects your microphone and instruments to your computer. It ensures high-quality sound input and output.
3. Microphone
Choose a microphone that suits your needs. Condenser microphones are great for vocals, while dynamic microphones work well for louder instruments like drums.
4. Studio Monitors
Studio monitors provide an accurate representation of your sound. Unlike regular speakers, they don’t enhance bass or treble, making it easier to mix tracks.
5. Headphones
Invest in a pair of high-quality studio headphones. Closed-back headphones are ideal for recording because they prevent sound leakage.
6. Pop Filter and Mic Stand
A pop filter reduces plosive sounds (like “p” and “b”) during vocal recordings, while a sturdy mic stand ensures stability.
7. MIDI Keyboard
If you produce music digitally, a MIDI keyboard helps you create beats, melodies, and chords efficiently.
Adding Personal Touches to Your Studio Design
Your home recording studio should be a space where you feel comfortable and inspired. Adding a personal touch makes it truly yours.
- Decorate with Posters or Artwork: Hang posters of your favorite artists or music-related artwork.
- Lighting Matters: Use LED strips or soft ambient lighting to create a relaxing atmosphere.
- Plants and Greenery: Adding small plants improves the room’s air quality and aesthetic appeal.
- Ergonomic Furniture: Invest in a comfortable chair and an adjustable desk to prevent strain during long sessions.
Maximizing a Small Studio Space
Don’t let limited space hold you back from designing your dream studio. Here are some ideas to maximize a small space:
- Use vertical space with shelves or wall hooks.
- Choose foldable or multipurpose furniture.
- Build a portable recording booth using PVC pipes and blankets.
- Tidy up cables using zip ties or cable trays.
Small studios often push you to be more creative. With clever design tricks, even the tiniest space can produce professional results.
Conclusion
Creating your home recording studio doesn’t have to be intimidating. By choosing the right space, investing in essential equipment, and adding soundproofing solutions, you can build a setup that suits your needs and budget. Remember to keep your layout organized, personalize the space, and focus on making it a place where creativity thrives. Whether you’re recording your first song or producing an album, these home recording studio design ideas will help you bring your vision to life.
For further reading, explore these related articles:
For additional resources on music marketing and distribution, visit DMT Records Pvt. Ltd..


