In today’s world, having a dedicated space to channel your creativity is no longer a luxury; it’s a necessity. Whether you’re a musician, podcaster, artist, or remote worker, a home studio can take your craft to the next level. But where do you begin? Don’t worry—I’ve got you covered. Let’s break down how to create the perfect home studio step by step. By the end of this guide, you’ll have all the tools and knowledge you need to build a space that’s both functional and inspiring.
Why You Need a Home Studio
Let’s start with the basics. Why is having a home studio so important? First off, convenience. Having a dedicated space at home means you can work on your passion anytime, without the hassle of commuting. Secondly, it’s customizable. You get to design a space that meets your specific needs, whether it’s for recording, editing, or brainstorming your next big idea.
Now that we’ve established why a home studio matters, let’s dive into the nitty-gritty.
Step 1: Define Your Purpose
Before you pick up a hammer or shop for equipment, take a moment to define what you need your studio for. Are you a musician needing soundproofing? A podcaster requiring high-quality audio gear? Or perhaps a visual artist in need of proper lighting? Clarifying your purpose will dictate every decision you make moving forward.
Key Questions to Ask Yourself:
- What activities will I primarily use this space for?
- How much space do I need?
- What’s my budget?
Once you’ve answered these questions, you’re ready to move on.
Step 2: Choose the Right Space
Selecting the right room is crucial when creating the perfect home studio. Ideally, pick a room with minimal external noise and natural lighting. Basements and spare bedrooms are popular choices, but even a quiet corner can work if you’re creative.
Tips for Selecting a Space:
- Size: Ensure the room is large enough to accommodate your equipment and furniture.
- Noise Levels: Avoid spaces near high-traffic areas or noisy appliances.
- Lighting: Choose a space with adjustable lighting or natural light that you can control.
If you’re working with limited options, don’t fret—we’ll discuss ways to optimize any space.
Step 3: Plan Your Layout
Now that you have your space, it’s time to plan the layout. Think of your home studio as a blank canvas. Start by sketching out where you’ll place your desk, equipment, and other essentials. The goal is to create a space that’s both functional and clutter-free.
Pro Tips for Layout Planning:
- Ergonomics Matter: Make sure your desk and chair are set at comfortable heights.
- Zoning: Divide the room into zones for different tasks—recording, editing, or brainstorming.
- Accessibility: Keep frequently used items within arm’s reach.
By planning your layout now, you’ll save yourself a ton of frustration later.
Step 4: Soundproofing Basics
If your home studio involves audio work, soundproofing is non-negotiable. Nothing kills creativity faster than unwanted noise. Luckily, you don’t need to break the bank to get started.
Affordable Soundproofing Tips:
- Acoustic Panels: These absorb sound and reduce echo. Place them on walls and ceilings.
- Heavy Curtains: Block external noise and improve acoustics.
- Rugs and Carpets: Use these to minimize floor vibrations.
Investing in soundproofing upfront will ensure your recordings sound professional from day one.
Step 5: Lighting is Key
Good lighting can make or break your home studio. Whether you’re filming videos or working on intricate designs, proper lighting ensures clarity and reduces eye strain.
Lighting Options to Consider:
- Natural Light: Maximize daylight by positioning your desk near windows.
- LED Lights: Adjustable LED lights offer flexibility for different tasks.
- Accent Lighting: Add some ambiance with string lights or lamps.
Experiment with different setups to find what works best for you.
Step 6: Invest in the Right Equipment
Here’s where things get exciting! The equipment you choose will depend on your specific needs, but there are some essentials everyone should consider.
Must-Have Equipment:
- Desk and Chair: Invest in ergonomic furniture to stay comfortable.
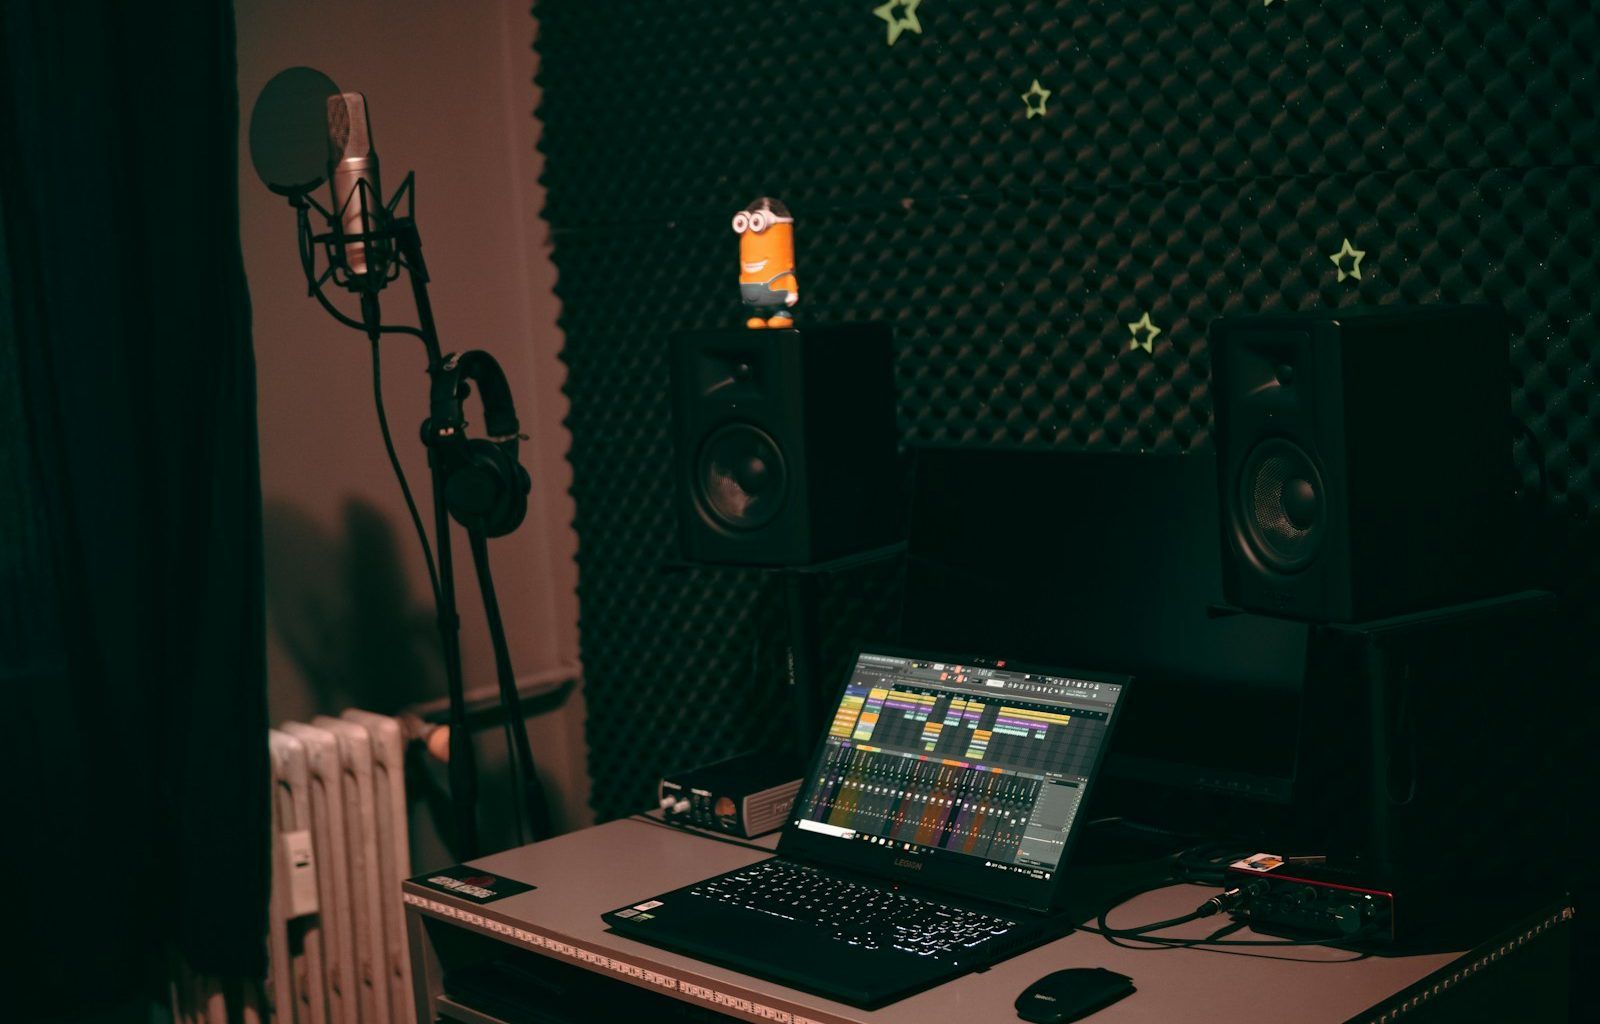
- Recording Gear: Microphones, headphones, and an audio interface are crucial for audio work.
- Computer and Software: A powerful computer and editing software will be the backbone of your studio.
- Monitors or Speakers: These are essential for accurate sound playback.
Take your time researching gear—this is where quality really matters.
Step 7: Add Personal Touches
Your home studio should feel like a reflection of you. Adding personal touches can make the space more inviting and inspire creativity.
Ideas for Personalization:
- Decor: Hang artwork, posters, or photos that inspire you.
- Plants: Add greenery to improve air quality and reduce stress.
- Color Scheme: Choose calming or energizing colors based on your preferences.
These small details will make a big difference in how much you enjoy using your studio.
Step 8: Stay Organized
A cluttered space leads to a cluttered mind. Keep your home studio organized by using storage solutions and developing good habits.
Organization Hacks:
- Cable Management: Use clips or sleeves to keep cords tidy.
- Shelving: Install shelves to store equipment and supplies.
- Labeling: Label drawers and boxes for easy access.
When everything has its place, you’ll spend less time searching and more time creating.
Step 9: Test and Adjust
Once your home studio is set up, take it for a test drive. Spend a few days working in the space and note what’s working and what’s not. Don’t be afraid to make adjustments—perfection takes time.
Things to Evaluate:
- Is the lighting adequate for your tasks?
- Are the acoustics meeting your needs?
- Is the layout functional and comfortable?
By fine-tuning your setup, you’ll ensure your studio is perfectly tailored to your needs.
Conclusion
Creating the perfect home studio is a journey, but it’s one worth taking. By following these steps, you’ll have a space that’s not only functional but also a joy to work in. Remember, the key is to start small and build gradually. Before you know it, you’ll have a studio that fuels your creativity and helps you achieve your goals.
For further reading, explore these related articles:
- How to Upload Songs on Spotify: A Step-by-Step Guide
- Best Digital Audio Workstation for Beginners: A Comprehensive Guide
For additional resources on music marketing and distribution, visit DMT Records Private Limited.


