Streaming audio is becoming a staple in our daily lives. Whether you’re a music enthusiast, podcaster, or business owner looking to broadcast your content, setting up streaming audio is a game changer. But where do you start? This guide will walk you through every step, making the process smooth and stress-free.
Why Streaming Audio Matters
Before diving into the technical side, let’s take a moment to appreciate why streaming audio is worth your time. Streaming audio allows real-time playback without downloading files. It’s perfect for sharing music, live events, podcasts, or even business presentations. With its growing popularity, learning how to set up streaming audio can help you connect with a global audience instantly.
Equipment You’ll Need
To set up streaming audio, you don’t need to spend a fortune. Start by gathering some basic equipment:
- Microphone: A good-quality microphone ensures clear sound. Popular options include USB microphones like the Blue Yeti or XLR microphones for more advanced setups.
- Audio Interface: If you’re using an XLR microphone, an audio interface converts analog signals into digital ones for streaming.
- Headphones: Reliable headphones help you monitor sound quality.
- Computer: A laptop or desktop with decent processing power is essential.
- Internet Connection: A stable and fast internet connection is crucial for seamless streaming.
- Software: Audio streaming software like OBS Studio, Audacity, or specific streaming platforms (e.g., Spotify for Artists or Shoutcast) makes it all work.
Setting Up Your Audio Gear
Once you’ve got your equipment, it’s time to set it up. Don’t worry; it’s easier than it sounds.
- Connect Your Microphone: Plug your USB microphone into your computer or connect your XLR mic to the audio interface.
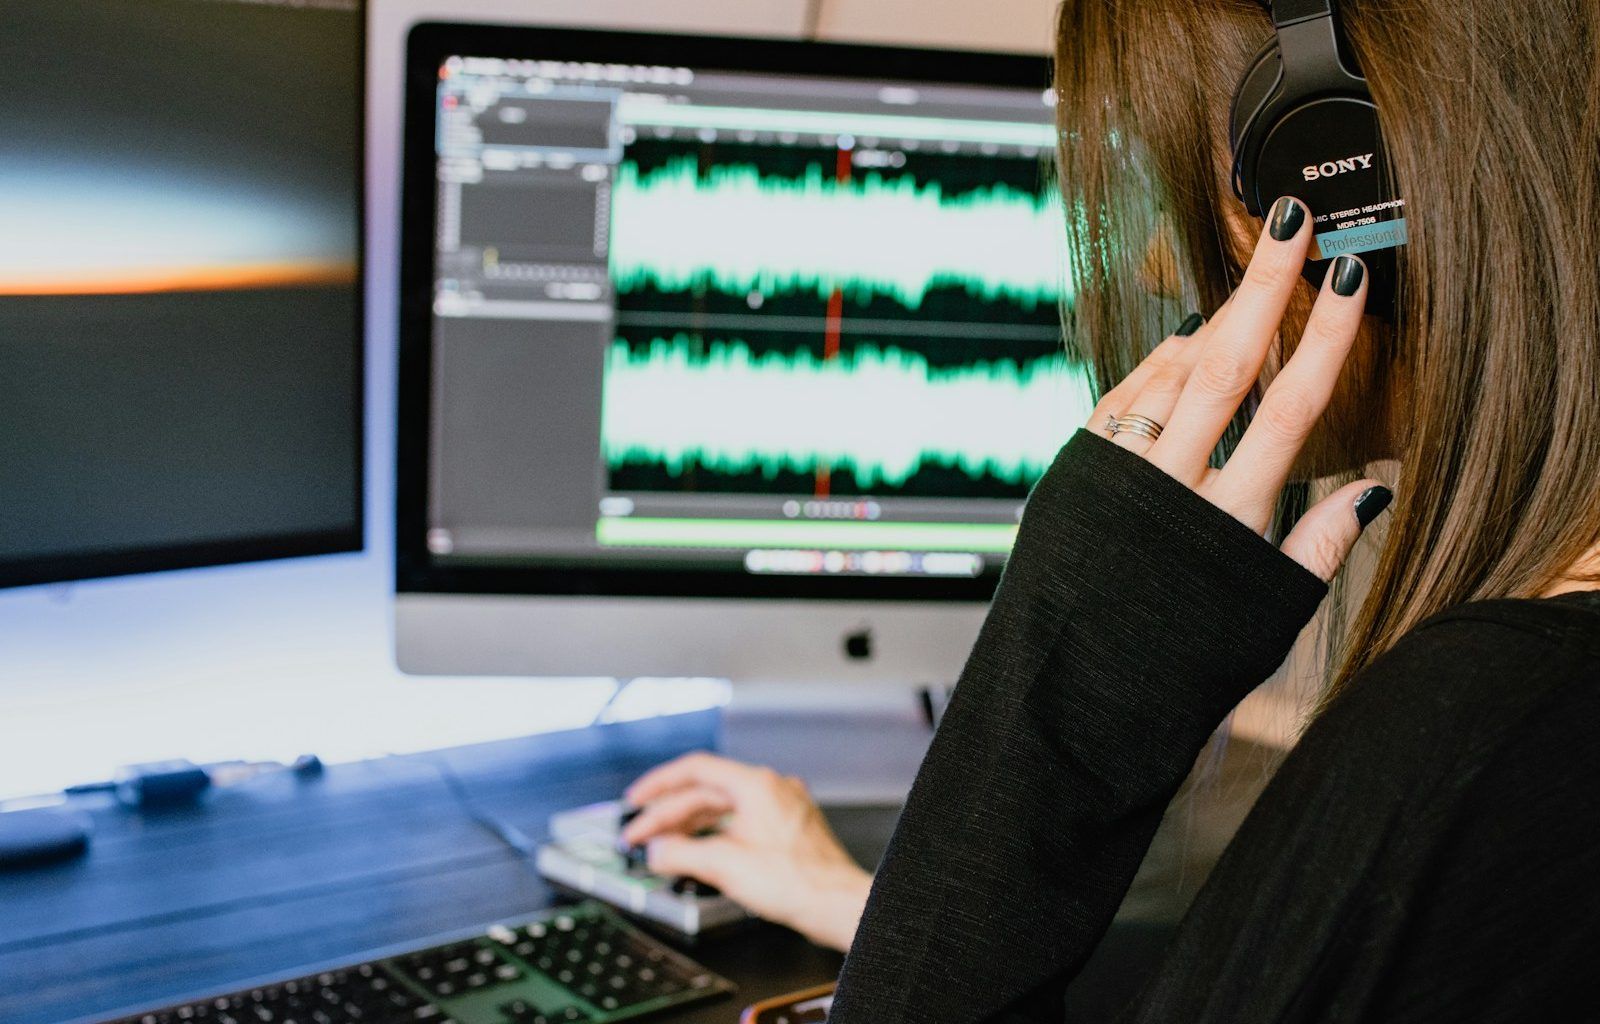
- Test Your Gear: Use free software like Audacity to check sound levels. Speak into the mic and ensure the audio doesn’t clip or distort.
- Position Your Microphone: Place the microphone about 6-12 inches from your mouth. Use a pop filter to reduce plosive sounds.
- Adjust Settings: Fine-tune the gain levels on your audio interface or within the software to avoid background noise.
Choosing the Right Software
Your streaming software is the backbone of the setup. Thankfully, there are many user-friendly options.
- OBS Studio: A free, open-source platform for streaming audio and video. OBS offers customizable settings to suit beginners and professionals.
- Audacity: Perfect for recording and editing audio before streaming.
- Anchor: If you’re podcasting, Anchor simplifies the process of uploading and distributing your content.
Choose software based on your needs. For live audio, OBS Studio is ideal. For pre-recorded podcasts or music, Audacity works wonders.
Configuring Your Software
After installing the software, configuration is key. Here’s how to do it:
- Audio Input: Select your microphone as the primary audio input.
- Bitrate Settings: Choose a bitrate of 128 kbps for standard quality or 320 kbps for high-quality streams.
- Output Settings: Decide where your audio will stream. Platforms like YouTube, Twitch, or private servers work well.
- Test Run: Always perform a test run to check for issues. Ensure your audio is clear and synchronized.
Streaming Audio Platforms
Where you stream your audio is as important as how you set it up. Some popular platforms include:
- Spotify: Perfect for musicians looking to share their work.
- Twitch: Ideal for gamers or live streamers.
- Shoutcast: Great for creating your own radio station.
- YouTube: A versatile platform for all kinds of audio content.
Research your audience and choose a platform that aligns with your goals.
Enhancing Audio Quality
Great audio quality keeps listeners coming back. Here are a few tips:
- Use a Pop Filter: It reduces unwanted plosive sounds.
- Soundproof Your Space: Minimize background noise with foam panels or by recording in a quiet room.
- Equalization (EQ): Adjust EQ settings to enhance your voice or music.
- Compression: A compressor evens out volume levels for a polished sound.
- Practice: The more you practice, the better your streaming skills become.
Troubleshooting Common Issues
Even with the best setup, hiccups happen. Here’s how to solve common problems:
- Audio Lag: Check your internet connection and reduce background processes on your computer.
- Static Noise: Ensure cables are securely connected and use a ground loop isolator if needed.
- Low Volume: Adjust microphone gain or increase volume settings in your software.
Tips for Beginners
If you’re just starting out, keep these tips in mind:
- Start small with basic equipment and upgrade as you grow.
- Experiment with different software to find what works best for you.
- Always engage with your audience during live streams.
- Don’t be afraid to make mistakes. Every stream is a learning opportunity.
Growing Your Audience
Once you’ve mastered the technical side, it’s time to grow your audience:
- Promote Your Streams: Share your content on social media platforms like Instagram, Facebook, and Twitter.
- Collaborate: Partner with other streamers or content creators to expand your reach.
- Engage with Listeners: Respond to comments and feedback to build a loyal community.
- Consistency is Key: Stream regularly to keep your audience engaged.
Conclusion
Setting up streaming audio might seem daunting at first, but it’s a rewarding journey. By following these steps and staying consistent, you’ll be streaming high-quality audio in no time. Remember, every expert was once a beginner. So, dive in, experiment, and have fun with your streaming audio setup!
For further reading, explore these related articles:
- Taylor Swift Spotify Streams: How She Became the Queen of Streaming
- Mo Bamba Lyrics: The Story of a Song That Took the World by Storm
For additional resources on music marketing and distribution, visit DMT Records Pvt. Ltd..


