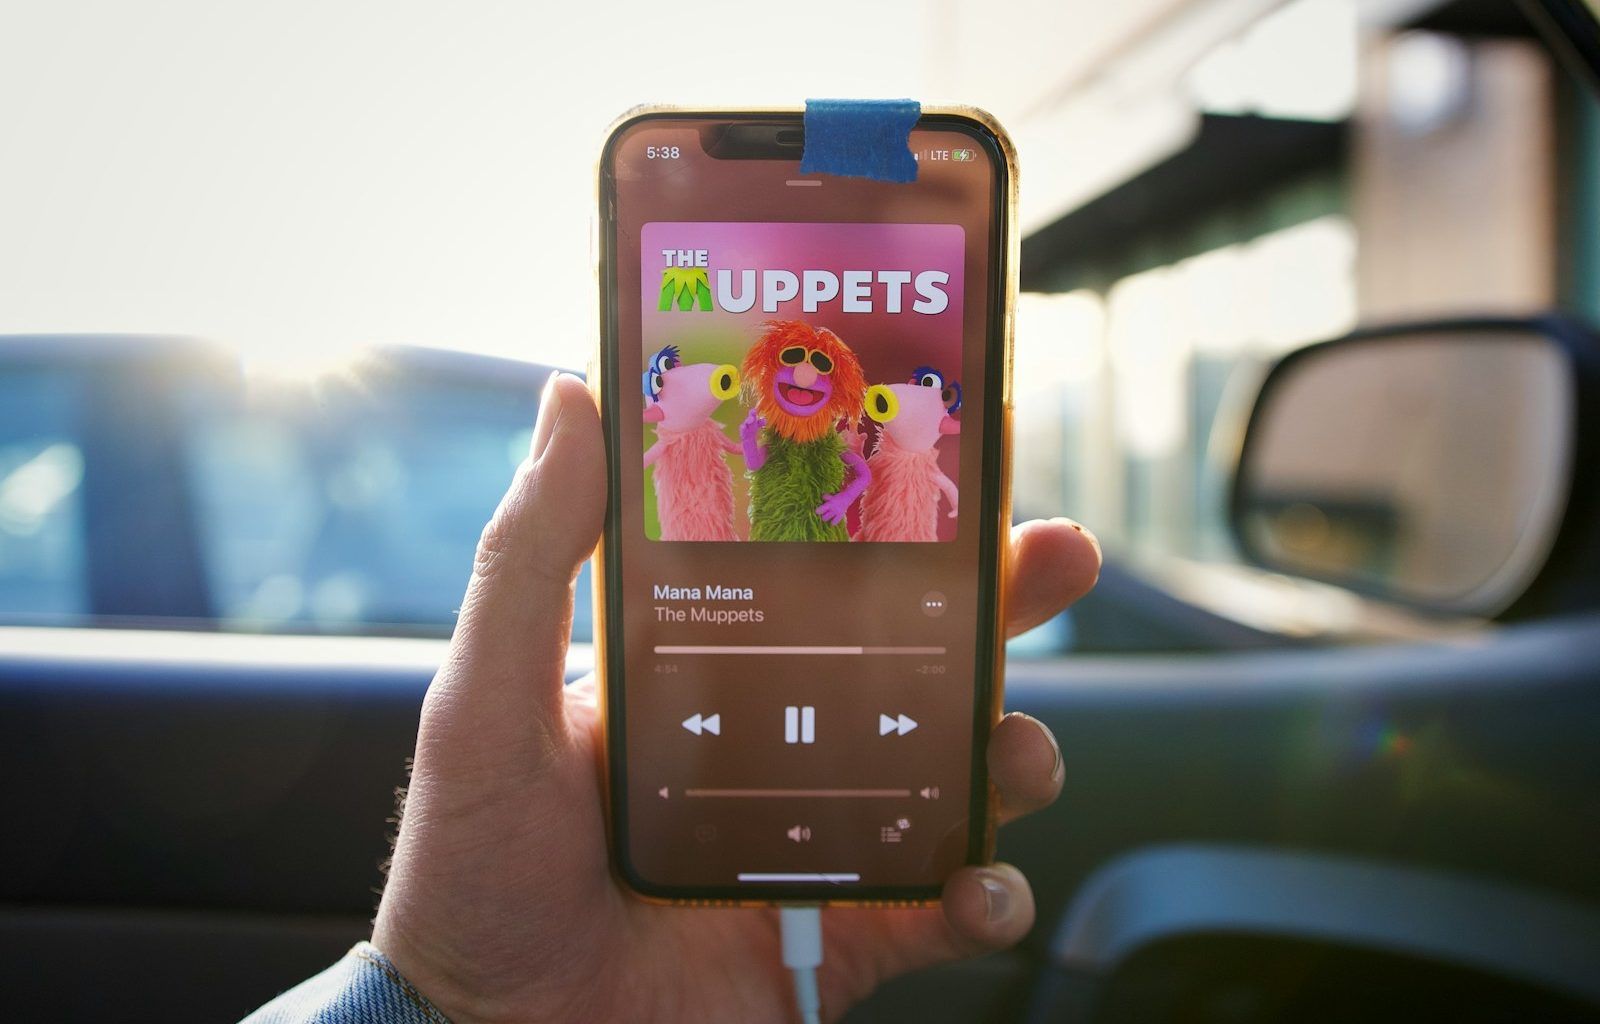
Are you a musician dreaming of getting your music on iTunes? You’re not alone! Reaching millions of listeners through Apple Music is a huge milestone for any artist. But if you’re unsure about where to begin or how to navigate the process, this guide is for you. We’ll break it down step by step to ensure you know exactly how to post music on iTunes and start reaching your audience.
Why Should You Post Music on iTunes?
Before diving into the how-to part, let’s talk about why iTunes matters. iTunes (now part of Apple Music) is one of the largest music platforms globally. With millions of daily users, it gives artists unparalleled access to listeners. By getting your music on iTunes, you:
- Reach a global audience.
- Earn royalties for every stream or purchase.
- Enhance your credibility as an artist.
Posting music on iTunes isn’t just about making your songs available; it’s about making your music career more professional.
Step 1: Prepare Your Music
First things first, your music needs to be ready for the big stage. Think of iTunes as a global showcase, so the quality of your song matters a lot. Here’s what you should do:
- Record Your Track Professionally
If you haven’t already, invest in professional recording and mastering. High-quality audio ensures your music stands out and meets Apple’s standards. - Choose the Right Format
Apple requires songs to be uploaded in a specific format, usually WAV files with a minimum bit rate of 16-bit/44.1 kHz. - Create Album Art
Your album or single cover is the first thing listeners will see. Make sure it’s visually striking, high-resolution (at least 3000×3000 pixels), and adheres to Apple’s guidelines.
Step 2: Decide How to Post Music on iTunes
You can’t upload music directly to iTunes unless you’re an Apple-approved distributor. Most artists work with a digital distribution service to get their music on Apple Music and iTunes. Here’s how to choose the right distributor:
- Research Popular Distributors
Some popular options include DistroKid, TuneCore, CD Baby, and Amuse. Each has its unique features, so pick one that fits your needs. - Compare Fees and Royalties
Different platforms charge different fees. Some take a flat fee, while others take a percentage of your royalties. - Look for Additional Services
Some distributors also help with marketing, playlist placement, or analytics. These extra features can give you an edge.
Step 3: Sign Up with a Distributor
Once you’ve chosen a distributor, it’s time to sign up. Here’s how to do it:
- Create an Account
Go to the distributor’s website and sign up. You’ll need an email address and some basic personal details. - Choose Your Plan
Most distributors offer several plans. If you’re just starting, the basic plan is usually enough. - Set Up Your Payment Information
To earn royalties, you’ll need to connect a bank account or PayPal account.
Step 4: Upload Your Music
Now comes the exciting part—uploading your track! Your distributor will guide you through this process, but here’s what it usually involves:
- Add Your Track Details
Include the song title, artist name, album title (if applicable), and genre. - Upload Your Files
This includes the audio file, album art, and any additional information like lyrics or credits. - Select Release Options
Choose your release date and platforms. Most distributors let you release on multiple platforms, not just iTunes.
Step 5: Wait for Approval
After uploading, your distributor will submit your music to iTunes for approval. This can take anywhere from a few days to a couple of weeks. During this time:
- Double-check your release details.
- Plan your promotional strategy.
- Share teasers on social media to build excitement.
Step 6: Promote Your Music
Once your music is live on iTunes, it’s time to get the word out! Here are some tips:
- Leverage Social Media
Share links to your iTunes page on platforms like Instagram, Facebook, and Twitter. - Create a Press Release
Announce your new release to blogs and music websites. - Engage with Your Fans
Interact with your audience, thank them for their support, and encourage them to share your music. - Use Paid Ads
Platforms like Facebook Ads or Google Ads can help you target the right audience.
Common Questions About Posting Music on iTunes
How Much Does It Cost?
The cost depends on your distributor. Some charge as little as $20 per year, while others take a percentage of your royalties.
Do I Keep My Rights?
Most distributors let you retain 100% of your rights, but always read the fine print before signing up.
Can I Post a Cover Song?
Yes, but you’ll need to secure the appropriate licenses. Your distributor can often help with this.
Final Thoughts
Getting your music on iTunes isn’t as complicated as it seems. With the right preparation and tools, you can make your songs available to millions of listeners worldwide. Remember, posting your music is just the beginning—the real work lies in promoting and connecting with your audience. So, follow these steps, stay consistent, and watch your music career grow!
For further reading, explore these related articles:
For additional resources on music marketing and distribution, visit DMT Records Pvt. Ltd..


