Your Dream Home Studio Awaits
Have you ever imagined recording your own music, podcasts, or even voiceovers right from the comfort of your home? Building a home sound recording studio is not as complicated as it may seem. With the right steps and some essential equipment, you can create a space where your creativity thrives.
This guide will walk you through everything you need to know to set up your own home sound recording studio. From choosing the best room to optimizing sound quality, we’ve got you covered. Let’s get started!
Why Build a Home Sound Recording Studio?
There are so many reasons to invest in a home studio. First, it saves you money. Instead of paying for expensive studio time, you can record anytime you want without worrying about the clock. Second, it gives you the freedom to experiment and learn. No one is watching, so you can try new things without feeling pressured. Lastly, it’s just plain convenient. Whether inspiration strikes at midnight or early morning, your studio is always ready.
Step 1: Picking the Best Spot for Your Home Studio
The first and most important step is choosing the right room. Not every space in your house will work equally well, so you need to pick wisely.
What Makes a Good Room?
- Quiet Location: Pick a room away from noisy areas like roads or kitchens.
- Medium Size: Large rooms can create echoes, while tiny spaces may feel cramped.
- Minimal Windows: Windows let in outside noise. If your room has them, use heavy curtains or soundproofing panels.
Pro Tip:
If you don’t have the perfect room, don’t worry. You can still make it work by adding soundproofing and acoustic treatment. We’ll talk about this later!
Step 2: Must-Have Equipment for Your Studio
Once you’ve picked your room, it’s time to focus on the gear. Don’t worry if you’re just starting out; you don’t need to buy everything at once. Start with the basics and upgrade later.
1. A Reliable Computer
Your computer is the heart of your studio. It runs the software that records and edits your audio. Make sure it’s fast enough to handle recording without crashing.
2. Recording Software (DAW)
A DAW (Digital Audio Workstation) is the tool you’ll use to record and edit. Popular ones include:
- GarageBand (free for Mac users).
- Audacity (great for beginners and free).
- Ableton Live or Pro Tools (professional options).
3. Microphones
You can’t record without a good mic! Here’s what to consider:
- Dynamic Mics: Affordable and great for vocals. (Example: Shure SM58)
- Condenser Mics: Better for detailed sounds like acoustic guitars or voiceovers. (Example: Audio-Technica AT2020)
4. Audio Interface
This is the device that connects your mic to your computer. It converts your voice or instrument’s sound into a digital format.
5. Studio Monitors and Headphones
These help you hear exactly what you’re recording without any added effects. Look for brands like Yamaha or Audio-Technica for a good starting point.
6. Extras
- Mic stands: Keeps your mic stable.
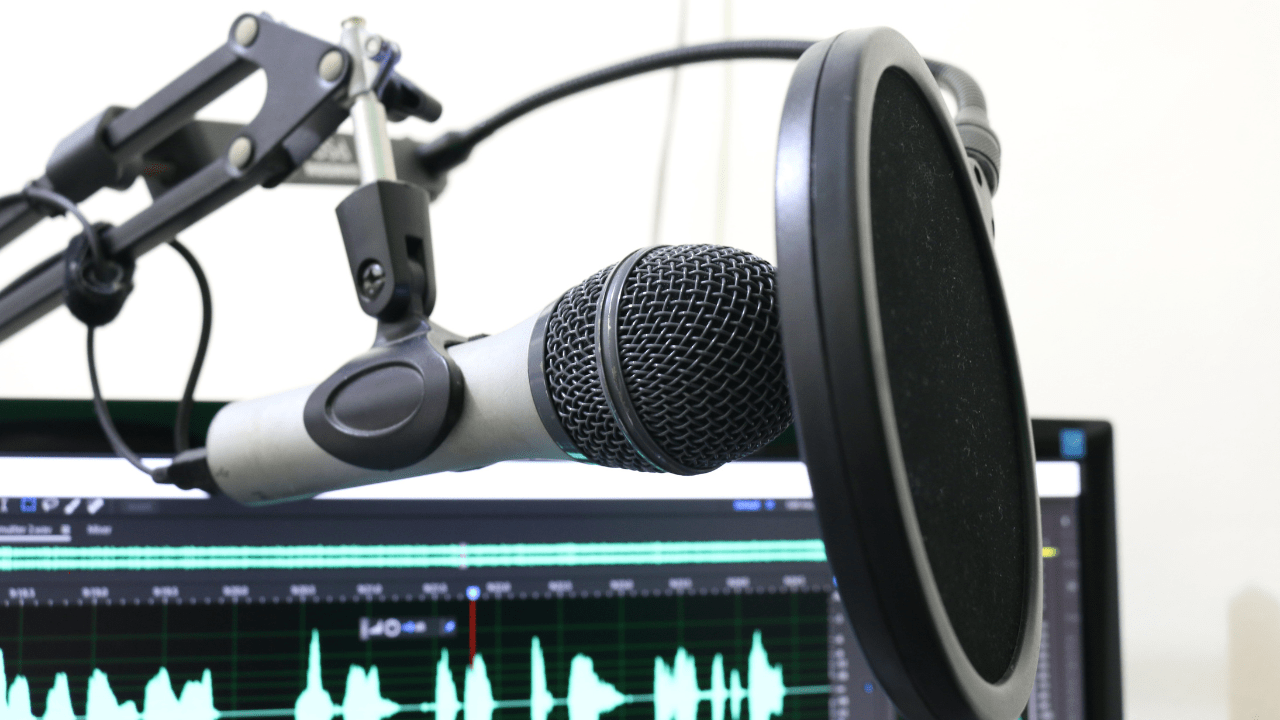
- Pop filters: Blocks harsh sounds like “p” or “s.”
- Cables: Always buy good-quality cables to avoid noise interference.
Step 3: Improve Your Room’s Sound
Here’s where the magic happens! Even the best equipment can sound bad in a poorly treated room. Thankfully, you can fix this with a few tricks.
How to Reduce Echoes
- Add acoustic panels to your walls.
- Place bass traps in the corners to control low-frequency sounds.
- Lay down rugs or carpets to absorb floor reflections.
Quick DIY Tip:
If you don’t have professional panels, try using thick blankets or heavy curtains. They work surprisingly well!
Soundproofing Tips
If outside noise is an issue, consider:
- Sealing gaps in windows or doors.
- Using a door sweep to block noise from underneath.
Step 4: Setting Up Your Gear
Now comes the fun part—setting up your equipment. Don’t worry, it’s easier than it sounds.
- Position Your Desk and Monitors: Place your desk along the shortest wall to reduce reflections. Set your monitors at ear level in a triangle formation for the best sound.
- Connect Everything: Plug your mic into the audio interface, and then connect the interface to your computer. Make sure everything is secure to avoid loose connections.
- Test It Out: Record a quick sample to ensure everything works. Adjust the levels in your DAW until your voice or instrument sounds clear.
Step 5: Recording Like a Pro
Recording might feel tricky at first, but it gets easier with practice. Here are some tips to help you get started:
- Use a Pop Filter: It makes your vocals sound cleaner.
- Experiment with Mic Placement: Try different angles and distances to find the best sound.
- Stay Consistent: Record in the same spot to avoid changes in sound quality.
Mixing and Editing
After recording, spend time editing your tracks. Use tools like EQ and compression to polish your audio. Don’t overdo it, though—sometimes less is more!
Step 6: Budget-Friendly Tips
Building a home sound recording studio doesn’t have to break the bank. Here are some ways to save money:
- Buy used gear from trusted sellers.
- Start with free software like Audacity.
- DIY your acoustic treatment with household items like blankets and rugs.
Step 7: Avoid These Common Mistakes
When setting up your studio, it’s easy to make mistakes. Here’s what to watch out for:
- Skipping Acoustic Treatment: Your recordings will sound echoey without it.
- Overloading Your Room: Too much gear can make your space feel cramped and messy.
- Ignoring Maintenance: Clean your gear regularly to keep it in good condition.
Step 8: Make Your Studio Inspiring
Your home sound recording studio should feel like a place where you want to create. Add personal touches like:
- LED lights for a cozy vibe.
- Posters or artwork of your favorite artists.
- A comfortable chair for those long recording sessions.
Step 9: Practice Makes Perfect
Your first recordings might not sound amazing, and that’s okay. The more you use your studio, the better you’ll get at recording and editing. Be patient with yourself, and don’t be afraid to ask for help or watch tutorials.
Conclusion: Your Studio, Your Rules
Creating a home sound recording studio is a rewarding experience. It’s a space that’s entirely yours, where you can let your creativity shine. Start small, take it one step at a time, and enjoy the process. Remember, the best studio is the one that inspires you to keep making music.
For further reading, explore these related articles:
For additional resources on music marketing and distribution, visit Deliver My Tune.


